Pink Velvet Cupcakes – These velvety smooth one-bowl cupcakes are delicious and easy, too! The perfect Valentine’s Day dessert or for any day!
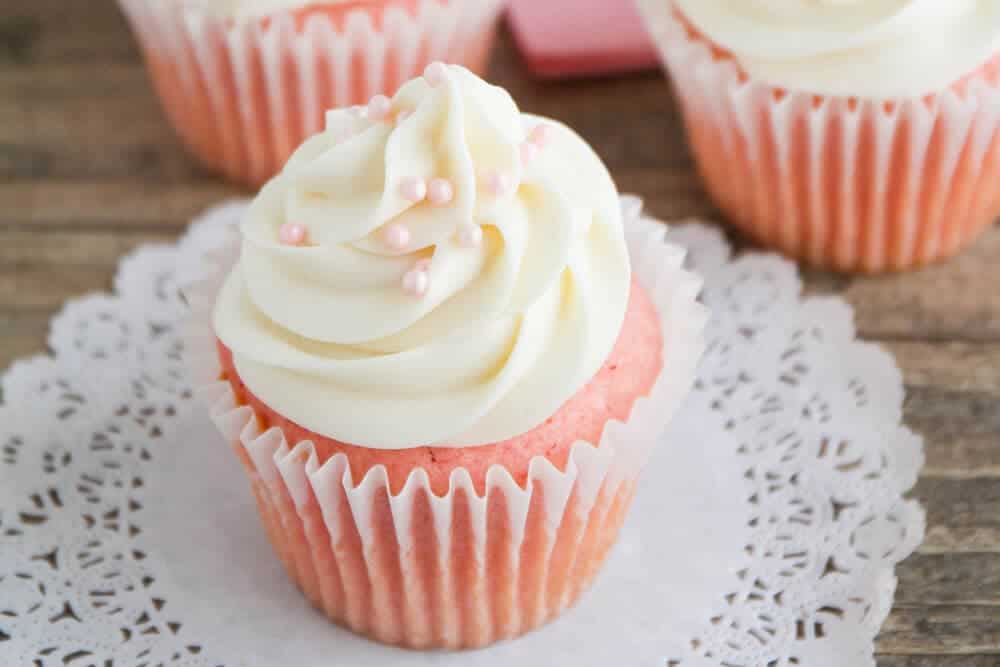
Table of Contents
Pink Cupcakes for Valentine’s Day
This recipe is the perfect “sweet” treat to gift your Valentine. I’m a sucker for anything pink or red, so of course I love these pink cupcakes. I also love my Valentine sugar cookies. They are so decorative and fun!
I’ll be the first to admit it – I love cupcakes! They’re the perfect serving size, they’re fun to decorate, and they’re way less intimidating than making a full layer cake.
As much as I love to eat red velvet cupcakes, I’ve actually never made them myself. They always seemed a little intimidating to me, and the thought of adding a whole bottle of food coloring to my cupcake batter was a little overwhelming. When I came across this pink velvet cupcake recipe, I knew they needed to happen in my kitchen and soon!
They’re easy to make, use only a few drops of pink food coloring, and are made with super simple ingredients that I always have on hand. These cupcakes are perfect for sharing with your sweetheart on Valentine’s day, or to bring with some pink party punch to a class party for the kiddos. They work great as mini cupcakes too!
How to Make Pink Velvet Cupcakes
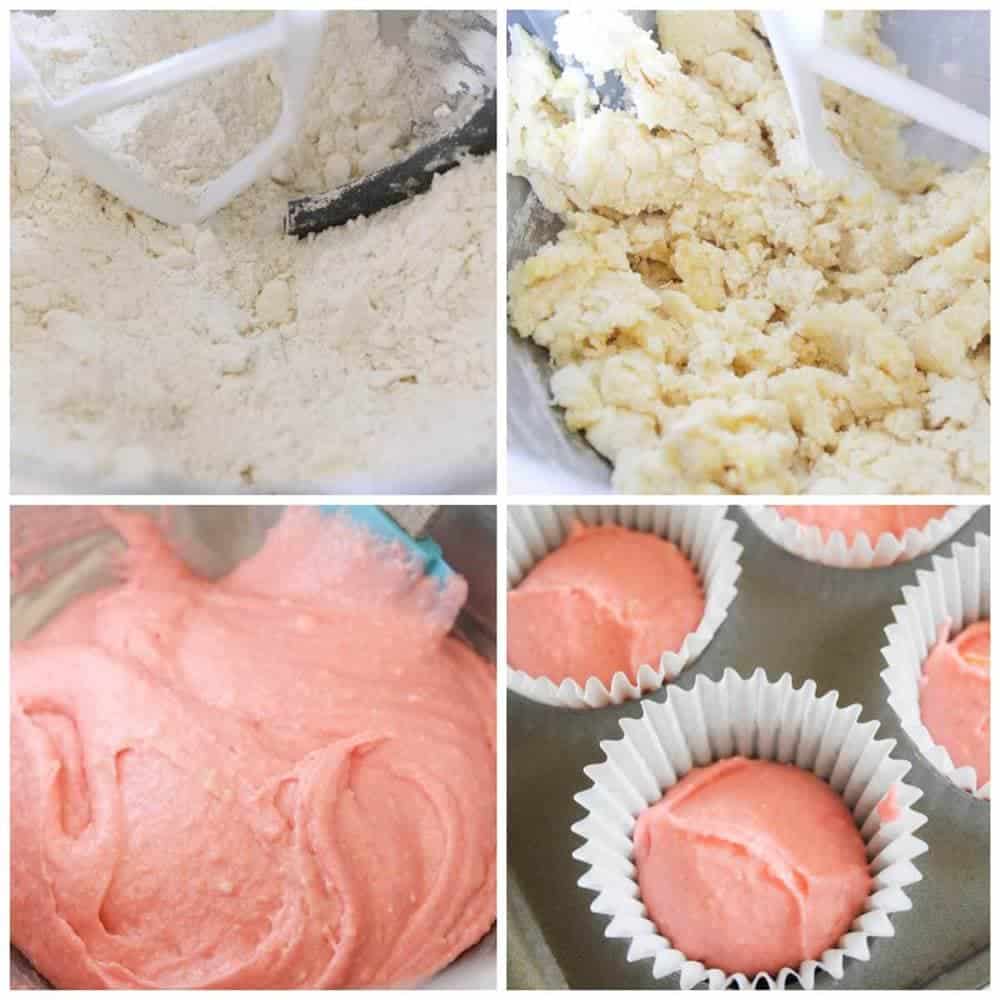
- BATTER. You’ll start by whisking the dry ingredients together, then cutting in the butter. You’ll want the pieces of butter to be no larger than pea sized. Next you’ll add the eggs, one at a time, mixing well after each addition. At this point the batter looks almost like cookie dough.
- ADD COLOR. Finally, you’ll add your liquids and food coloring to make a pretty pink batter! There are still tiny lumps of butter in there, which is what you want! The butter will create little air pockets in the cupcakes as they bake and help them be lighter and fluffier.
- FILL. I always use a 3 Tablespoon scoop to fill my cupcake liners, but a spoon works just fine too. Just fill them somewhere between 1/2 and 2/3 full, since they will puff up a lot as they bake.
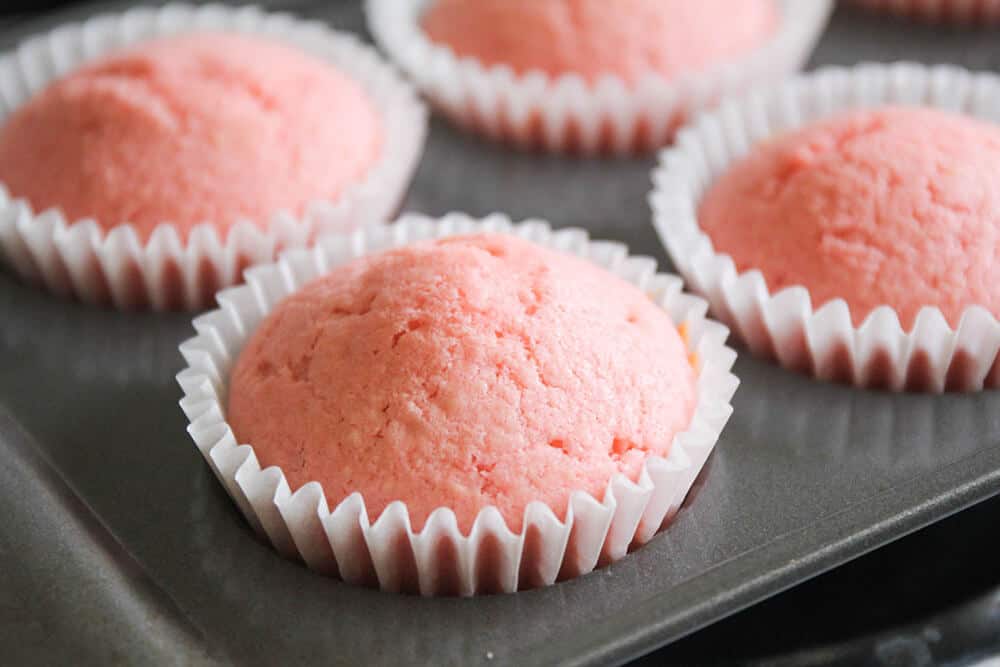
- BAKE. Bake the cupcakes in the oven at 350°F for about 15 to 18 minutes, or until the tops spring back when lightly touched. They will be super fluffy and light, with a perfect dome. Remove from oven and let cool completely.
Frosting + Decorations
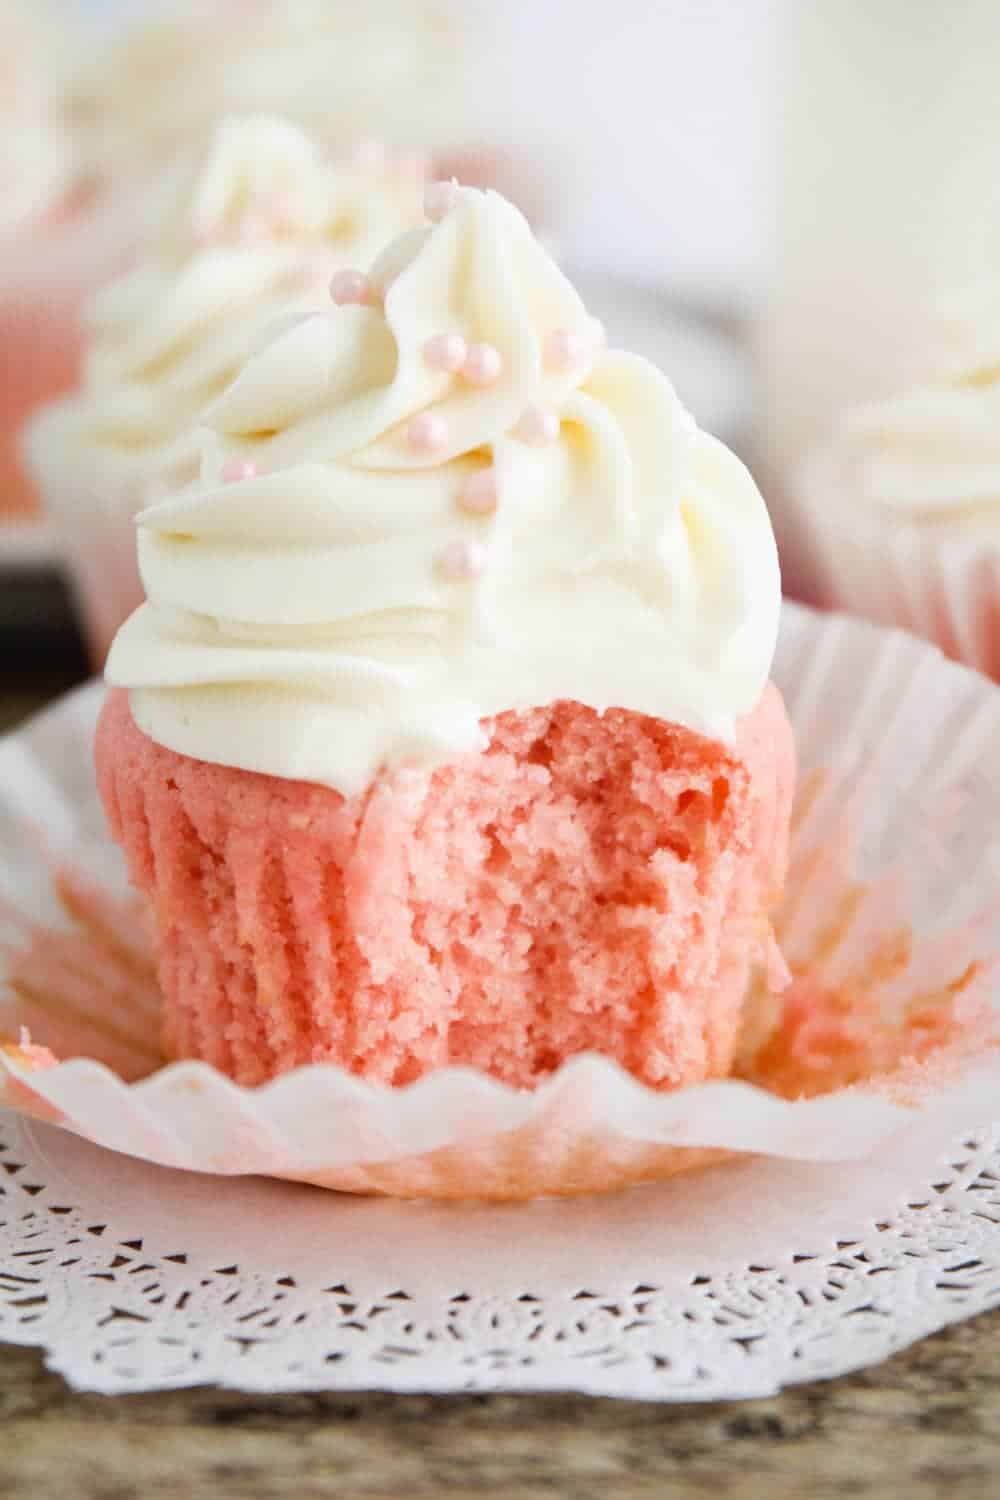
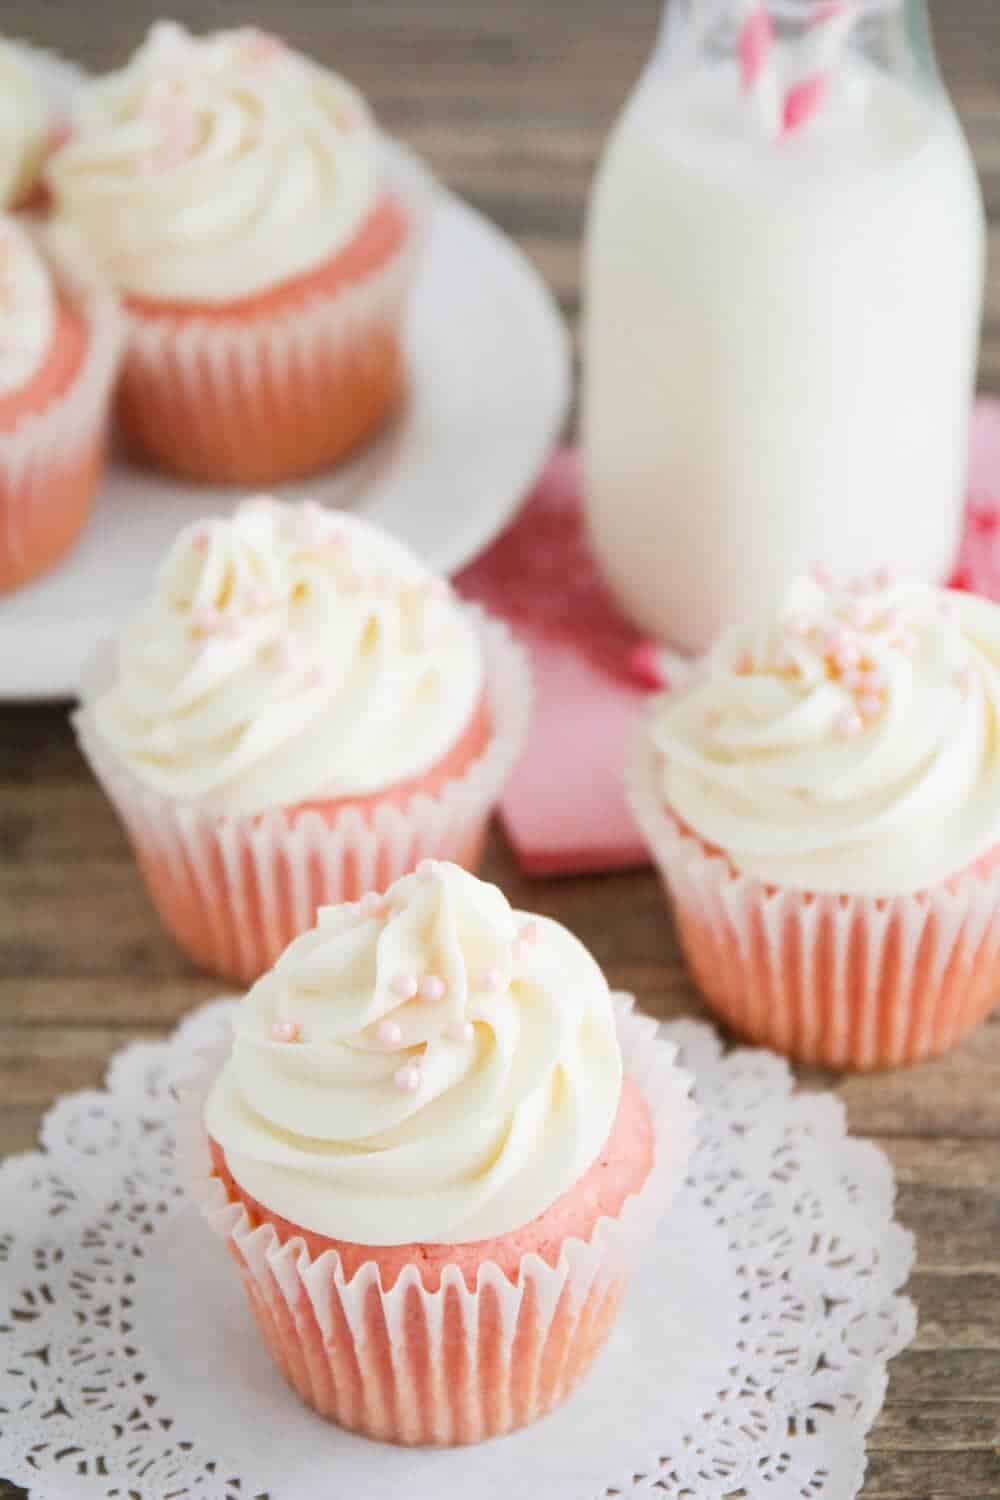
Once they’ve cooled, you’ll pipe on a luscious and smooth cream cheese frosting. A classic buttercream or sour cream frosting would also taste delicious, although the cream cheese version is definitely my favorite. You can even add a little pink food coloring to the frosting if you’d like.
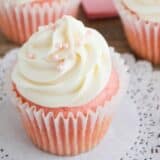
I sprinkled some pink edible pearls on top of the frosting to add an extra festive touch. I love the contrast of the pink and white! And there you have it…perfect pink velvet cupcakes that are as delicious as they are beautiful.
5 star review
“Delicious! Everyone, including our kids who don’t usually go for baked goods, loved these. Making another batch pronto!”
– Iris
More “Sweet” Recipes
HUNGRY FOR MORE? Subscribe to my newsletter and follow on Facebook, Pinterest and Instagram for all the newest recipes!
Pink Velvet Cupcake Recipe
Video
Ingredients
For the cupcakes:
- 1 ¼ cups all-purpose flour
- ¾ teaspoon baking powder
- ¼ teaspoon baking soda
- ¼ teaspoon salt
- ½ cup granulated sugar
- ½ cup butter , cold, cut into pieces
- 2 eggs
- 1 teaspoon vanilla extract
- ½ cup buttermilk
- 6-8 drops pink food coloring
For the cream cheese frosting:
- 4 ounces cream cheese , softened
- ½ cup butter , softened
- 3 cups powdered sugar
- 1 teaspoon vanilla extract
- 1-2 Tablespoons half-and-half or heavy cream
Instructions
- Preheat the oven to 350°F. Line a cupcake pan with paper liners. In a large bowl or the bowl of a stand mixer, whisk together the flour, baking powder, baking soda, salt and sugar.
- Add the butter and cut it in using two knives or the paddle attachment on your mixer, until the mixture resembles coarse crumbs and the butter pieces are no larger than pea sized.
- Add the eggs one at a time, mixing after each addition. Add the vanilla and buttermilk, and stir until combined. Add the pink food coloring and stir until well distributed.
- Scoop the batter into the prepared pan, filling the cups 1/2 to 2/3 full.
- Bake for 15 to 18 minutes, or until the tops spring back when lightly touched. Remove from oven and let cool.
- To make the frosting, add the cream cheese and butter to a medium bowl and beat until smooth. Add the powdered sugar and vanilla and beat until smooth. Add 1 Tablespoon of half and half and beat on high until light and fluffy. Add additional half and half as needed to make a light and fluffy frosting. Pipe onto cooled cupcakes and decorate as desired.
Nutrition
Nutrition provided is an estimate. It will vary based on specific ingredients used.
Did you make this recipe? Don’t forget to give it a star rating below!

These came out very dense and not very flavorful
wonderful and easy recipe. Daughter’s sweet 16 had a pink theme and she loved it. my first time doing the cream cheese icing and that turned out perfectly. thank you.
Can these be frozen and saved for later (prior to frosting)?
Yes you could freeze them and then frost at a later date :)
How many grams is 1/2 cup of butter?
113.4g of butter :)
Best cupcake & buttercream frosting! Super easy too. My 3 year old and 30 year old husband both approved.
So glad to hear your family approves :D
I made these cupcakes for a baby shower and they turned out perfectly moist and decadent. I made the recommended buttercream frosting recipe, and swirled it on each cupcake with my piping bag and 1M tip. I also used pink sanding sugar to sprinkle on the tops each frosted cupcake. Guests were so complimentary and I left without any leftover. Love love love both recipes!! Thank you so much!!
Such a fun gift for a baby shower! Love the idea of pink sanding sugar. So cute!
Delicious! Everyone, including our kids who don’t usually go for baked goods, loved these. Making another batch pronto!
I’m so happy to hear that! Thanks for your comment and review, Iris :)
How many cupcakes does the recipe make?
12 cupcakes :)
These cupcakes were so good! Really nice and moist.
Yay, so happy you enjoyed the recipe Lucy :)
Cupcakes turned out amazing and delicious!
Do you think I could make this into a full cake?
I haven’t tried it, but I think it would work great! You’ll just need to adjust the time accordingly. :)
Hello! Im planning on baking this recepie but i dont know what you mean woth ”vanilla”. Is it pure vanilla powder? Or extract? Etc. <3
Pure vanilla extract :) Hope you enjoy!
Hi there. Love your recipe and also your website. Just want to ask are these cupcakes small or large? I need larger once, do you think I should double the recipe to get 12 large ones?
Thank you so much.
Dee xx
They are regular sized cupcakes!
I absolutely loved the cupcakes. They taste fantastic and were super moist. The frosting I wasn’t such a fan of. I followed the recipe to a T and it came out tasting like only butter. I’ll definitely try it again, but I’ll probably halve the amount of butter
Hi, wanted to try this for my daughter’s baptism. How long does the baked cupcake last? Thank you
They should stay fresh for 3-4 days!
This is my go-to cupcake recipe. I was going to bake the cupcakes Thurs for a party on Saturday. How do you suggest storing them? I wasn’t sure if they needed to be refrigerated with the buttermilk as an ingredient?
Hi Jess! If frosted, I store in the fridge! The actual cupcakes do not need to be refrigerated.
This is a terrific recipe! The cupcakes were light, fluffy and just melt in your mouth delicious! It didn’t need Frosting at all, though frosting elevated it (per the younger members of the household). 90% of it disappeared during tea time!
I’m so glad you enjoyed them! Thank you for your kind comment and review! :)
Perfect for Valentines day or any other special occasion! Super easy to make and SUPER delicious.
Yum yum yum! And they’re so beautiful! This is definitely a recipe you can’t go wrong with.
Mine haven’t come out pink at all even though the mixture was light pink when it went in the oven and I used more drops than recommend in the recipe! I guess I need to use more next time until I see a stronger pink colour