Learn the steps on how to proof yeast in just 10 quick minutes with these simple tips. Proofing yeast is the key to perfectly light and fluffy bread!
Whether you’re making yeast bread, rolls, doughnuts or your favorite pizza dough, you will need proofed yeast for your baked goods to have amazing texture and flavor.
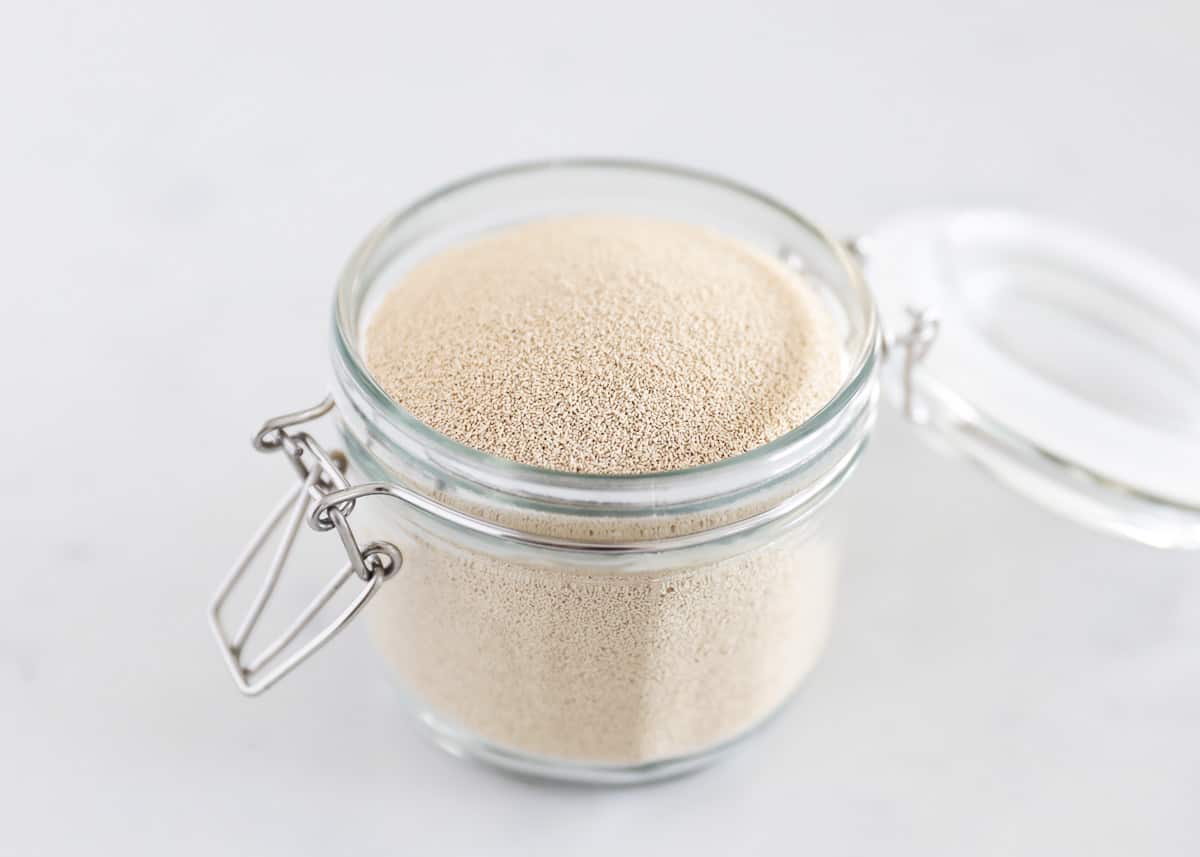
What Is Yeast?
Yeast is a fungus that consists of cells that reproduce and are able to convert sugar into alcohol and carbon dioxide. This fermentation process helps your baked goods rise, creating enough air in the dough so that it’s super light and fluffy.
There are two types of yeast – commercial yeast which I am using here and natural yeast such as sourdough starter.
Many people are intimidated to bake with yeast, but trust me, there’s no reason to be! Once you learn the basics of how to proof yeast and which type to use, it couldn’t be more easy. And as with anything, the more you practice, the more comfortable you’ll get!
Why Proof Yeast?
Proofing yeast ensures that your yeast is active and not expired. If it fails to proof you can just start over with brand new yeast instead of not proofing and ending up with bread that has not risen fully.
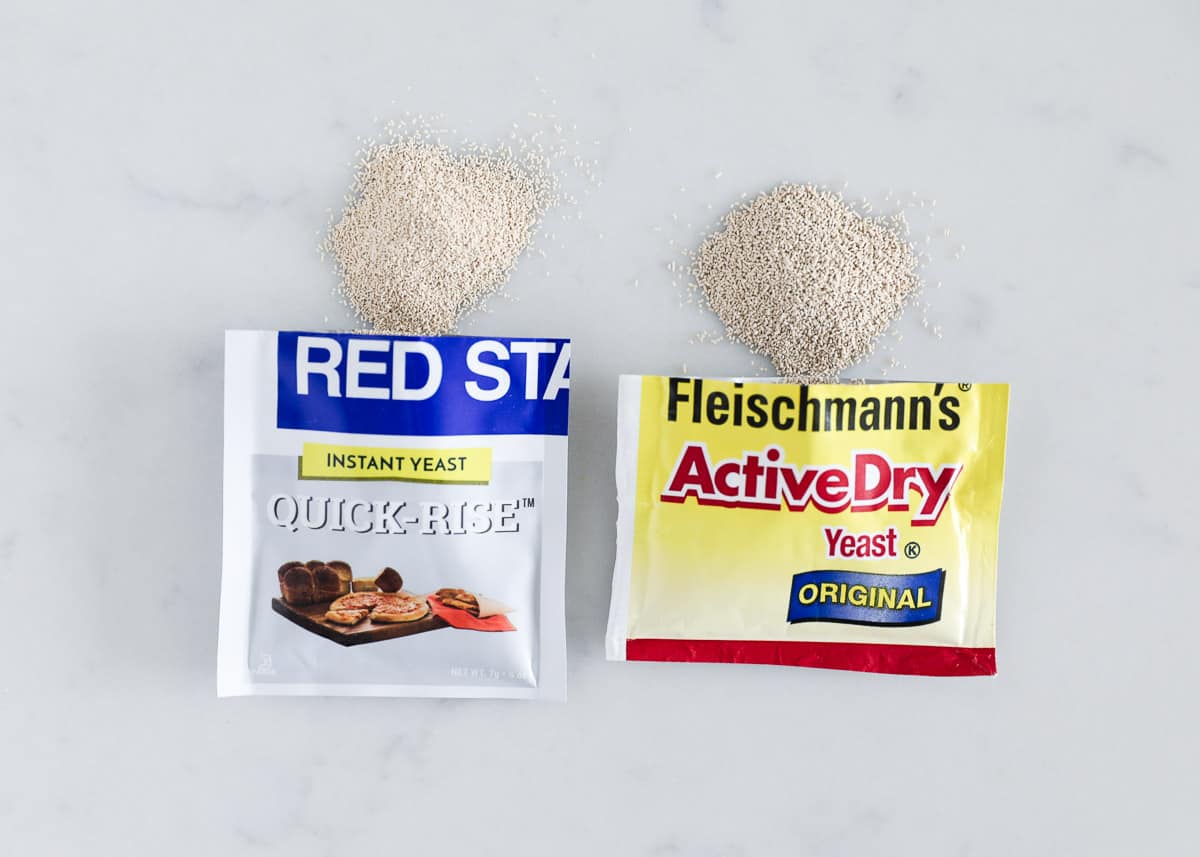
The Difference Between Active Dry Yeast and Instant Yeast
- Active dry yeast: As the name states, this is a dry yeast that is dormant until rehydrated (or “proofed”). It must be mixed with water and sugar in order to liven it up before using.
- Instant yeast: This is a rapid-rise variety that does not need to be rehydrated in water. It has finer granules than active dry and can be mixed in directly with the dry ingredients when baking.
Which variety of yeast to use?
Although instant yeast is quicker because there is no proofing time, I personally prefer active dry yeast because the proofing process helps to ensure that your yeast is alive (it will get bubbly and foamy).
Using instant yeast is great in a pinch, but there’s always a chance that it has gone bad when mixing it in with the other ingredients. You can also proof your instant yeast if you would like.
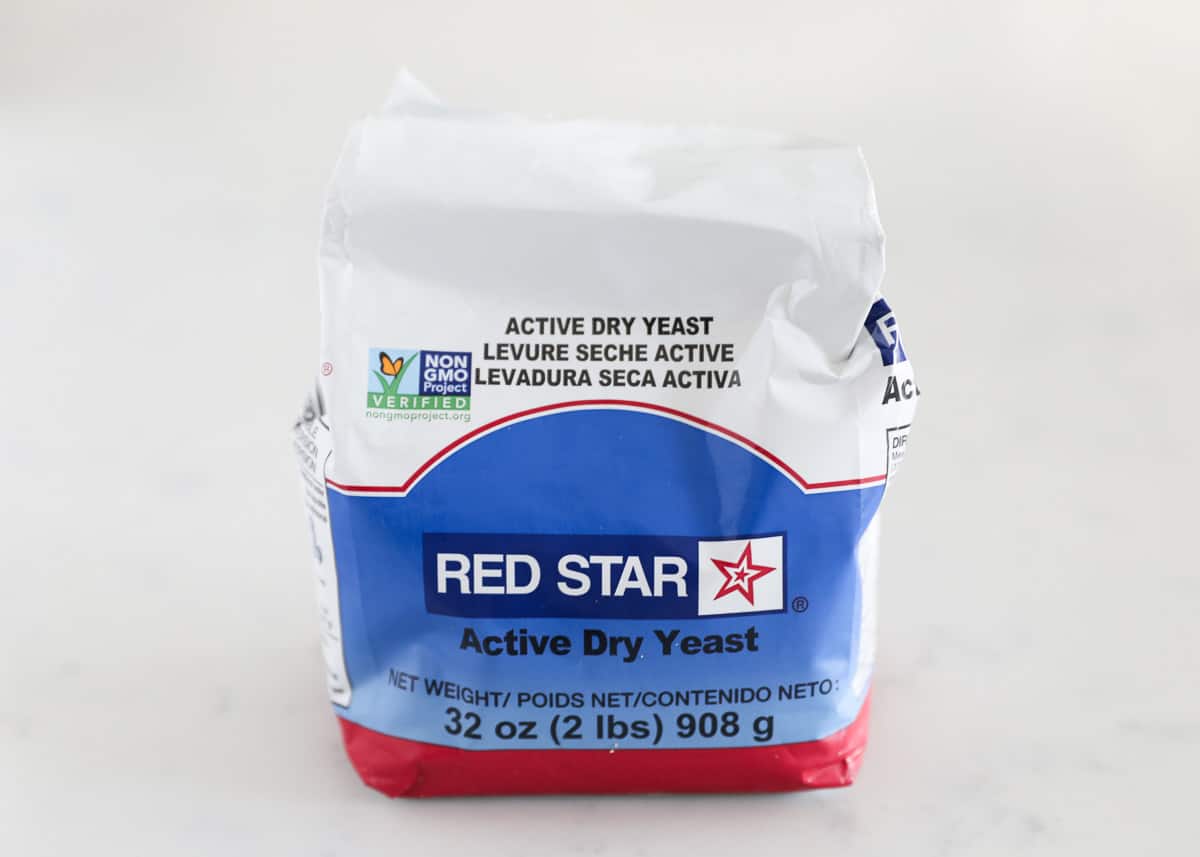
How to Proof Yeast for Baking
Before baking with active dry yeast, you will want to proof (aka bloom) the yeast to make sure it’s still active and alive. It’s very simple to proof and only takes a few ingredients. Follow the steps below.
- Combine the yeast and sugar in a small bowl.
- Pour the warm water (not too hot) over the mixture.
- Let sit until nice and bubbly. If it doesn’t foam, start from the beginning and try again. Either the water was too hot or the yeast is not fresh.
Best Temperature for Proofing Yeast
The key is to make sure you have the right temperature of water (around 105°F) and are using fresh yeast. If your water is too hot or your yeast is expired, it will not foam up. I like to use a thermometer to get the temperature just right.
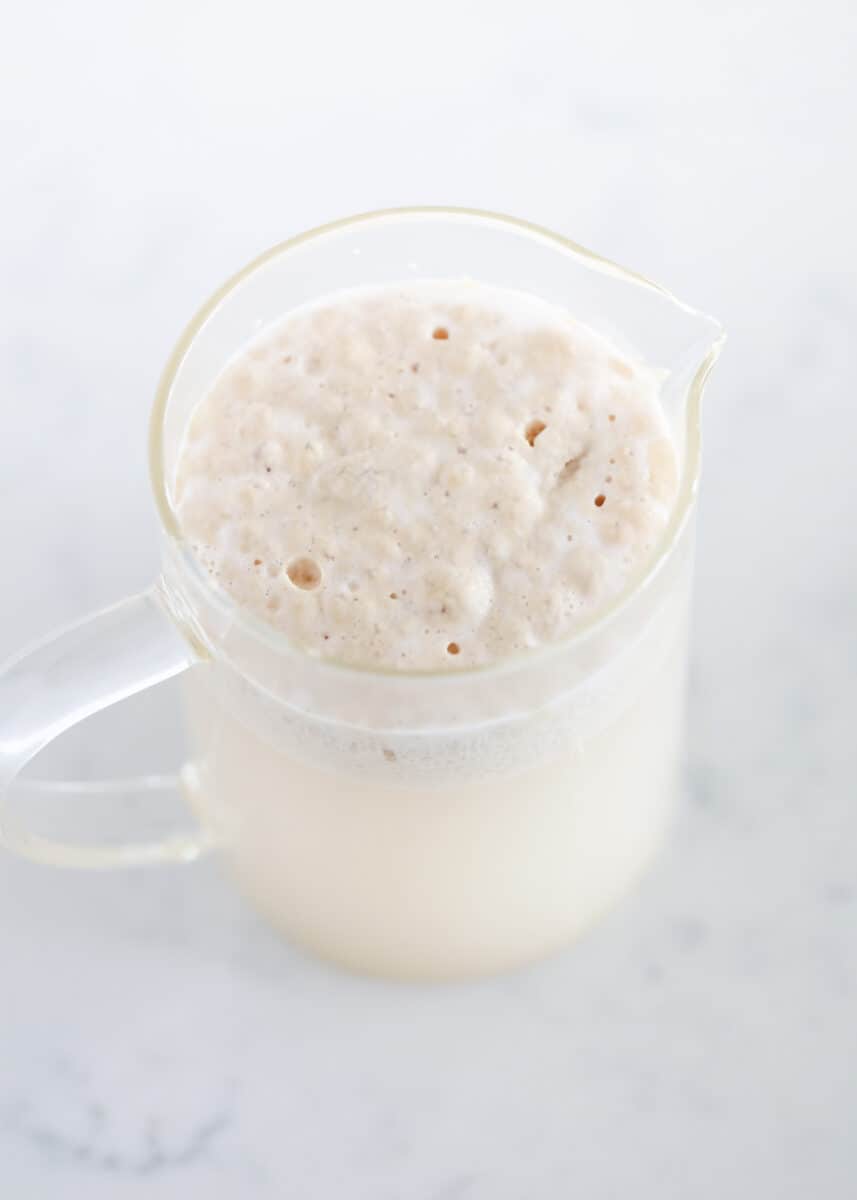
What Does Proofed Yeast Look Like?
The yeast activity is indicated by how foamy and bubbly the mixture on top is. Once it looks similar to the above picture, that means it’s active and is ready to be mixed in with your other ingredients.
Storing Yeast
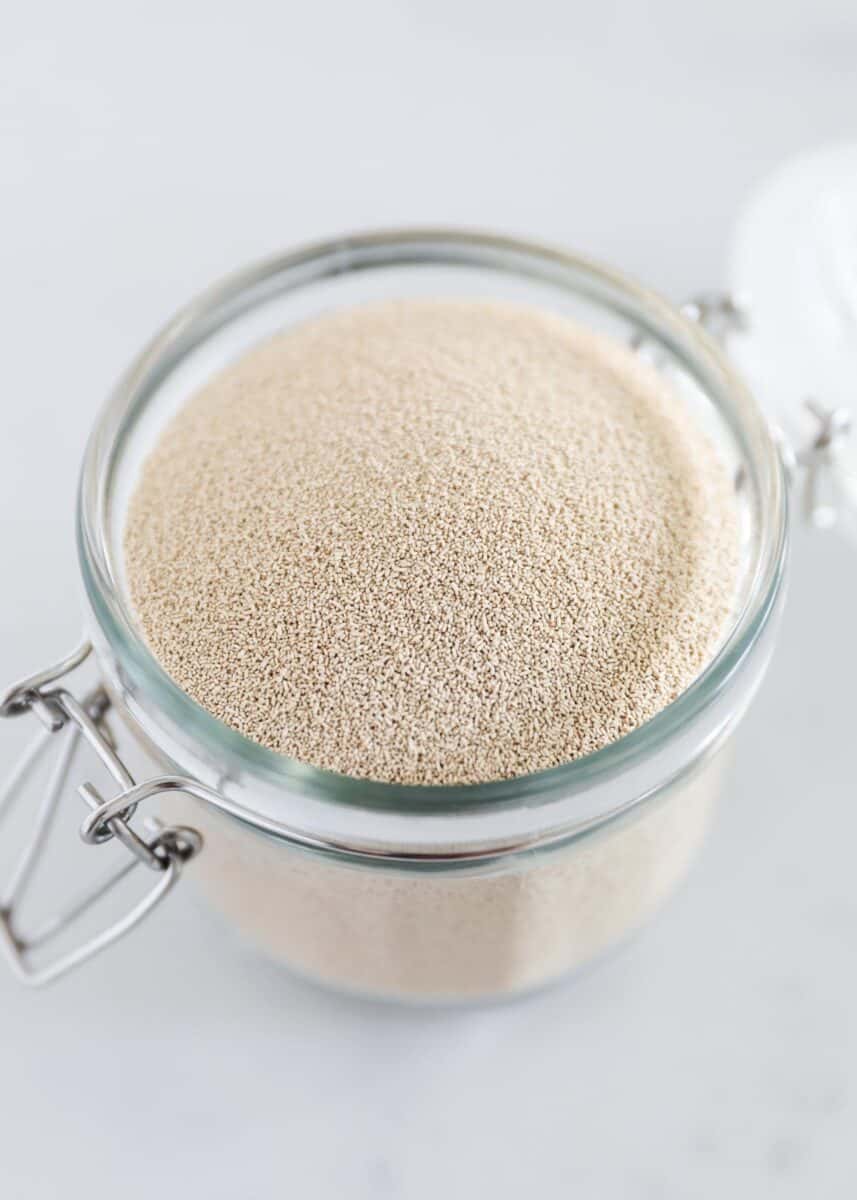
I like to store my yeast in a sealed glass jar in the refrigerator. It usually stays fresh for about 6 month to 1 year after opening when stored in the refrigerator.
You can also store active dry yeast in the freezer. When stored in the freezer, it can last 1-2 years depending on expiration date.
Baked Goods That Need to be Proofed
These baked goods should be proofed prior to baking to make sure they have the air in them that will make them light and fluffy.



How much sugar with how much yeast?
That would be recipe dependent, was there a specific recipe you are proofing the yeast to make?
How much yeast for two loaves and how much sugar must you add to the warm water?
I would check out this recipe for our favorite homemade bread (makes 2 loaves): https://www.iheartnaptime.net/homemade-bread/
very Informative! thank you!
You are so welcome, Rachel! :)