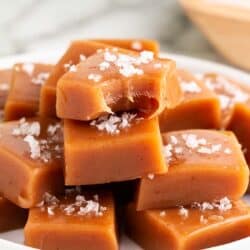
This soft and chewy homemade caramel candy recipe are a treat you’ll reach for again and again. This easy candy recipe is perfect for gifting to friends and family!
Need more candy recipes? A few favorites include rocky road candy, chocolate fudge and buckeyes!
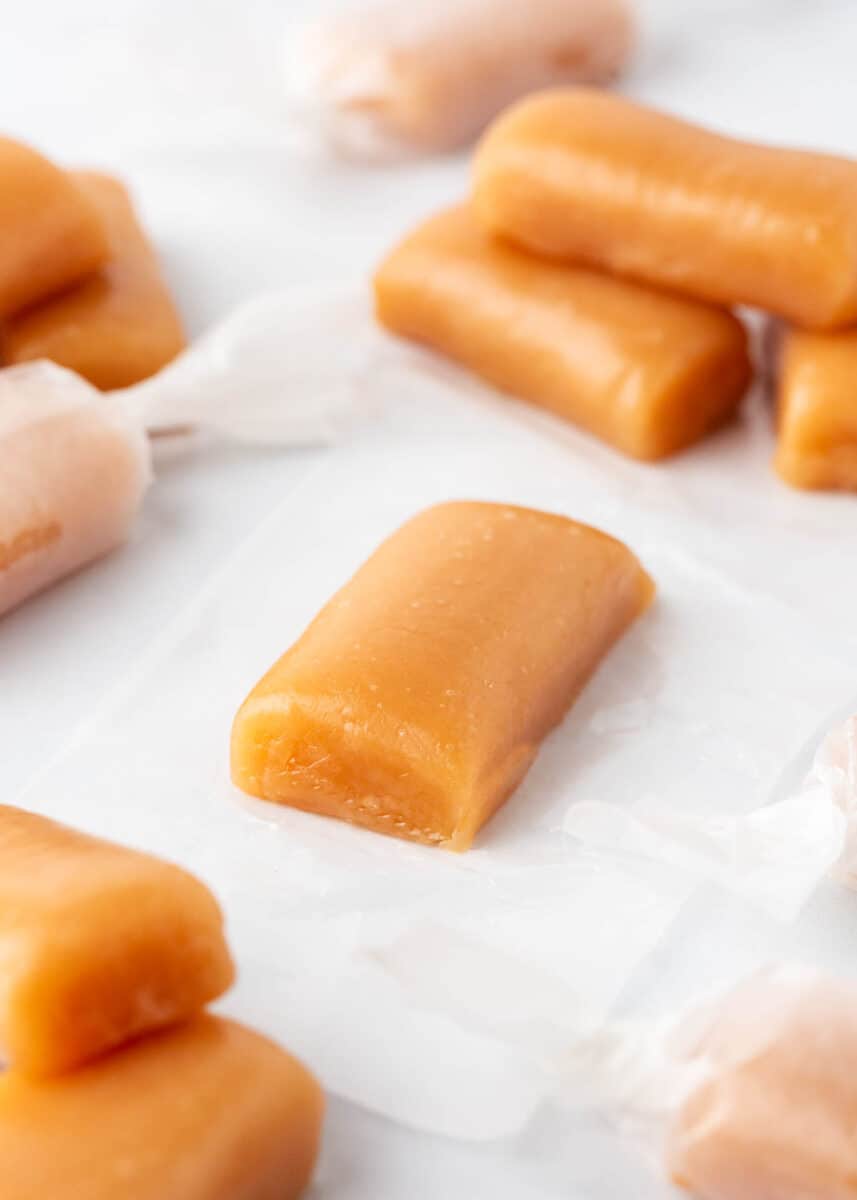
Table of Contents
Homemade Soft Caramel Candy
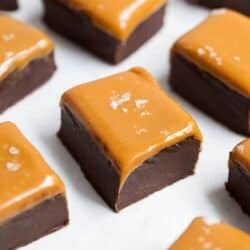
I particularly have a soft spot for anything caramel-flavored, like these Rolo cookies, my chocolate fudge caramel brownies or my homemade Twix bars.
I can still remember the first time I had a homemade caramel candy. I was hooked and have been making these soft, buttery homemade caramels ever since!
Why You’ll Love This Recipe
- Perfect texture: This caramel candy recipe has incredible flavor that is melt-in-your-mouth delicious. It’s buttery, chewy and the best soft caramel!
- Easy to make: The best caramels take a little patience but the ingredients and steps are easy to follow. For an even easier option, though, make these microwave caramels!
Ingredients
Making homemade caramel candy does take a bit of time, but the ingredient list is relatively short and simple.
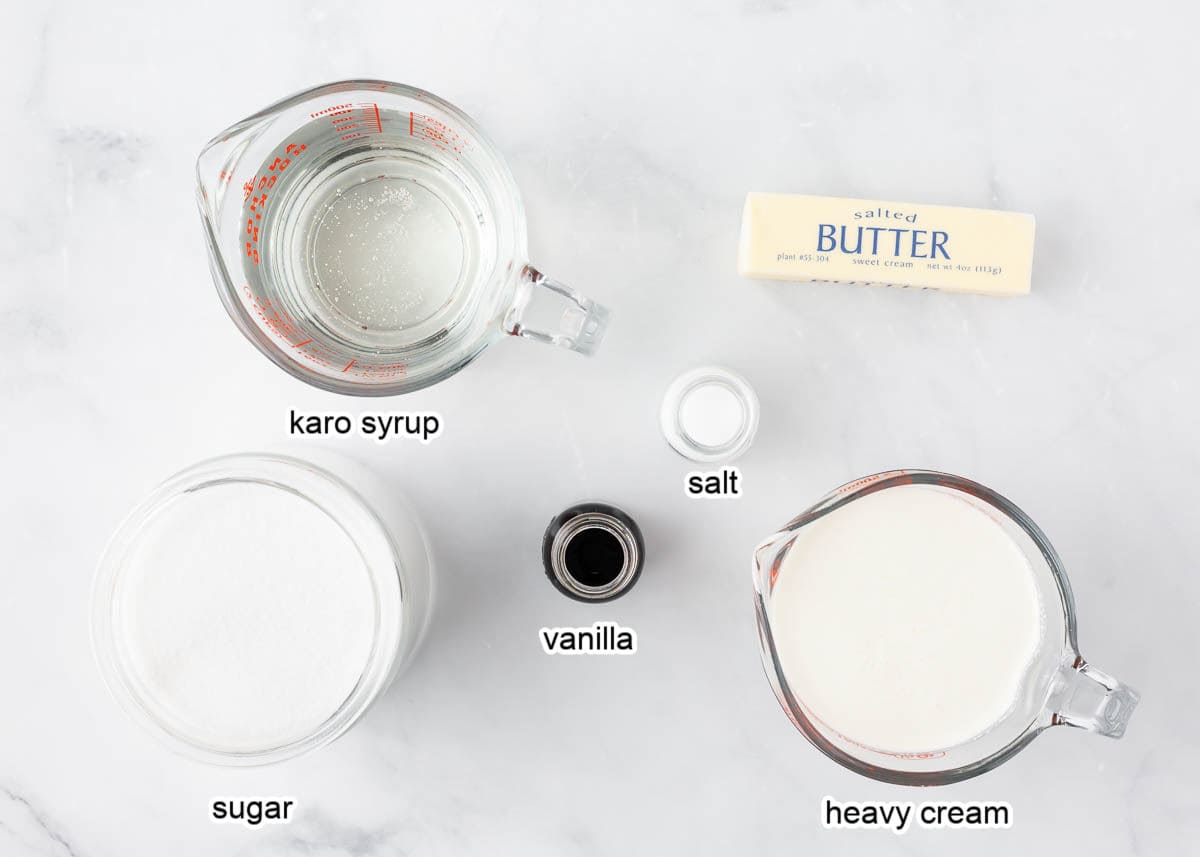
Find the full printable recipe with specific measurements below.
- Sugar. Make sure to use white sugar for this recipe. If you use light brown sugar, you’ll end up with butterscotch, not caramel!
- Corn syrup. Although some people say you can use either dark or light corn syrup, I prefer to use the light syrup. It has a more mellow flavor, whereas the dark one has a molasses taste.
- Salt. Any type of salt should work fine. However, I am a little partial to sea salt, especially with caramel!
- Butter. This helps give the caramel that warm, rich flavor. Make sure to use salted butter. I like to add it when it’s room temperature.
- Heavy whipping cream. Heavy cream is best for a homemade caramel recipe. You can find this in the refrigerated dairy section, next to the half and half.
- Vanilla extract. If you have been hoarding away your really good vanilla extract, use it for these homemade soft caramels! You don’t need a lot (1 tsp), but it’ll go a long way.
How to Make Homemade Caramel Candy
Start by adding sugar, syrup and salt in a large saucepan over medium heat. Stir until mixture is boiling and sugar crystals have dissolved completely. Slowly mix in the cream and keep stirring (don’t let it stop boiling).
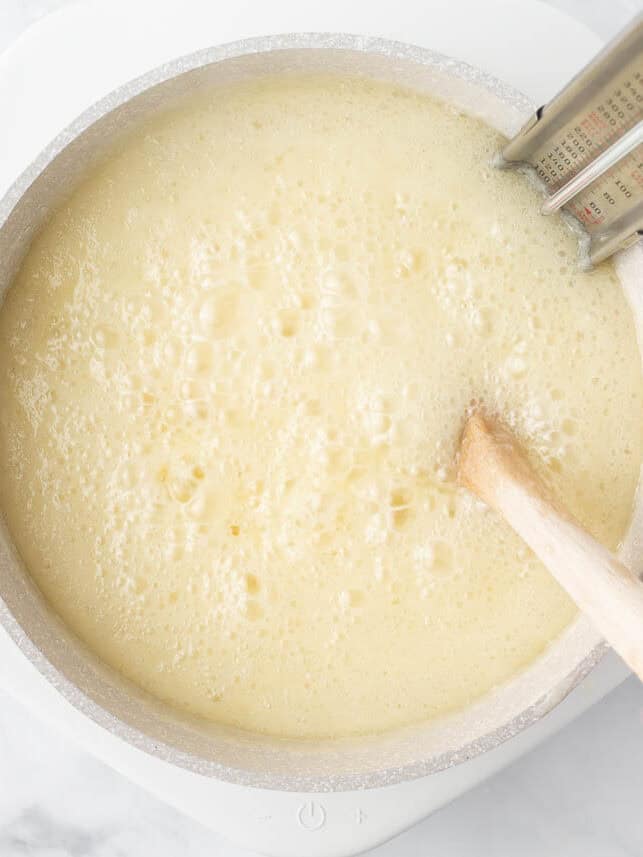
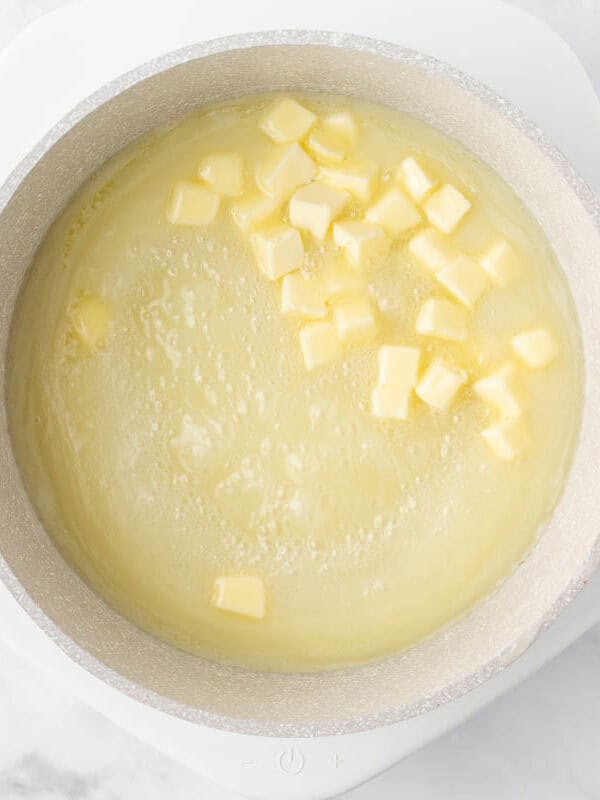
Then mix in the butter and stir it into the mixture. Keep mixture at a boil for about 15-20 minutes, stirring constantly.
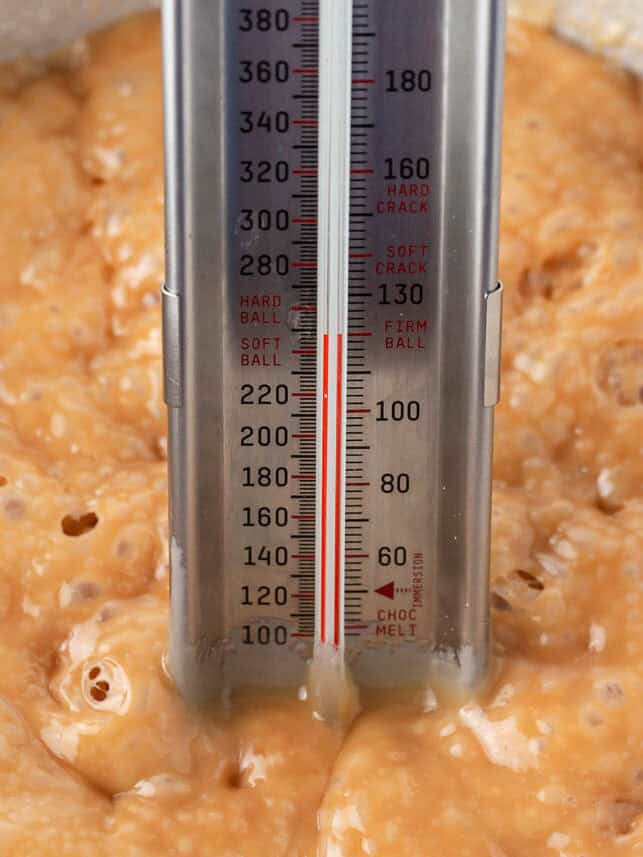
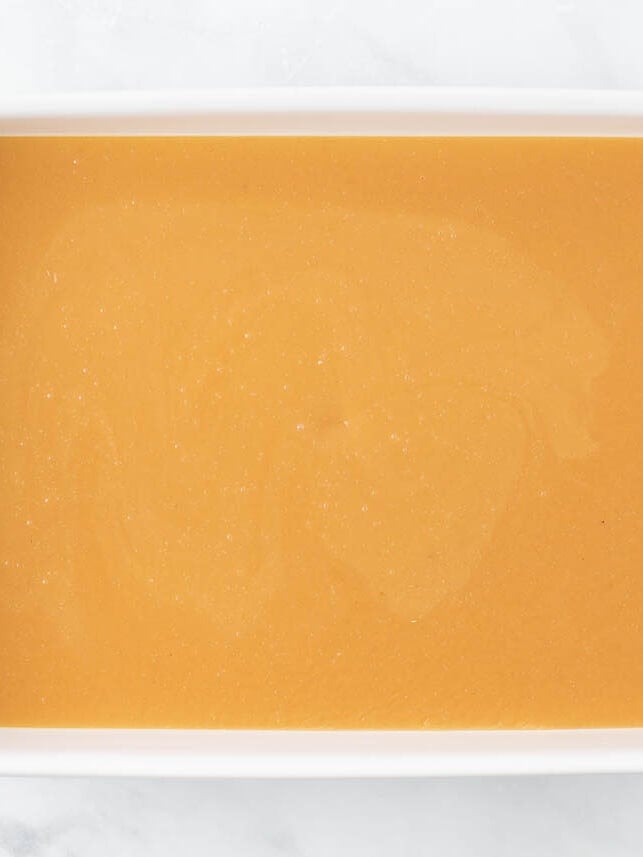
Keep a close eye on the temperature to see when it reaches the soft ball stage. Once it reaches 245°F immediately remove caramel sauce from heat and pour into a buttered 9×13″ baking dish.
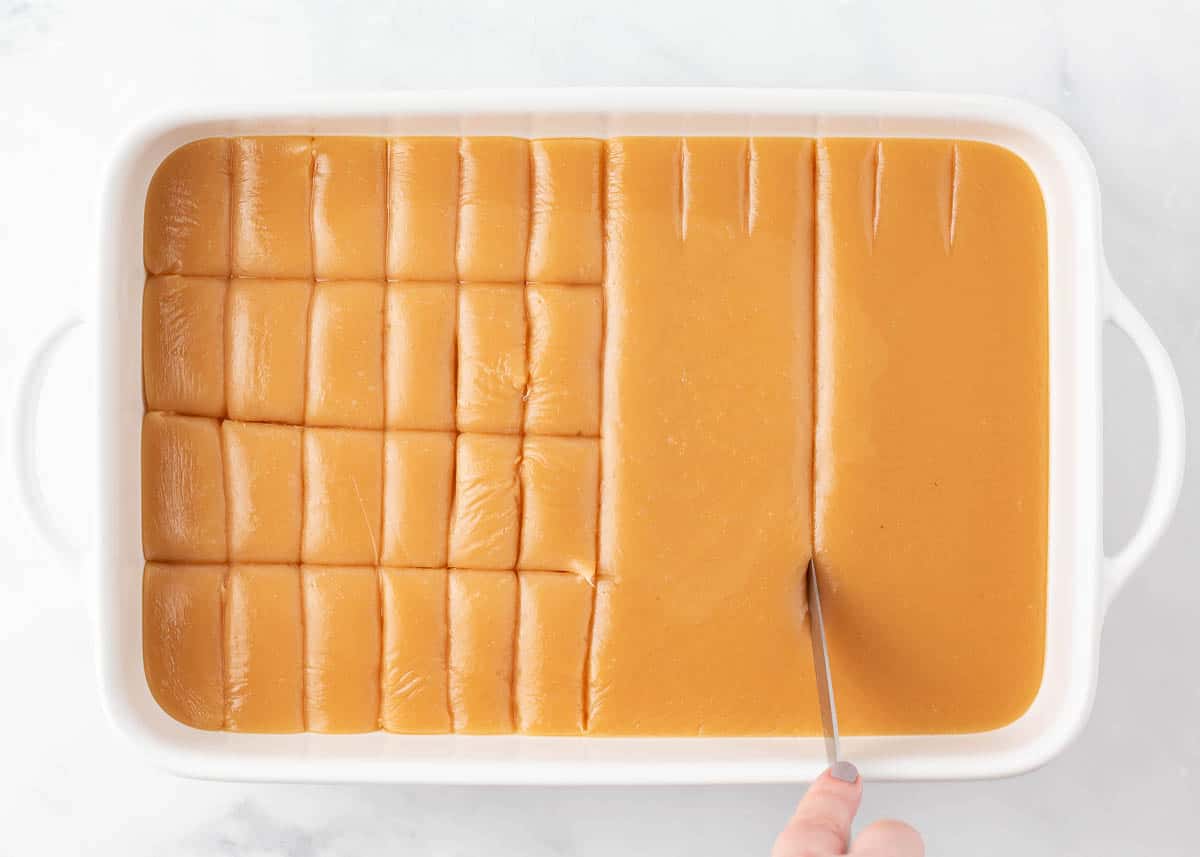
Allow the caramel to sit on the counter until it hardens (preferably overnight). Once the caramel candy has set, use a buttered or plastic or sharp knife and begin cutting. For a rectangular shape, cut into 12 vertical rows and then cut 4 caramels from each row.
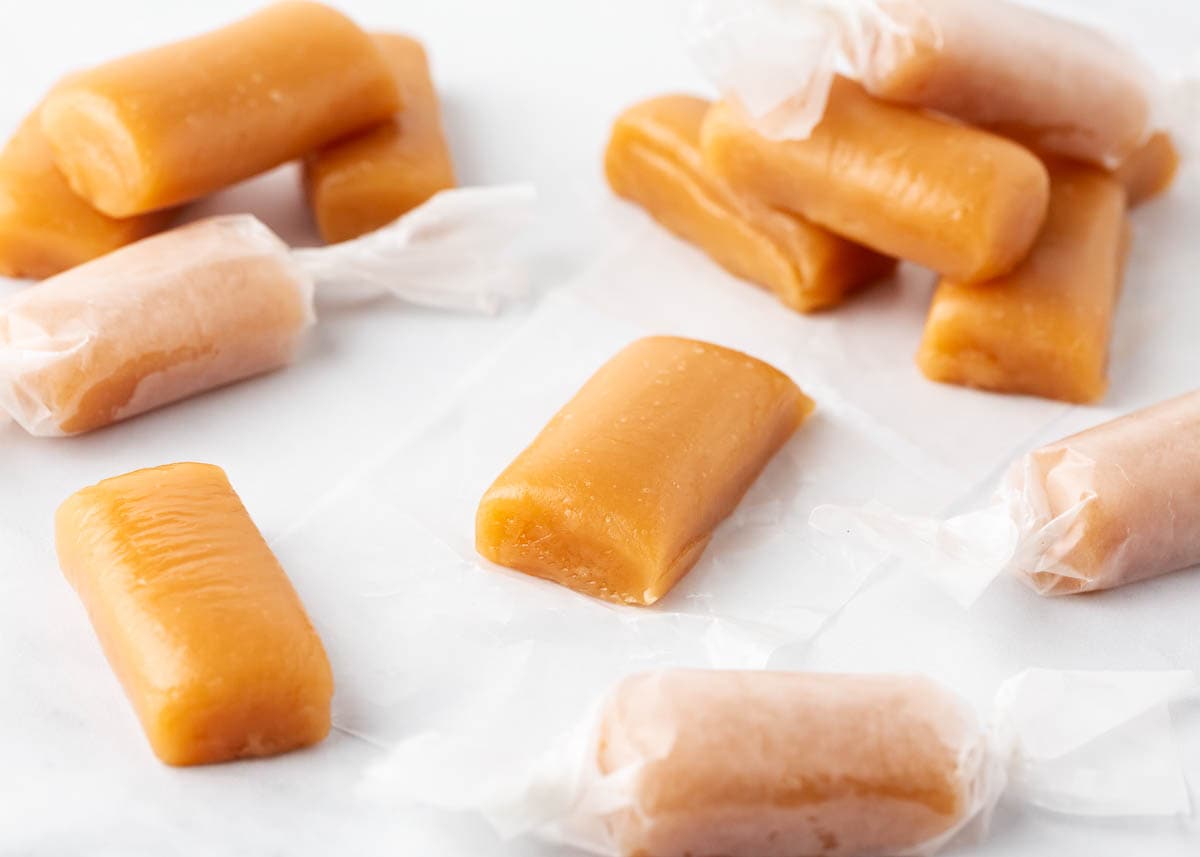
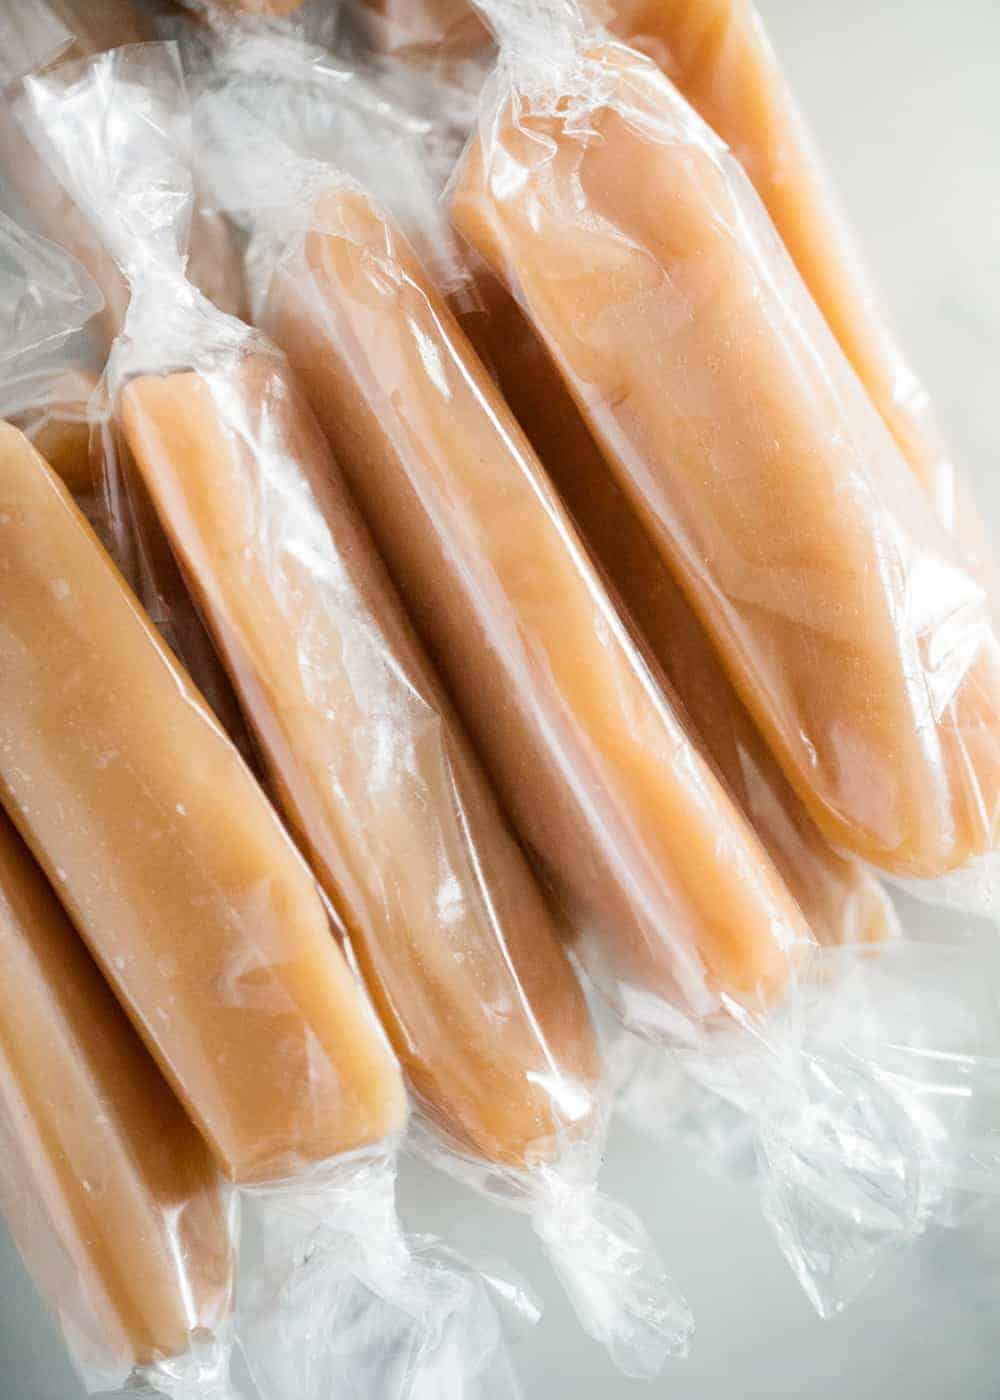
Using wax paper, candy wrappers or cellophane, cut into 3×6-inch squares and wrap each piece of caramel candy inside similar to a tootsie roll.
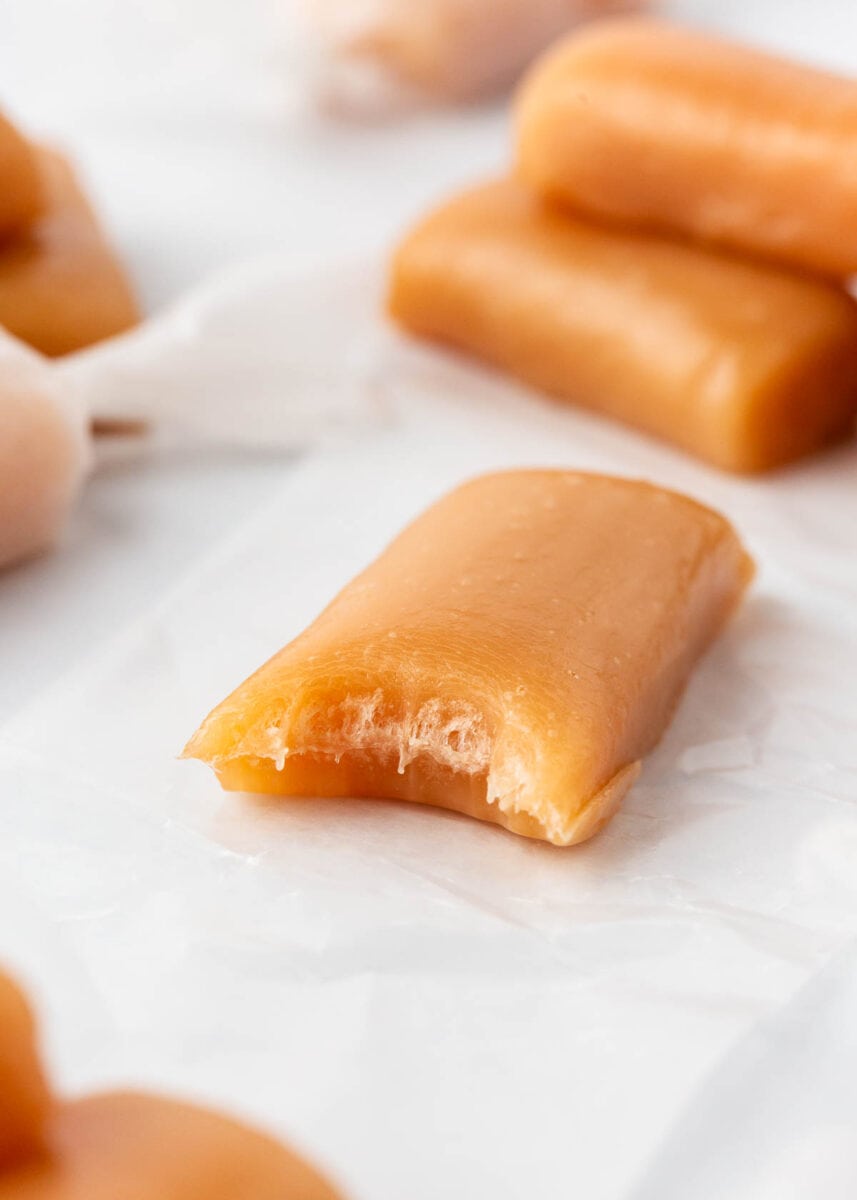
Homemade Caramels Tips
- Be generous when buttering your pan. The last thing you want is to finish the recipe and have half of your caramels stuck to the baking dish!
- Stir continually. You will definitely get your arm workout in while you make this recipe! It’s important to stir constantly so your caramel doesn’t burn or get stuck to the pan.
- Have a candy thermometer on hand. You want the mix to get to 245 degrees f before it’s removed from heat. Don’t let it get any hotter than this or it will burn!
- Test to see if the caramel is done. Even with a candy thermometer on hand, you’ll want to make sure the soft caramel mixture is ready. Scoop out a teaspoon of the mixture from the pan, then drop it into a glass of ice water. If it forms a soft ball, it’s done. If not, keep it on the heat for another minute or so, then do cold water test again.
- Optional topping: After your caramel candy has set for 20-30 minutes sprinkle with flakey sea salt then let set completely. After caramels have set completely, you could also drizzle with chocolate if desired.
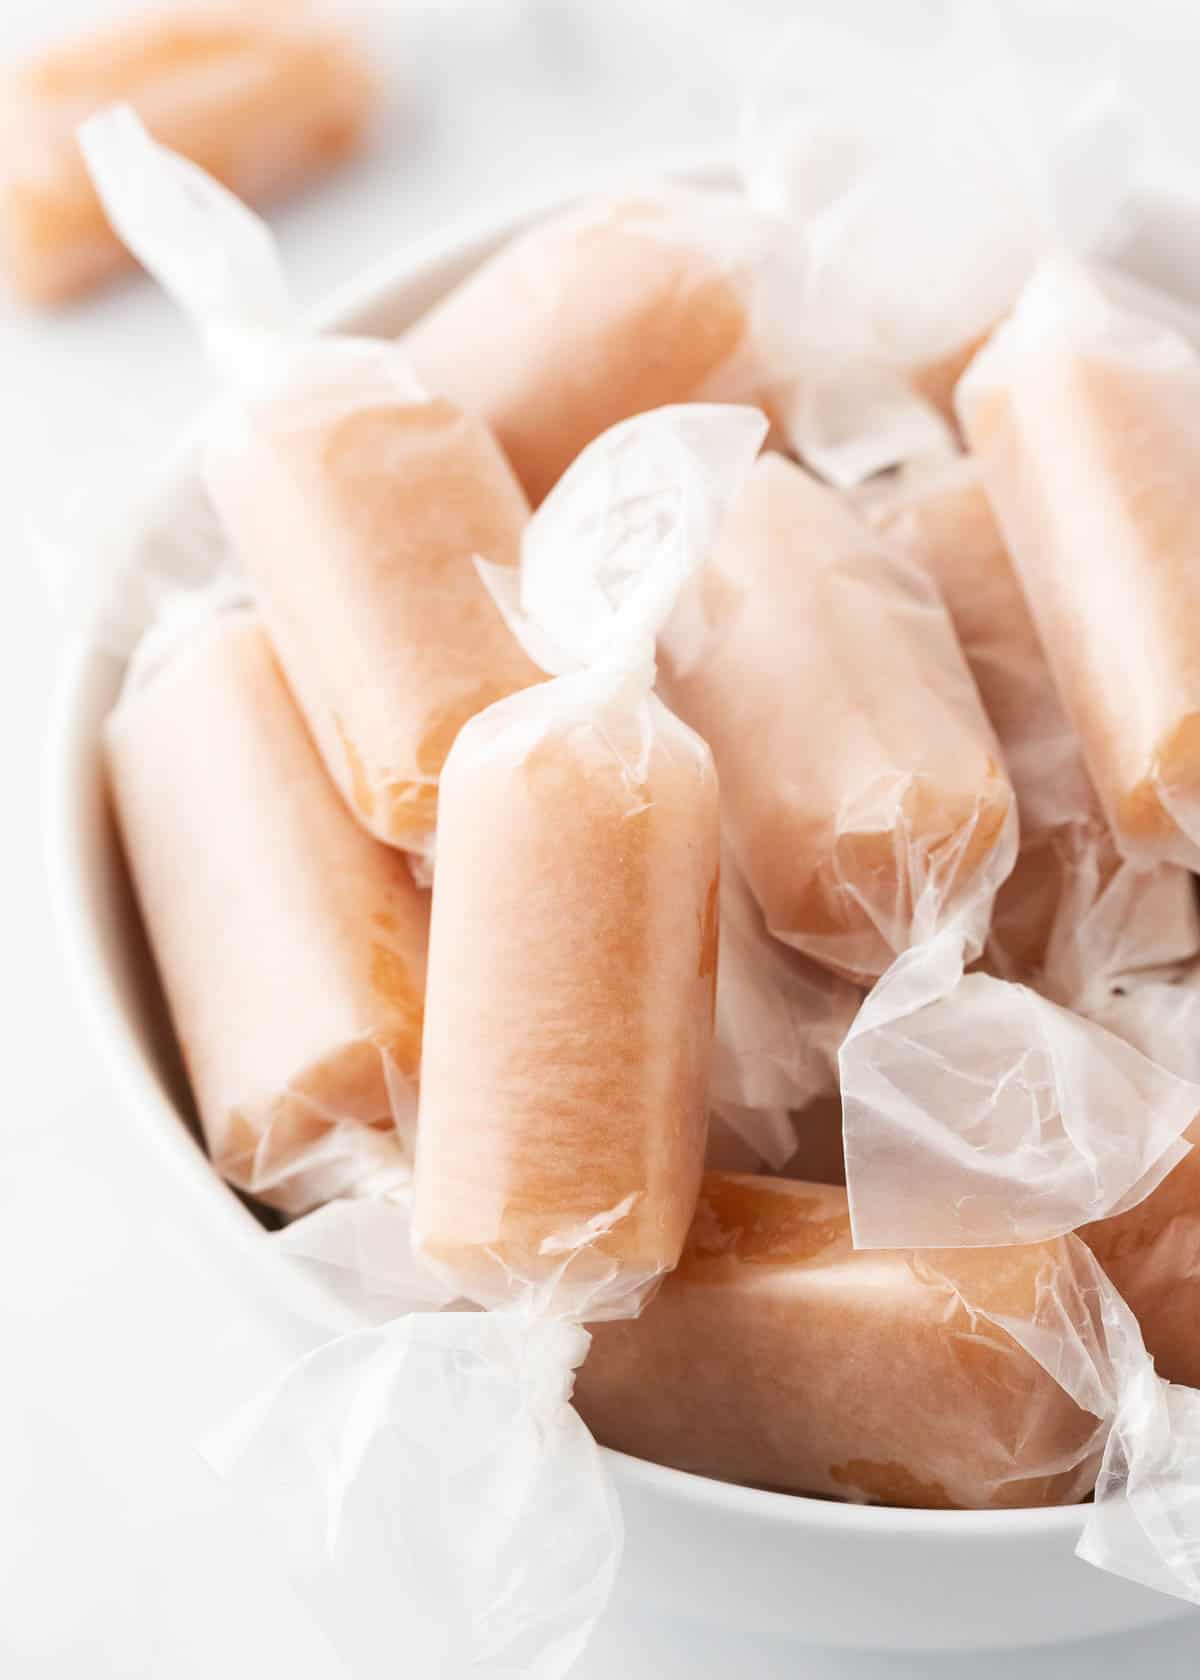
Other must make holiday treats are this homemade hard candy, peanut brittle and this recipe for Christmas crack!
More Candy Recipes
Browse allHUNGRY FOR MORE? Subscribe to my newsletter and follow on Facebook, Pinterest and Instagram for all the newest recipes!
Caramel Candy Recipe
Video
Equipment
Ingredients
- 2 cups granulated sugar
- 2 cups light Karo syrup
- ¼ teaspoon table or fine salt
- 2 cups (1 pint) heavy whipping cream , at room temperature
- ½ cup salted butter , cubed
- 1 teaspoon vanilla extract
Instructions
- Prep. Line a 9×13-inch baking dish with parchment paper or generously butter and set aside so it is ready. Fill a small glass with ice water.
- Combine ingredients. In a large, stainless steel pot, whisk together 2 cups sugar, 2 cups Karo syrup, and 1/4 teaspoon salt over medium-high heat until bubbling and the sugar has dissolved. In a very slow trickle, whisk in 2 cups cream, being careful not to stop boiling. Whisk in 1/2 cup butter.
- Boil. Whisking constantly, keep the mixture at a boil 15 to 20 minutes, or until the temperature on a candy thermometer reads 240°F to 245°F (firm ball stage). To be certain the caramel is ready, drizzle 1 teaspoon into the ice water. Roll it between your fingers and if it forms a firm (yet pliable and little sticky) ball, it’s ready. If it’s still liquid, keep boiling and whisking.
- Set overnight. Immediately remove from heat and whisk in 1 teaspoon vanilla. Then pour into the baking dish. Don't let it overcook or the caramels will be too hard. Let sit on the counter to cool and until set. Usually, I will make in the evening and let sit overnight.
- Cut and wrap. Once set, use a buttered or plastic knife to cut into 12 vertical rows, Cut 4 caramels from each row. Cut wax paper into 3×6-inch squares and then wrap the caramel inside. Caramels will stay soft for 2 to 3 weeks.
Notes
Nutrition
Nutrition provided is an estimate. It will vary based on specific ingredients used.
Did you make this recipe? Don’t forget to give it a star rating below!
FAQs
If you overcook the caramels or the pan gets too hot, they can become hard. Keep a close eye on the caramel to make sure it doesn’t burn or overcook.
Make sure to wrap the homemade caramels in wax paper and store them in a covered container.
If your caramels become too hard, you can try placing them back in the saucepan and add a few Tablespoons of water and stir until the temperature reads 244°F.
If they are too soft, then the mixture didn’t get hot enough. Place the mixture back in the saucepan with a 2 Tablespoons of water and cook until it reach 244°F.
Wrapped caramels will stay soft in a covered containers at room temperature for about 2 weeks.







Wow these really do look amazing!! I love chewy caramels.
How long will these last? Some caramels change texture after a few days and aren’t as good….
They should stay fresh for up to 3 weeks at room temperature. :)
DELICIOUS! Great gift at Christmas and delicious addition to dessert trays .
Thank you! So glad you enjoyed these! :)
Great ideas just getting them done thank you
There are a lot of recipes for caramels, but these are the best ones. I’ve tried some recipes that call for brown sugar or sweeten-condensed milk. Those recipes take less time to caramelize, but they don’t taste as buttery and as light as caramels made from white sugar and evaporated milk.
I was about t try this recipe and I noticed there is no butter in the recipe. Is this correct? All of the recipes I’ve tried (so far) had butter. Just want to make sure I’m not missing something! Thanks – Donna in CT
No butter! The key is to make sure it hits the right temperature, between 232 and 240 – the ice water trick is the main key. :)
The recipe says 1/2 cup of salted butter cubed
I made these yesterday because all the children in my house are huge caramel fans. I had no idea what I was getting myself into being that I have never made them before. But they turned out great and they were not hard to make at all. Thanks for the recipe it’s definitely one that will stay in our family for a long time. :)
I’m so glad this recipe turned out so well for you! This recipe has been in my family for a long time and one of our favorite treats! Thanks for your comment Anne. :)
These are delicious!!
These are so good! love your recipes
If you have trouble with these your problem could be your altitude. I’m at 5,000 feet and have to adjust the temperature. Water boils here at 200° instead of 212°. Check your phone book and call your local co – operative extension at a university for help to determine the correct temperature. They help cooks with issues.
I am really looking forward to trying this recipe. I was at a local craft faire recently and a vendor was selling homemade caramels for $10.00 for 12 pieces. She was doing a gangbusters business.
I hope you do try them, Jacque! They are so much cheaper to make!
Did you just leave them out on the counter or did you put them in the fridge for the 12+ hours to set up?
Just out on the counter! :)
Your recipies amazing and easy
Thank you! :)
These are delish! Thanks for sharing the recipe. Pinned!
Curious if you know what the difference in taste is with usin white vs brown sugar? I have been making caramel
I have been making caramel for years and my recipe
Hi Stacey! I haven’t tried my caramel recipe with brown sugar. I’ve heard that some baked goods will have a richer flavor if you substitute brown sugar. It also might change the taste and color a bit!
the one I make uses brown sugar and sweetened condensed milk instead of cream- it is so buttery and good….my coworkers beg me for it :-); I did make your apple cider caramels (my first time using cream and white sugar in the caramel…I couldn’t taste a significant difference although the caramel seemed to take a lot longer to cook). Thx for sharing your recipes :-)
I just love Caramel , love these , thanks for sharing
I made this recipe last night and doubled it. the only thing I changed was cooking until 240 degrees. they sat up perfectly. Thanks for the amazing recipe
I’m glad you liked this recipe! My gramma has been making it for years, it is our favorite!! Thanks for stopping by to leave a comment about how it went! :)
Another good use for the other half of the can of evaporated milk is to cut up some fresh figs, and sprinkle sugar over them, then pour the evap. milk over it. AMAZING. My great grandma fixes it for us all every year when the figs are ripe.
Sounds yummy!! Thanks for the recipe idea Britt! :)