Homemade English muffins with legendary nooks and crannies are a simple recipe with easy-to-follow instructions and minimal proofing time. Whip up a batch for brunch!
If you love to make bread recipes, also try these favorites including homemade bagels and homemade hamburger buns!
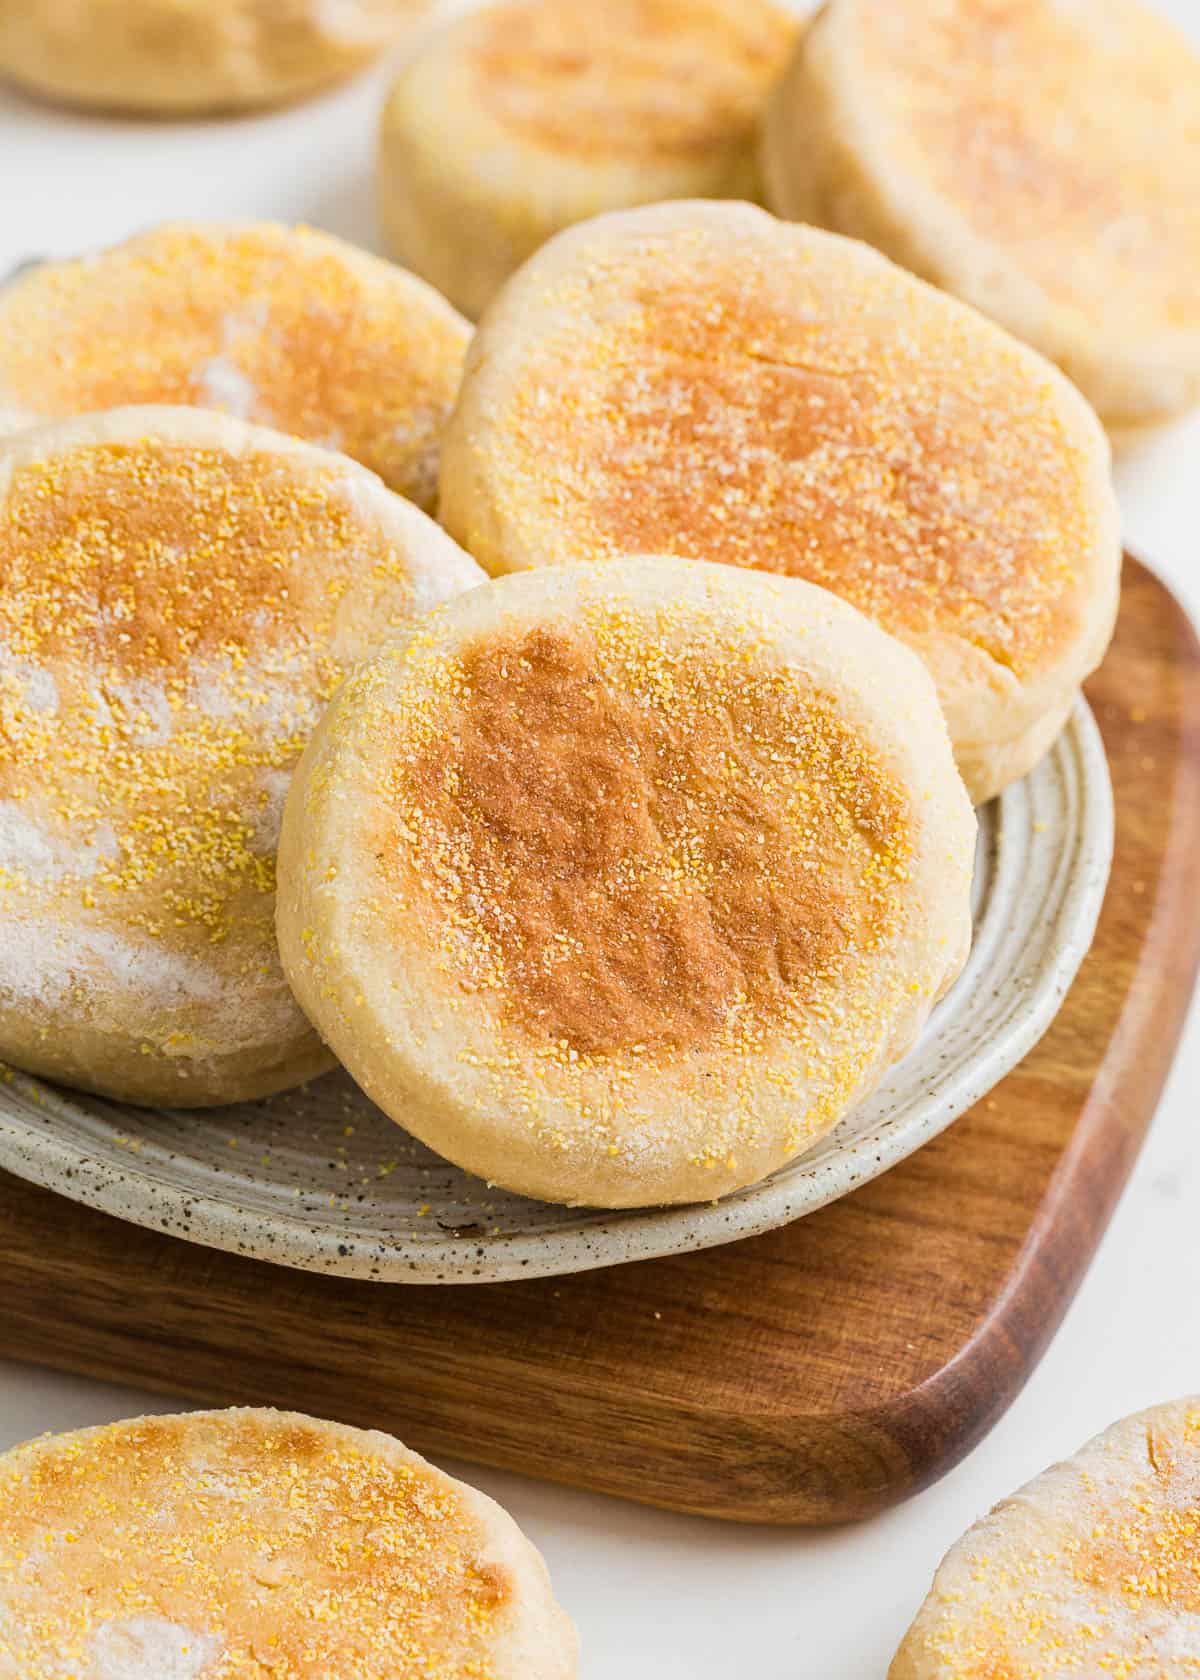
Table of Contents
The Best English Muffins
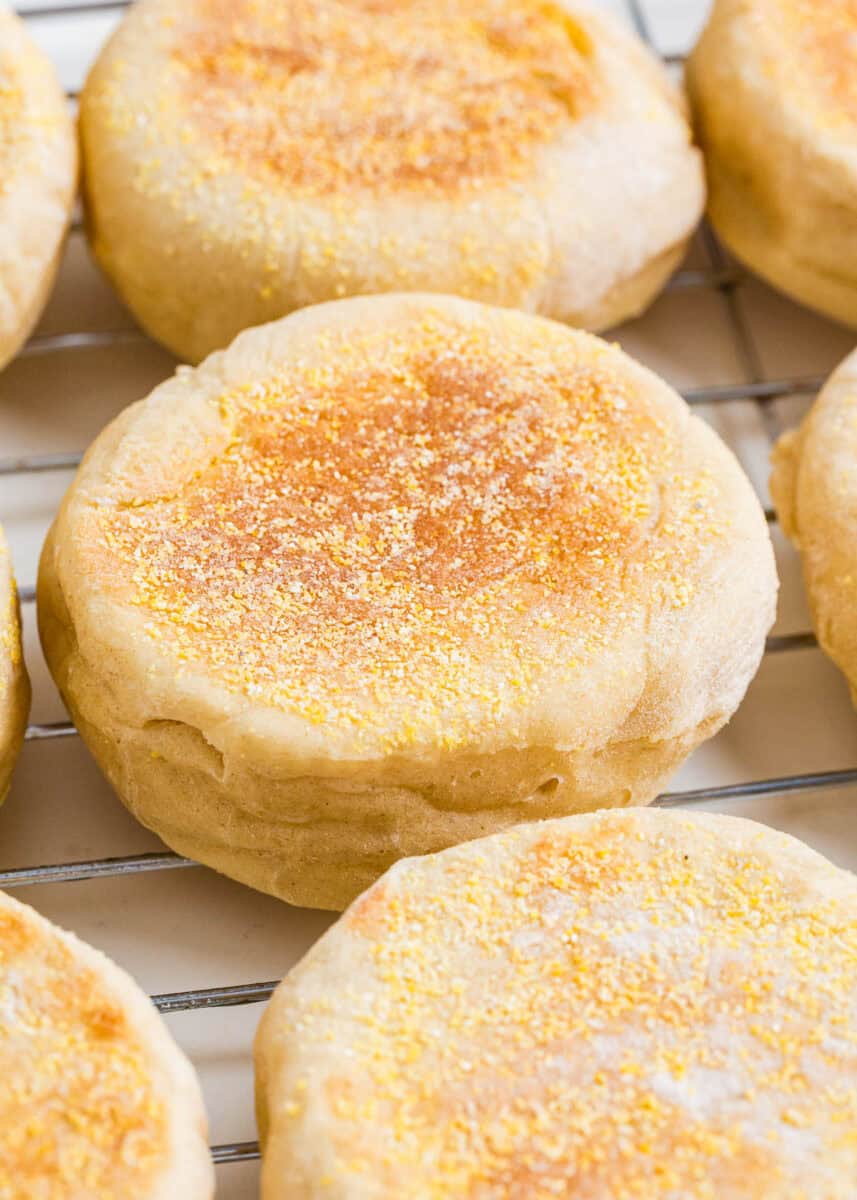
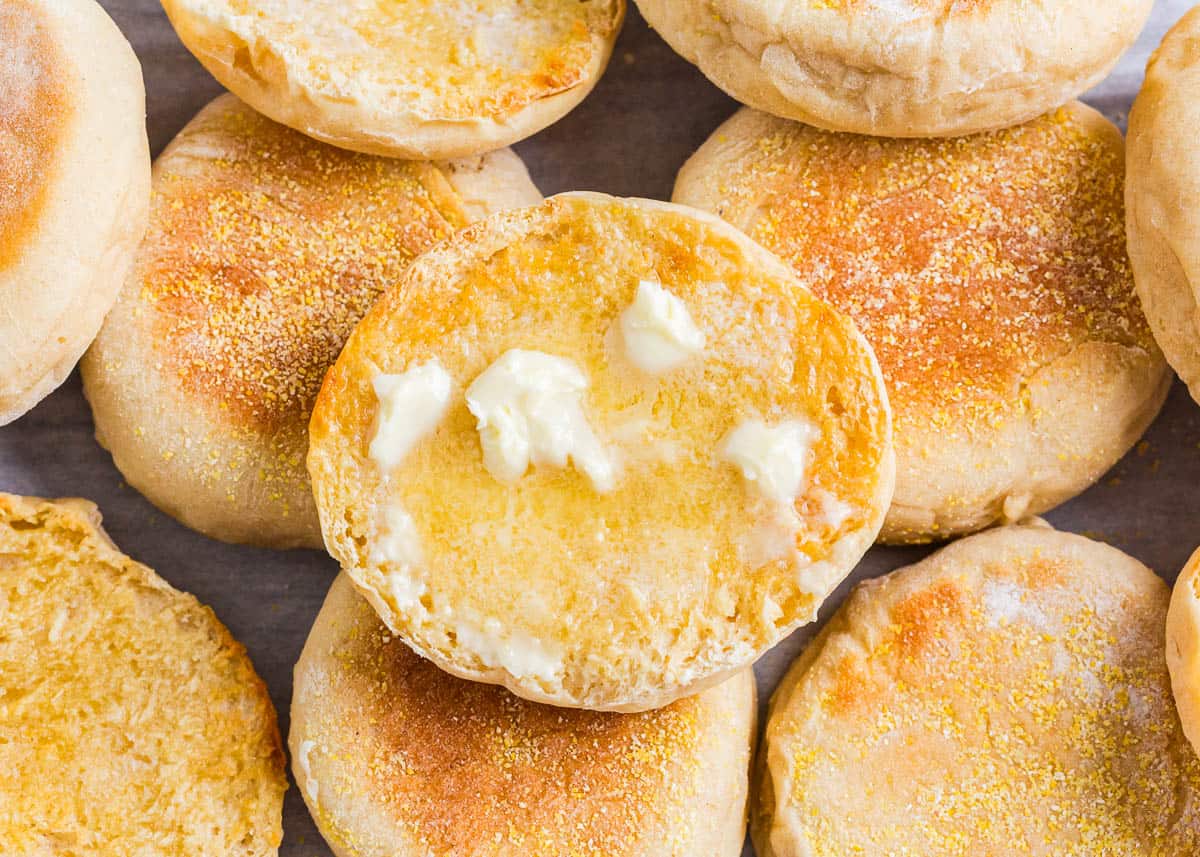
The best English muffins are not baked, but cooked on a griddle until golden and perfectly fluffy with air pockets. Whether for classic eggs benedict, or toasted with strawberry jam or cinnamon butter, everyone needs an easy recipe like this one!
Soft, chewy English muffins are a breakfast classic but also can be used for everything from mini pizzas to breakfast sandwiches and toast.
Recipe Ingredients
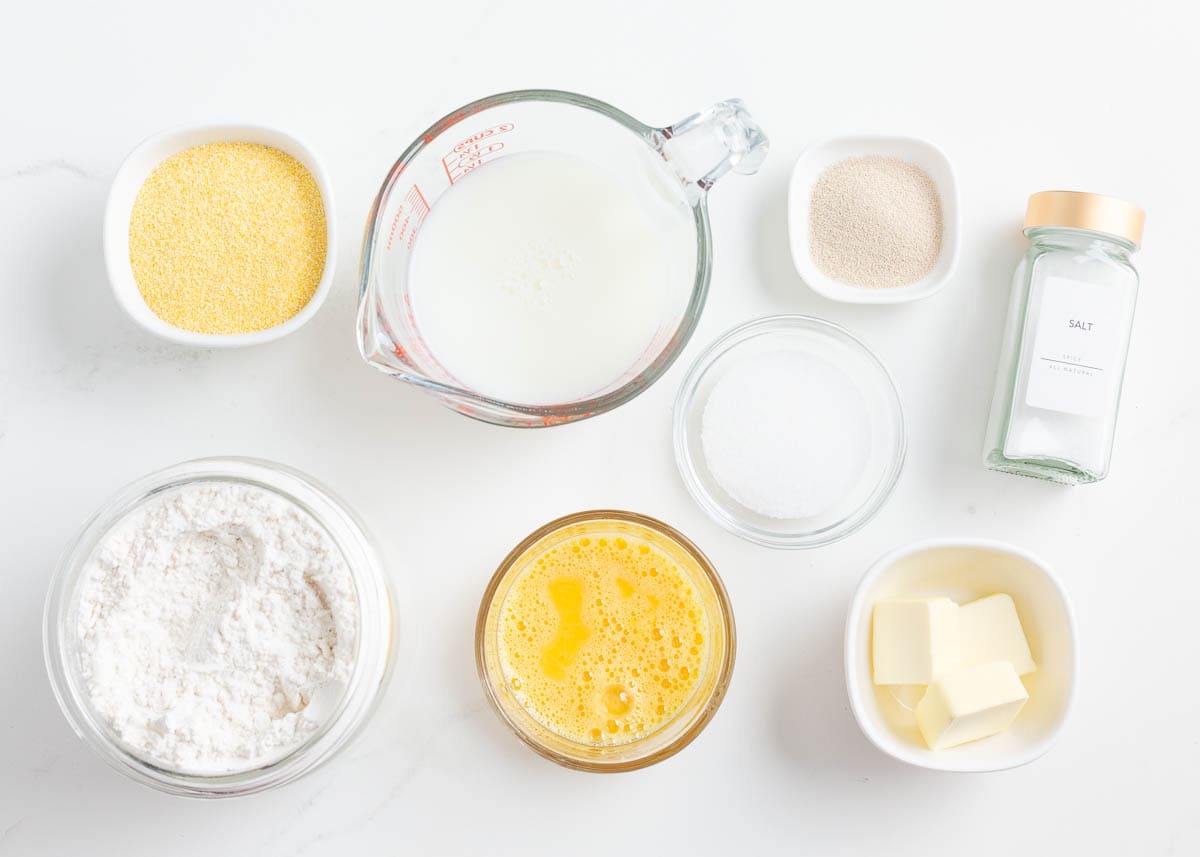
Find the full printable recipe with specific measurements below.
- Milk: Warm milk is what helps activate the yeast. It should be warmed to 105°F. Any less, it won’t foam, and any higher, it’ll kill the yeast.
- Instant yeast: Instant yeast doesn’t technically need any initial proofing, but I still like to!
- Butter: We’re adding salt as a separate ingredient, so unsalted butter, melted, works just fine.
- You’ll also need sugar, all-purpose flour, salt, a large egg, and cornmeal for dusting.
How to Make Homemade English Muffins
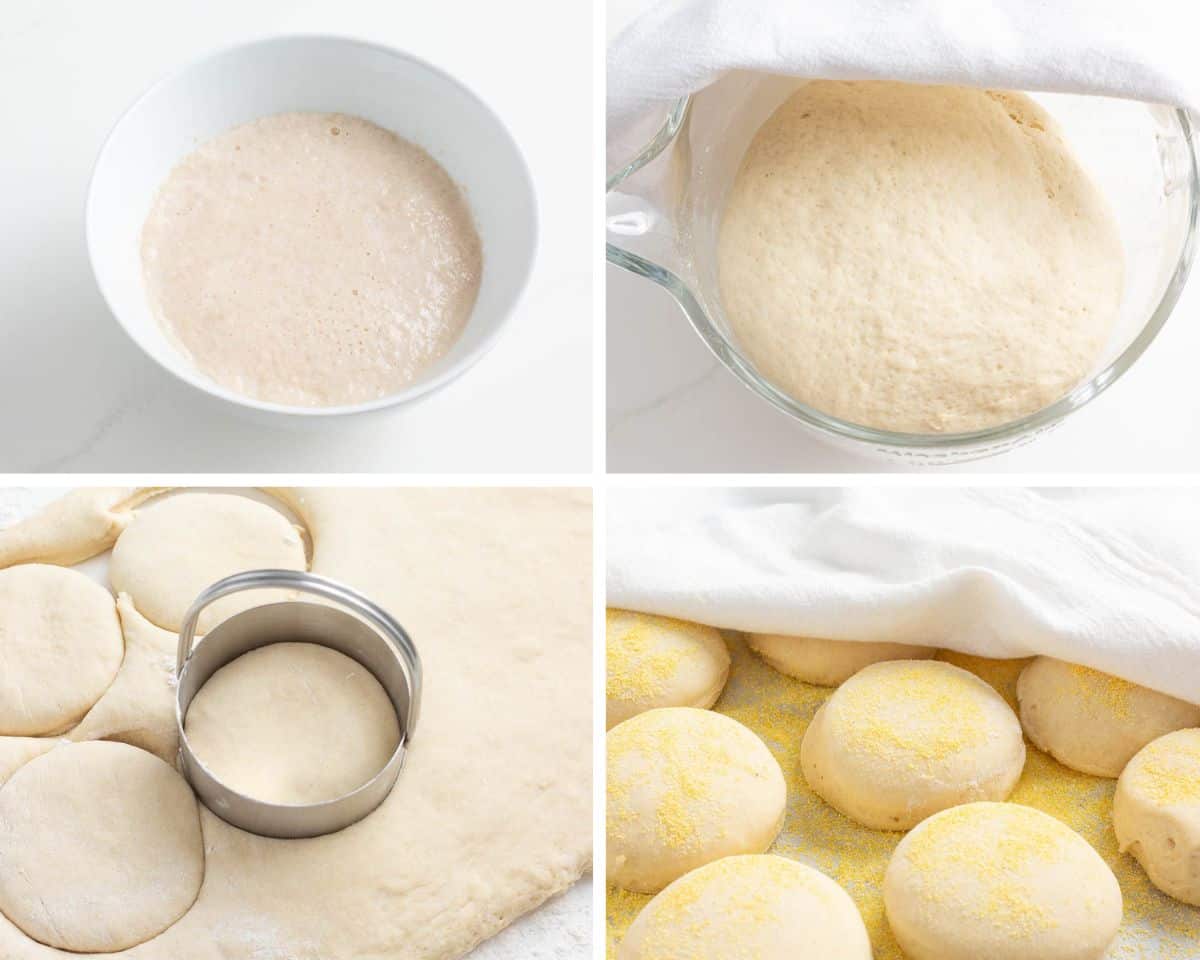
- Activate the yeast until foamy. In a separate large bowl, use a stand mixer or whisk to mix the flour and salt, then add the milk and yeast mixture, melted butter, and egg.
- Knead the dough. Use the dough hook or whisk to knead the dough for a couple of minutes. It will be soft and sticky, but it will start to pull away from the sides once ready. Cover bowl and allow to rise for about half an hour to an hour in a warm, draft-free area.
- Cut out circles. Transfer the dough onto a lightly floured work surface. Press the dough out into a 1-inch-thick rectangle. Use a 3-inch round cookie cutter or drinking glass to cut disks out of the dough.
- Sprinkle with cornmeal and rise. Place the dough circle onto a baking sheet lined with parchment paper and sprinkled with cornmeal. Once you’ve arranged your disks on the tray, sprinkle with more cornmeal on top. Cover again with a towel and let them rise for another 30-45 minutes.
How to Cook (No Oven Needed)
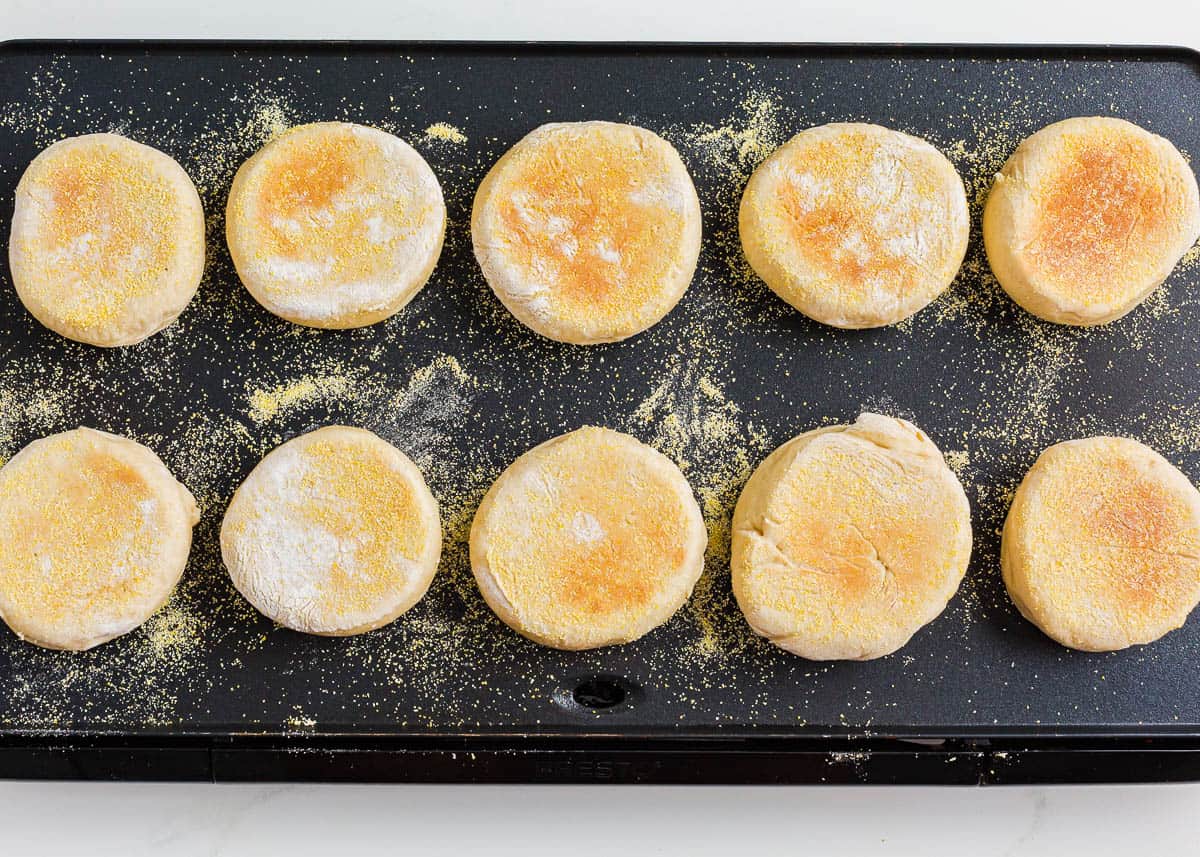
Place the raw English muffin dough onto a preheated griddle over low heat and cook for 7–10 minutes per side. Once the bottoms are golden and the center is cooked to about 200°F, they’re good to go!
Tips and Variations
- Using a stand mixer is your best bet as the dough is quite sticky. It’s easier to knead when it’s mostly hands off.
- Swap the cornmeal with semolina. Either can be used.
- No pancake griddle? Use a cast iron skillet on the stove instead. Use the lowest setting as low and slow is key!
- You’ll need to cook your English muffins in batches, so be sure to get rid of any residual cornmeal in between batches so it doesn’t burn.
- If you notice the center isn’t quite baked enough, place them in the oven at 300°F for 3-5 minutes.
More homemade bread recipes to try out include this homemade bread recipe, beignets recipe and overnight cinnamon rolls.
More Yeast Bread Recipes To Try
Browse allHUNGRY FOR MORE? Subscribe to my newsletter and follow on Facebook, Pinterest and Instagram for all the newest recipes!
English Muffins Recipe
Video
Equipment
- griddle
Ingredients
- 1 ¼ cup milk , warmed to 105°F
- 2 ¼ teaspoon instant yeast
- 2 Tablespoons sugar
- 3 cups all-purpose flour , more as needed
- 1 teaspoon salt
- 3 Tablespoons butter , melted
- 1 large egg , whisked
- cornmeal , for dusting
Instructions
- Activate yeast: Combine 1 1/4 cup warm milk, 2 1/4 teaspoon instant yeast and 2 Tablespoons sugar in a small bowl. Allow to sit for 2 minutes or until foamy.
- Mix dough: Combine 3 cups flour and 1 teaspoon salt in a large mixing bowl (I used my kitchen aid). Then add in the milk, butter and egg. Use a dough hook or whisk to mix together and knead for 2 minutes. The dough will be soft and sticky, but you'll know it's ready when it starts pulling away from the sides. If it's still too sticky, add 1-2 Tablespoons more flour.
- Rise: Cover the bowl and allow to rise about 30-60 minutes in a warm spot.
- Shape and second rise: Lightly flour the counter and then press the dough out into a rectangle about 1-inch thick. Use a 3-inch round cookie cutter (or glass) to cut your dough. Line a baking sheet with parchment paper and sprinkle cornmeal on the pan. Then transfer dough circles to pan and sprinkle cornmeal over top. Cover with a towel and let rise 30-45 minutes.
- Cook: Preheat a griddle to low heat (I did 2.5 on my pancake griddle). Place dough circles on griddle and cook 7-10 minutes per side, or until the bottoms are golden and the center is cooked through to about 200°F. Low and slow is the key here.
- Serving: Place muffins on a cooling rack to cool. We love to slice the muffins and place in the toaster then top with butter and jam.
Notes
Nutrition
Nutrition provided is an estimate. It will vary based on specific ingredients used.
Did you make this recipe? Don’t forget to give it a star rating below!
Recipe FAQs
These will keep at room temperature for up to 5 days in an airtight container.
They sure do! Keep them stored in a freezer bag or freezer-safe container for up to 3 months. Thaw them in the fridge before warming them up, or toast them straight from frozen.
You can certainly get ahead with the dough. Combine the dough and cover it to prepare for the first rise. Instead of keeping it at room temperature, you’ll refrigerate it overnight. The next day, take it out for an hour before you continue on with cutting out the dough circles.
This dough should be sticky. However, it shouldn’t be so sticky that it feels wet. If you find it’s leaning toward being too sticky, add 1-2 tablespoons of extra flour to the dough.






So good, light and fluffy! My new favorite and my husband loved it as well! Will definitely make again.
So happy to hear the English muffins turned out amazing!
Thank you for this lovely recipe! They turned out amazing. Will definitely be making again!
So glad you enjoyed the recipe for English muffins Evi!
I love this recipe!
I make bread for a crowd of 20+ every Sunday and I’m always looking for a new recipe to mix in.
These turned out perfectly.
I only did a few things differently- but otherwise followed your recipe exactly! I doubled it, so I did half water half milk, and I melted the butter with the milk while I activated the yeast with water and sugar. Otherwise I followed it exactly and they are a new family favorite. Thank you!
That’s amazing you could make these for such a large crowd! So glad everyone enjoyed the English muffins.
Amazing!! I did have to add quite a bit more flour to my dough, but the result was perfect! These were light, fluffy, and melt in your mouth. I never want to buy store bought again. Have you attempted the same recipe with whole wheat flour?
So glad you enjoyed the English muffins Lauren! We haven’t tested it with whole wheat flour, but let us know if you dry.
Thank you for this easy recipe. I’m so proud of myself! Can’t wait to serve them to my overnight guests and tell them that I made them!
I’m so happy for you! They’re going to love them!
Wonderful recipe
So glad you enjoyed them!
Made these today! Super easy and ingredients were perfect ratios!!! Thank you!
So glad it turned out well for you!
Very sticky dough, had to add almost 2 extra cups of flour just so it would hold its shape when I cut the dough!
Have not cooked them yet, but this is not what I call an easy recipe
Sorry to hear that you had trouble with the recipe. You might try the overnight method listed in the recipe card to help with the dough.
My MIL is on a very restricted sodium diet and these would be perfect for her as she loves English Muffins. Anyway of reducing the sodium level?
You can reduce the salt if you’d like, however it will change the flavor slightly (I probably wouldn’t do less than 1/2 teaspoon).
Oh these were the best, so much better than anything from the store.
Thanks for the review and I agree!
These muffins were everything that I wanted them to be and more! Thank you for sharing this amazing recipe
Thanks for the review!
I love english muffins for breakfast and I love this recipe! They are easy to make & they turn out better than store bought each time!
Thanks for the review!
A perfect recipe for bread when you don’t want to heat up the oven! My family loved them, so I’ll be whipping more up to store in the freezer for breakfast sandwiches. Thanks Jamielyn!
So glad you enjoyed them!
So much fresher than the store! My family loved these!
Glad to hear! Thanks for the review!
I love how these turned out, and they were overall easy to make! So much better than store bought. – Recipe tester
So glad you enjoyed them!