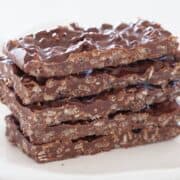
These homemade crunch bars taste better than store bought, are easy to make with only 3 ingredients and have the same crispy, chocolaty taste as your favorite candy bar!
This candy recipe satisfies any chocolate craving just like my rocky road candy, homemade Twix bars or Snickers recipe!
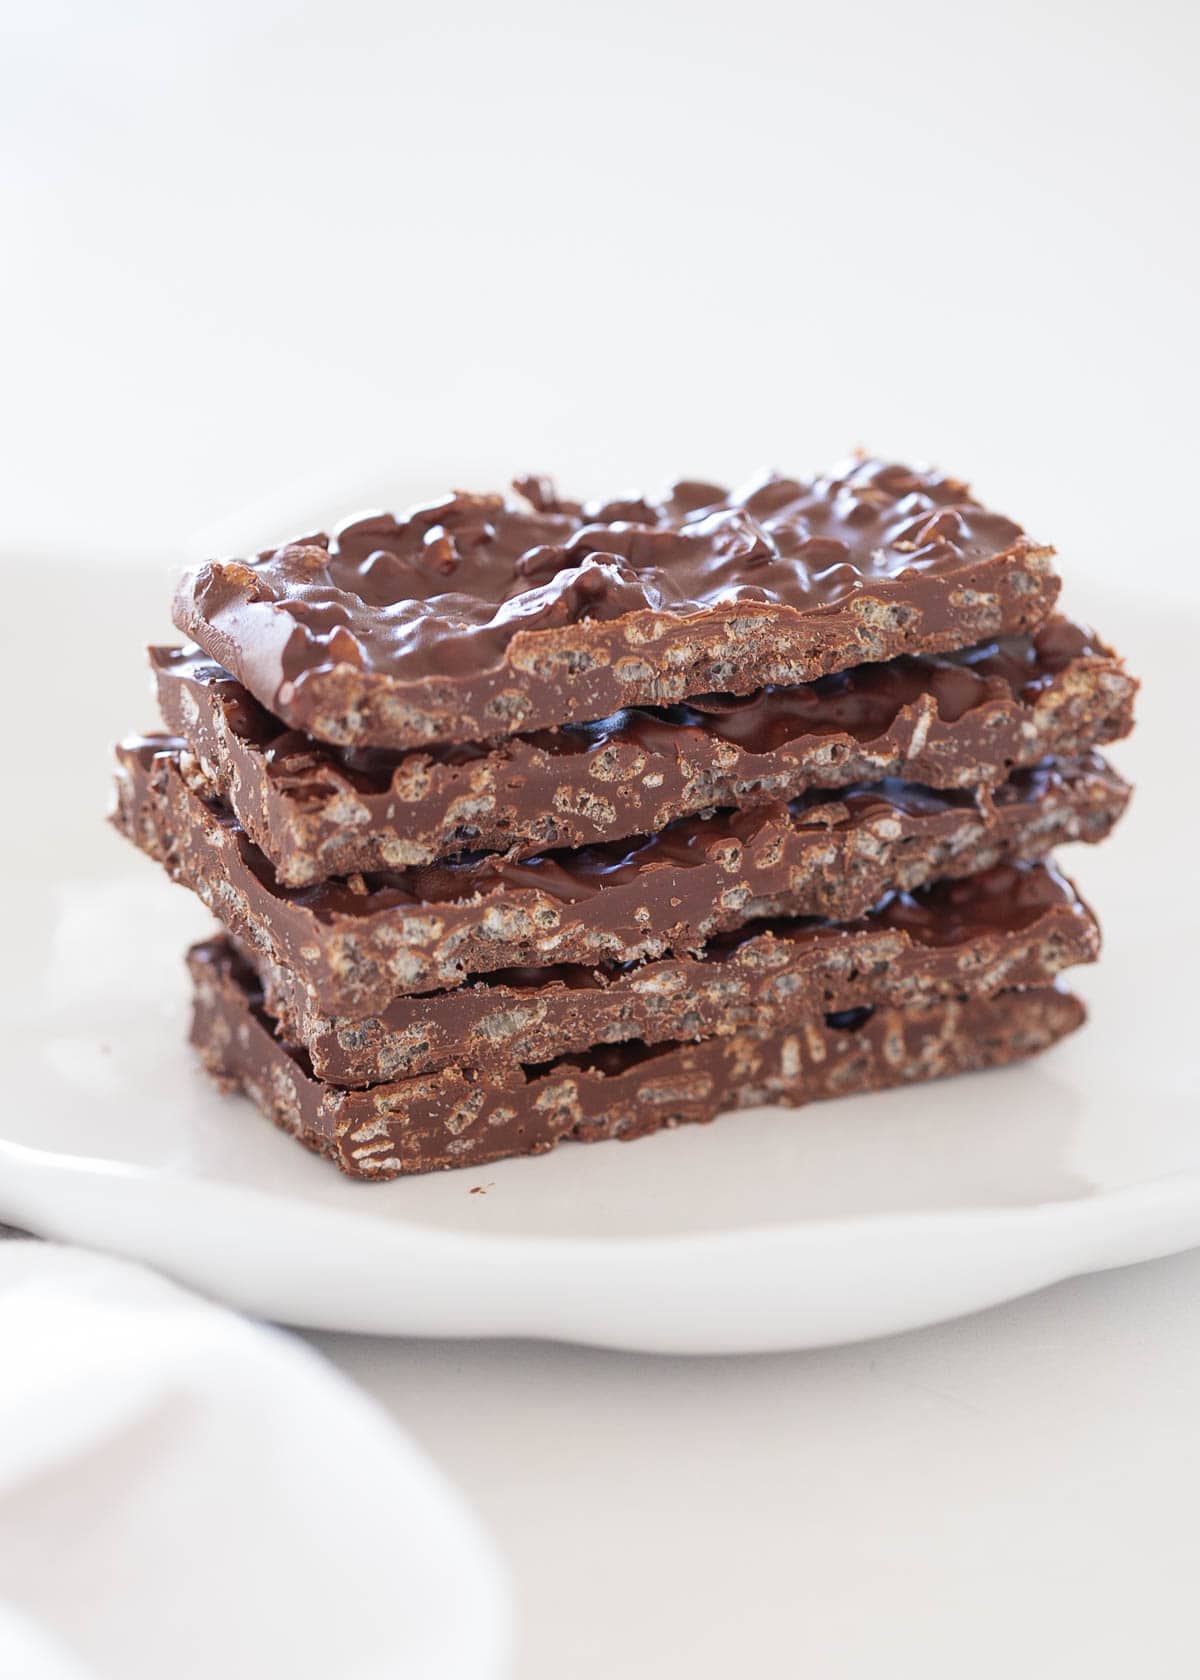
Table of Contents
Chocolate Crunch Bars
If you love Nestle Crunch bars, you will love these homemade crunch bars inspired by the popular candy! Similar to my 3 Musketeers Cool Whip candy recipe they are an easy no-bake dessert with only 3 ingredients and ready in 20 minutes.
Rich, chocolaty and crunchy they are the best parts of my peanut butter balls with rice krispies but more simple to make with minimal ingredients like my 3-ingredient chocolate fudge. They are perfect to whip up when the craving strikes!
Why I Love This Recipe
- Best texture: These no bake chocolate peanut butter crunch bars have it all – a smooth and creamy texture and when you take a bite they are crispy and crunchy!
- Easy to make: Rice crispy chocolate bars are ready to eat in only 20 minutes. A chocolate lovers dream!
3 Simple Ingredients
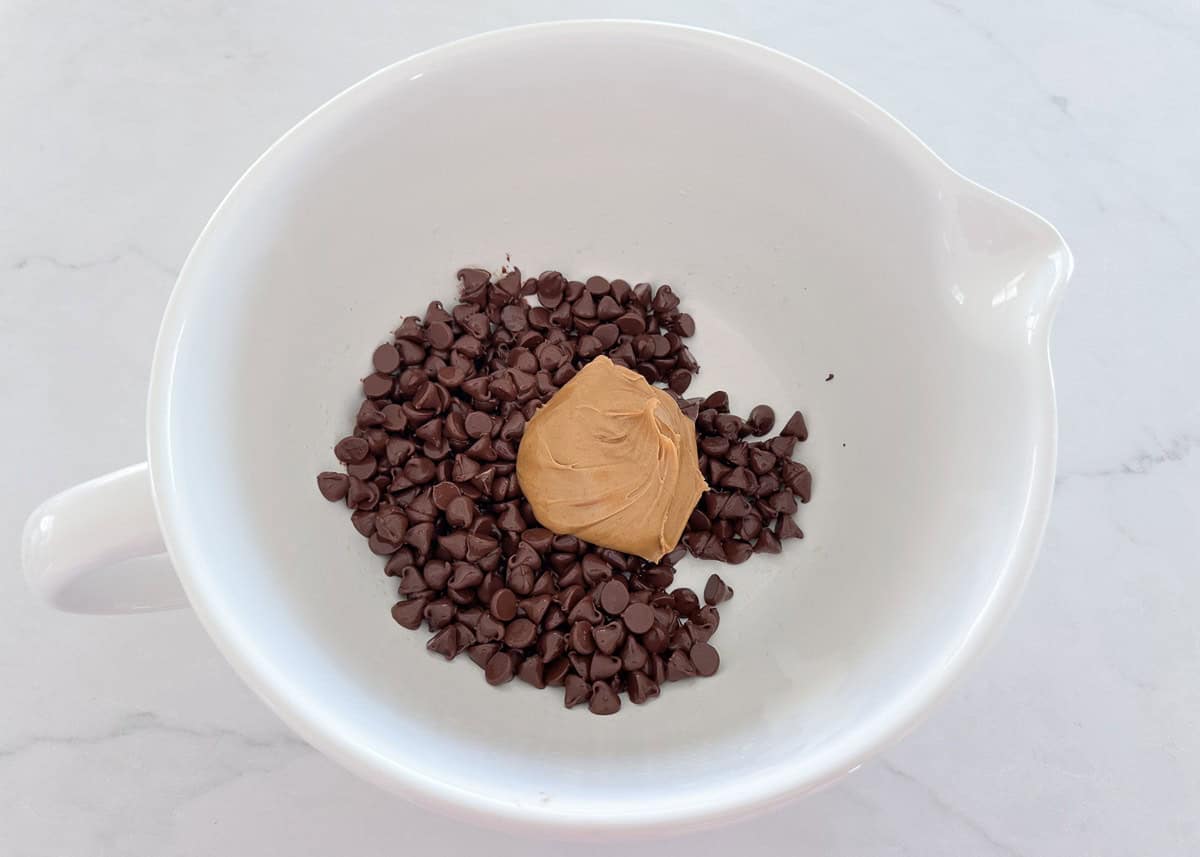
Find the full printable recipe with specific measurements below.
- Chocolate chips: Use high quality baking chocolate chips. I use semi-sweet chocolate chips from Guittard but Ghiradhelli is another favorite.
- Rice Krispies: The cereal adds the crunch part to the homemade candy bar. Use original rice crispy cereal or your favorite brand, gluten-free if necessary.
- Peanut butter: I used smooth peanut butter but you can use crunchy peanut butter or even cashew butter, almond butter or other nut butter.
Optional: Add some flaked sea salt on top before freezing for the best homemade crunch bars.
How to Make Homemade Crunch Bars
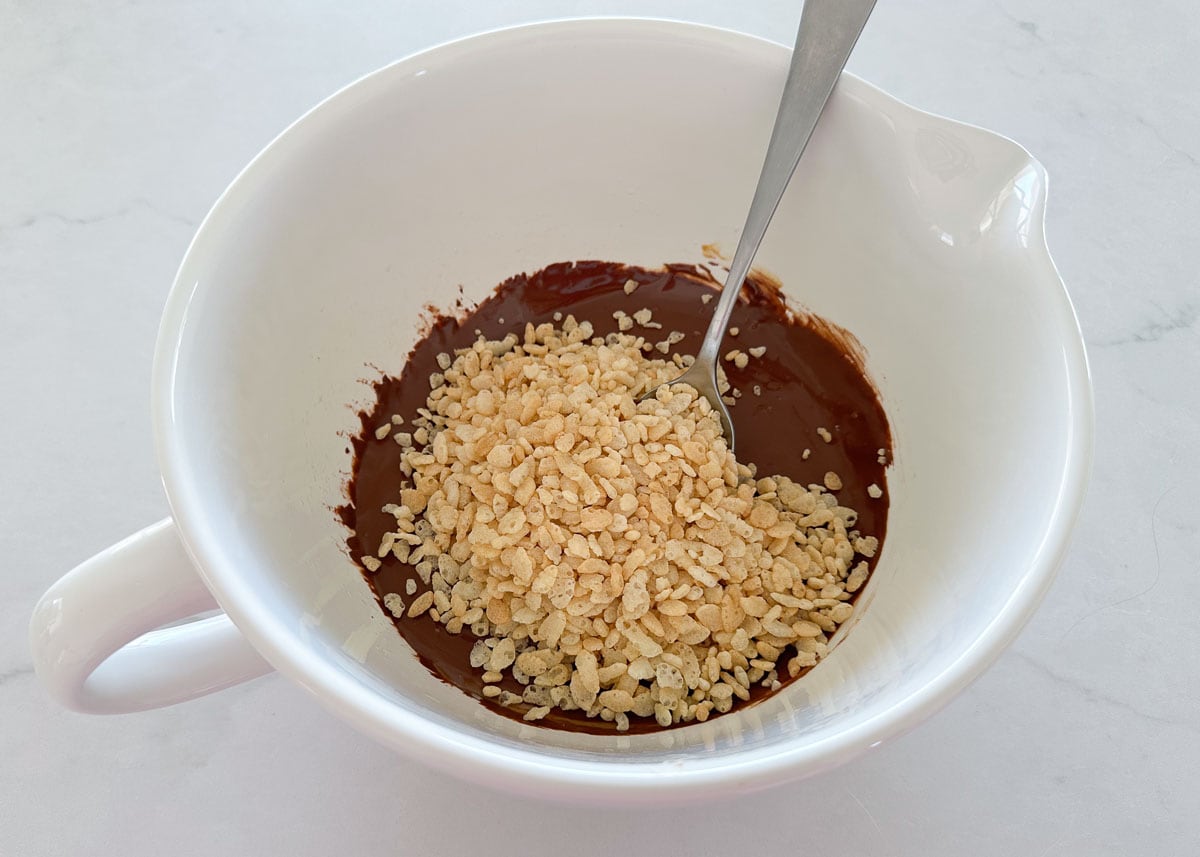
Place chocolate chips and peanut butter in a medium sized, microwave-safe bowl. Melt in the microwave in 30-second intervals, stirring between each interval. When the melted chocolate mixture is smooth, add crispy rice cereal and stir well.
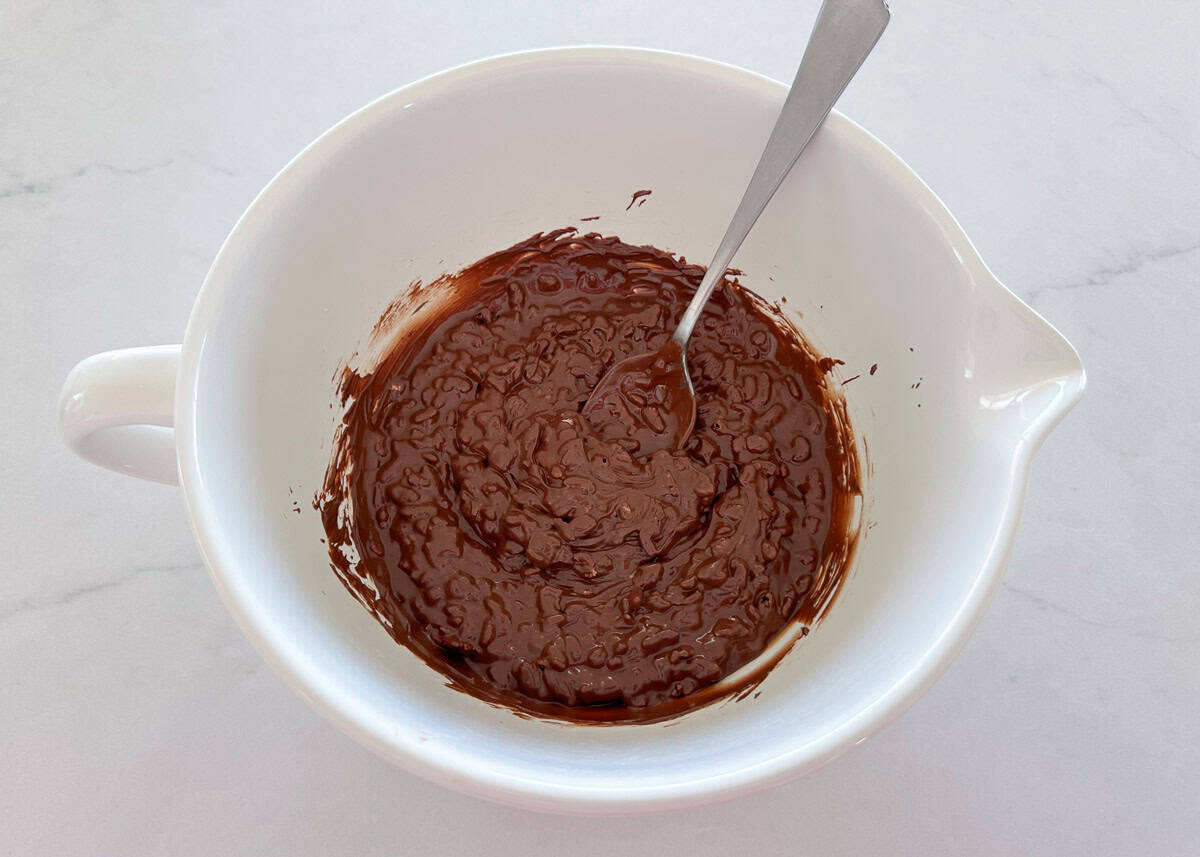
Spread into prepared 8×8 inch baking pan. Freeze for 15 minutes then cut the rich, chocolaty crisp candy bar treats into 8 pieces.
Recipe Tips and Variations
- Crispy vegan chocolate bar: Dairy free semi-sweet chocolate chips or dark chocolate chips are readily available at most grocery stores.
- Milk chocolate chips: Swap milk chocolate chips for semi-sweet chocolate chips for a more authentic crunch bar.
- Gluten-free: Rice Krispies contain malt which is not gluten-free. If you need a gluten-free candy bar, check the package ingredients of the crisp rice cereal you are using. Barbara’s, Nature’s Path and Whole Foods all sell a gluten-free crisp cereal.
- Nut-free dessert: Instead of peanut butter try sunbutter (or any other seed butter).
- Gifting. I love to package these with some crockpot peanut clusters in a clear plastic bag with a festive ribbon at the holidays!
Need more candy recipes? Try these homemade PayDay candy bars, rolo pretzels, homemade toffee or buckeye bark!
More Chocolate Candy Recipes
Browse allHUNGRY FOR MORE? Subscribe to my newsletter and follow on Facebook, Pinterest and Instagram for all the newest recipes!
Homemade Crunch Bars
Video
Ingredients
- 1 ½ cups chocolate chips
- ⅓ cup peanut butter
- 1 cup rice krispies
- flaked sea salt, optional
Instructions
- Prepare baking dish: Line an 8×8 square baking dish with parchment paper.
- Melt chocolate and peanut butter: Place 1 1/2 cups chocolate chips, and 1/3 cup peanut butter in a medium sized, microwave-safe bowl. Melt in the microwave in 30-second intervals, stirring between each interval.
- Add rice krispies: When chocolate is smooth and melted, add 1 cup rice krispies and stir well.
- Spread in pan: Spread into prepared pan, dust with flaked sea salt (if desired.)
- Freeze: Freeze for 15 minutes. Cut into 8 bars.
Notes
Nutrition
Nutrition provided is an estimate. It will vary based on specific ingredients used.
Did you make this recipe? Don’t forget to give it a star rating below!
Recipe FAQs
I recommend storing crunch bars in the freezer in a freezer safe container for up to 3 months. They soften if you store them at room temperature. If you are planning to eat them within a few days, you can also safely store them in the refrigerator.
I love to use high quality semi-sweet chocolate chips such as Guittard or Ghirardelli. You can also use milk chocolate chips for a more authentic crunch chocolate bar.
If you have a special dietary requirement such as low carb or refined sugar-free, that can also be accommodated by using a no-sugar added chopped chocolate bar or natural chocolate bar. For a vegan options, use a vegan chocolate chip that is dairy free.
Yes! Use the same size pan for an extra thick homemade crunch bar or spread it out in a 9×13 pan.
You can skip the peanut butter for a plain chocolate crunch bar. I recommend using 2 teaspoons of coconut oil or shortening when melting the chocolate chips.






SOOOOO EASY!! these are amazing! ready in literally 20 mins for real, if you need something quick, this is it! YUMMM
So glad you enjoyed the homemade crunch bars!
I used a diabetic friendly milk chocolate chip, and chunky peanut butter. Very nice treat!
So glad it worked out for you with the modifications Sue!
I made these today and WOW they are so delicious. So much better than store bought.
These will make a great gift too.
Thanks Amy! So glad you love the crunch bars as much as we do!