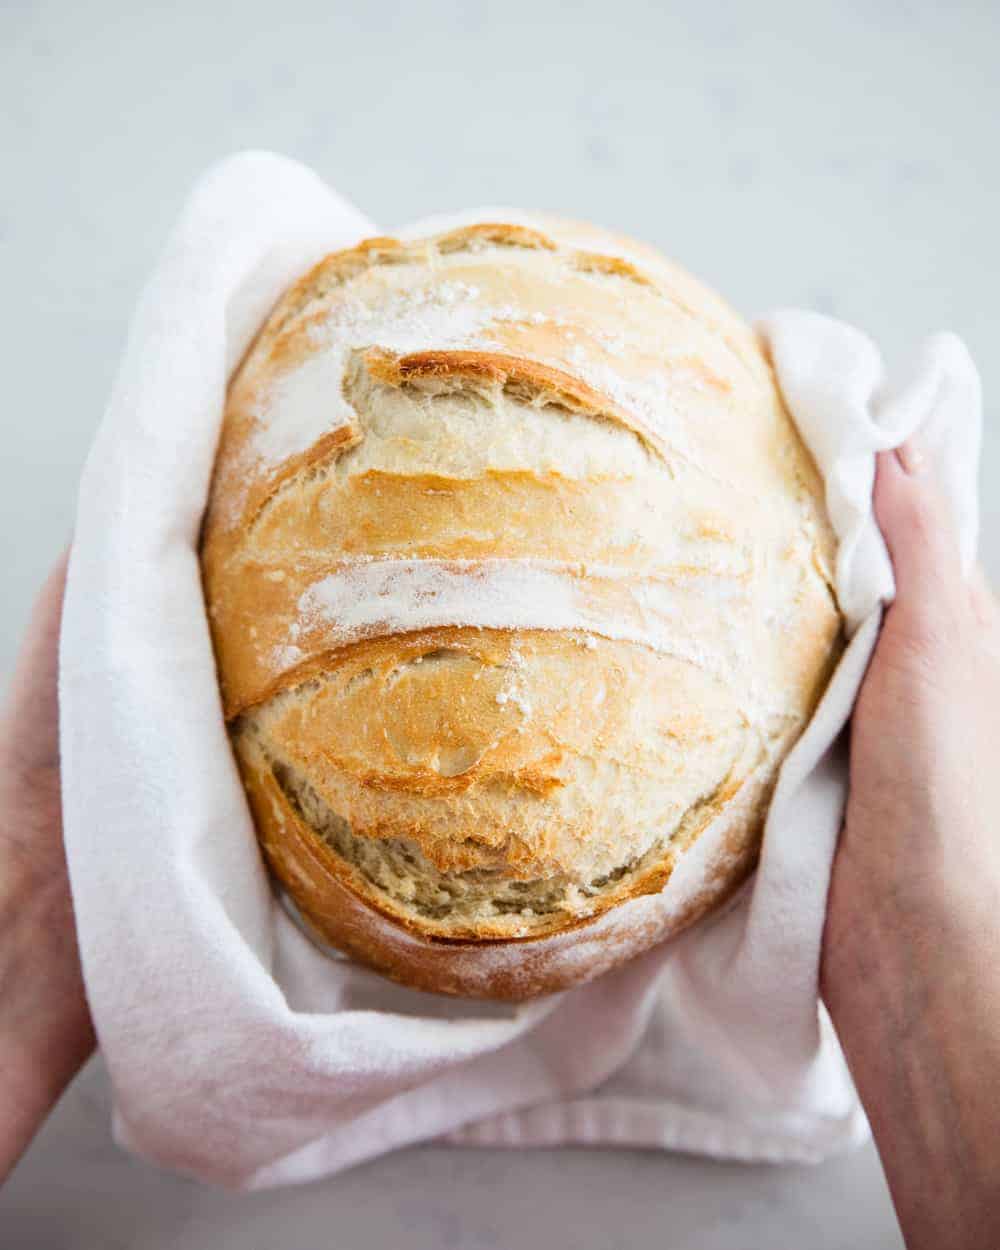
This no-knead artisan bread is the easiest bread recipe you’ll ever make! You only need one bowl and 3 simple ingredients. This recipe is perfect for beginners!
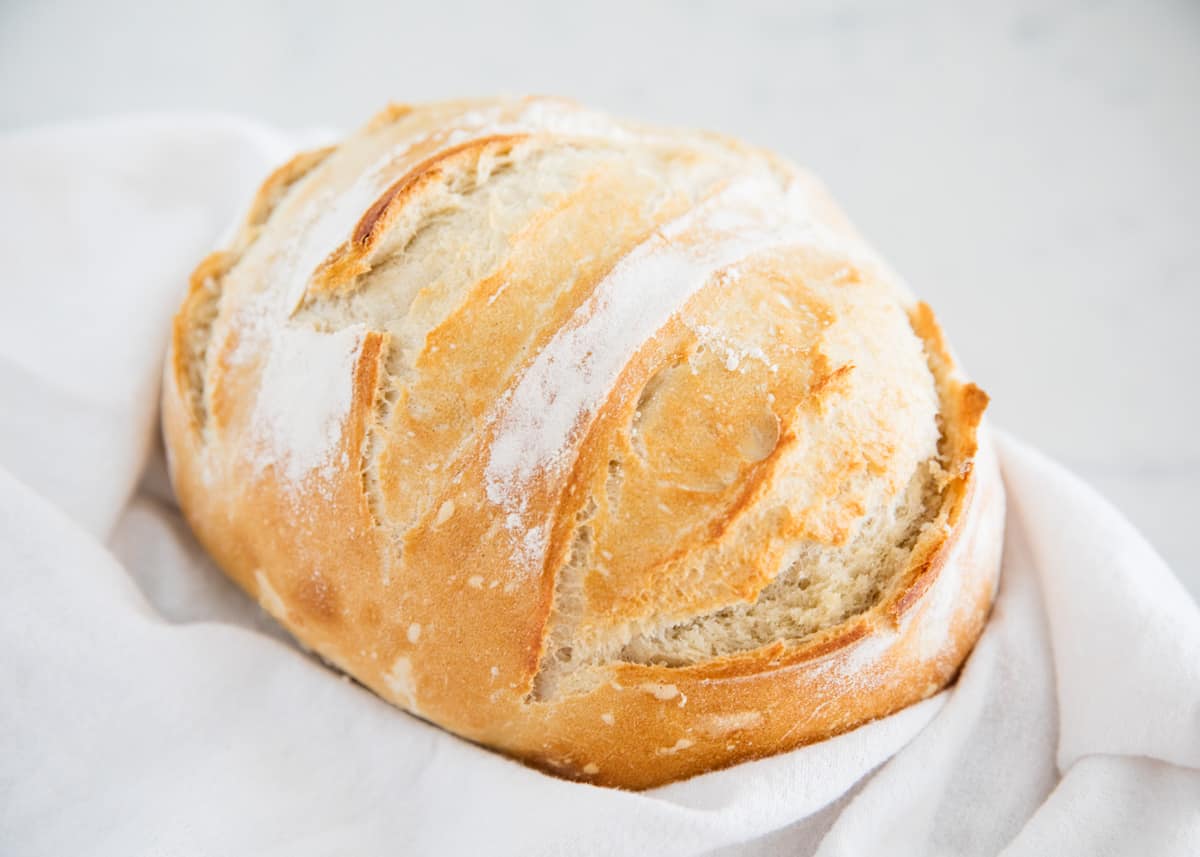
Table of Contents
3 Ingredient Bread Recipe
Homemade bread is seriously pure comfort and a staple in my home. The very first recipe I ever made from scratch was my homemade white bread, which my family adores. I’ve made many more over the years, like my homemade bagels, homemade french bread and whole wheat bread.
You seriously won’t find an easier bread recipe than this! It comes together with only 3 ingredients (I don’t count water as an ingredient) and is perfect for beginner bakers along with my delicious dinner rolls. There’s no kneading required and the dough can be made in one bowl. Plus it only takes minutes to prep just like Irish soda bread.
I shaped this bread into a French Boule (circle) similar to a sourdough bread recipe, but you can shape it into a French baguette, rolls, pizza dough, or ciabatta. It’s super versatile and a recipe you’ll want to save for when you just have a few ingredients on hand.
Easy Artisan Bread Ingredients
This is an art form of bread! It is crispy, and crunchy on the outside with a soft inside. Every bite is warm and comforting. These ingredients are pantry staples. Make this easy bread recipe quickly and easily!
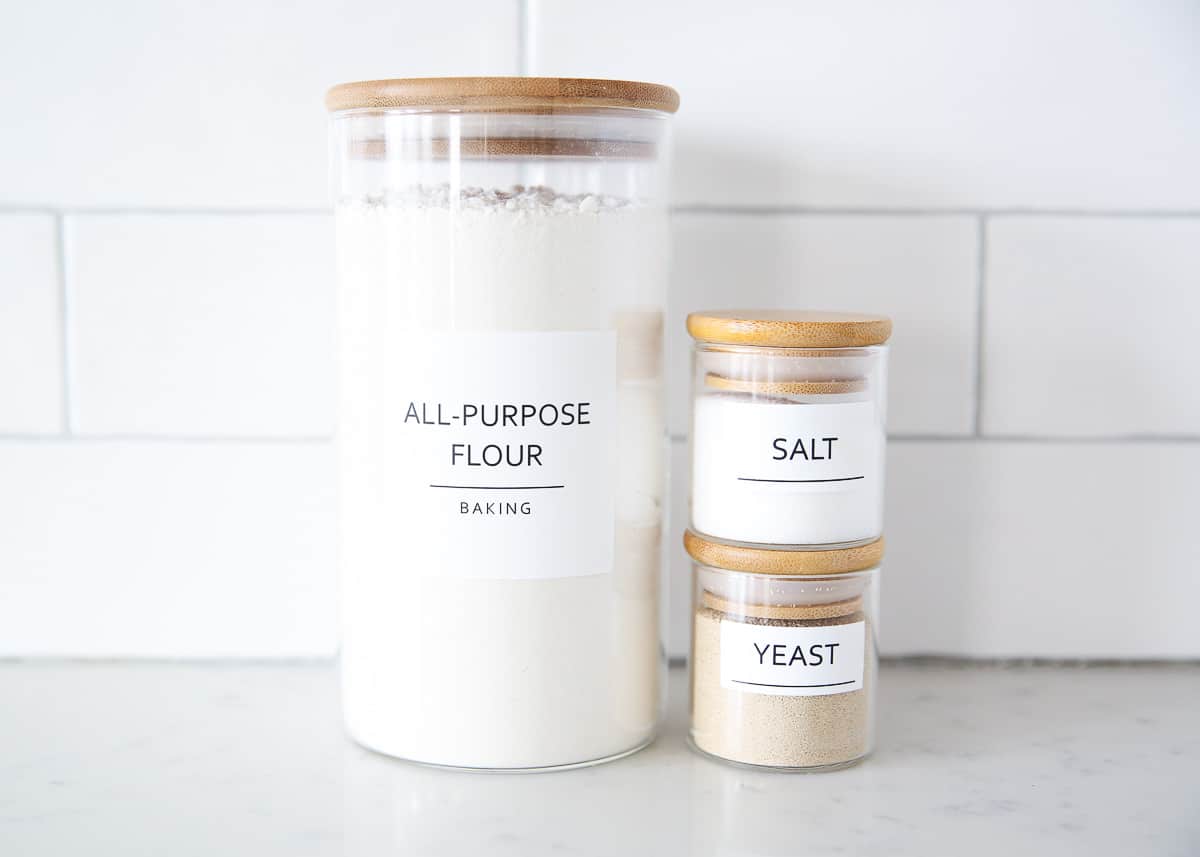
Find the full printable recipe with specific measurements below.
- All-purpose flour: Make sure to sift or use a spoon to add the flour to the measuring cups. This will help the homemade artisan bread raise properly and makes chewier bread. You make need a little more when you knead bread too.
- Kosher salt: This helps slow down the growth of the yeast as well as adds flavor. You will need to let the dough rise longer because there is no sugar in the ingredients to help build the yeast.
- Dry yeast packet: Instant yeast or active dry yeast works great to help the dough rise when mixed with water. Commercial yeast is best, no need for a sourdough starter recipe.
- Warm water: Get your water up to 105°F. This will activate yeast to raise the dough.
How to Make Artisan Bread
Only 3 main pantry ingredients to make this homemade artisan bread. Prepare a work surface to make this bread perfectly. It is beautiful and delicious!
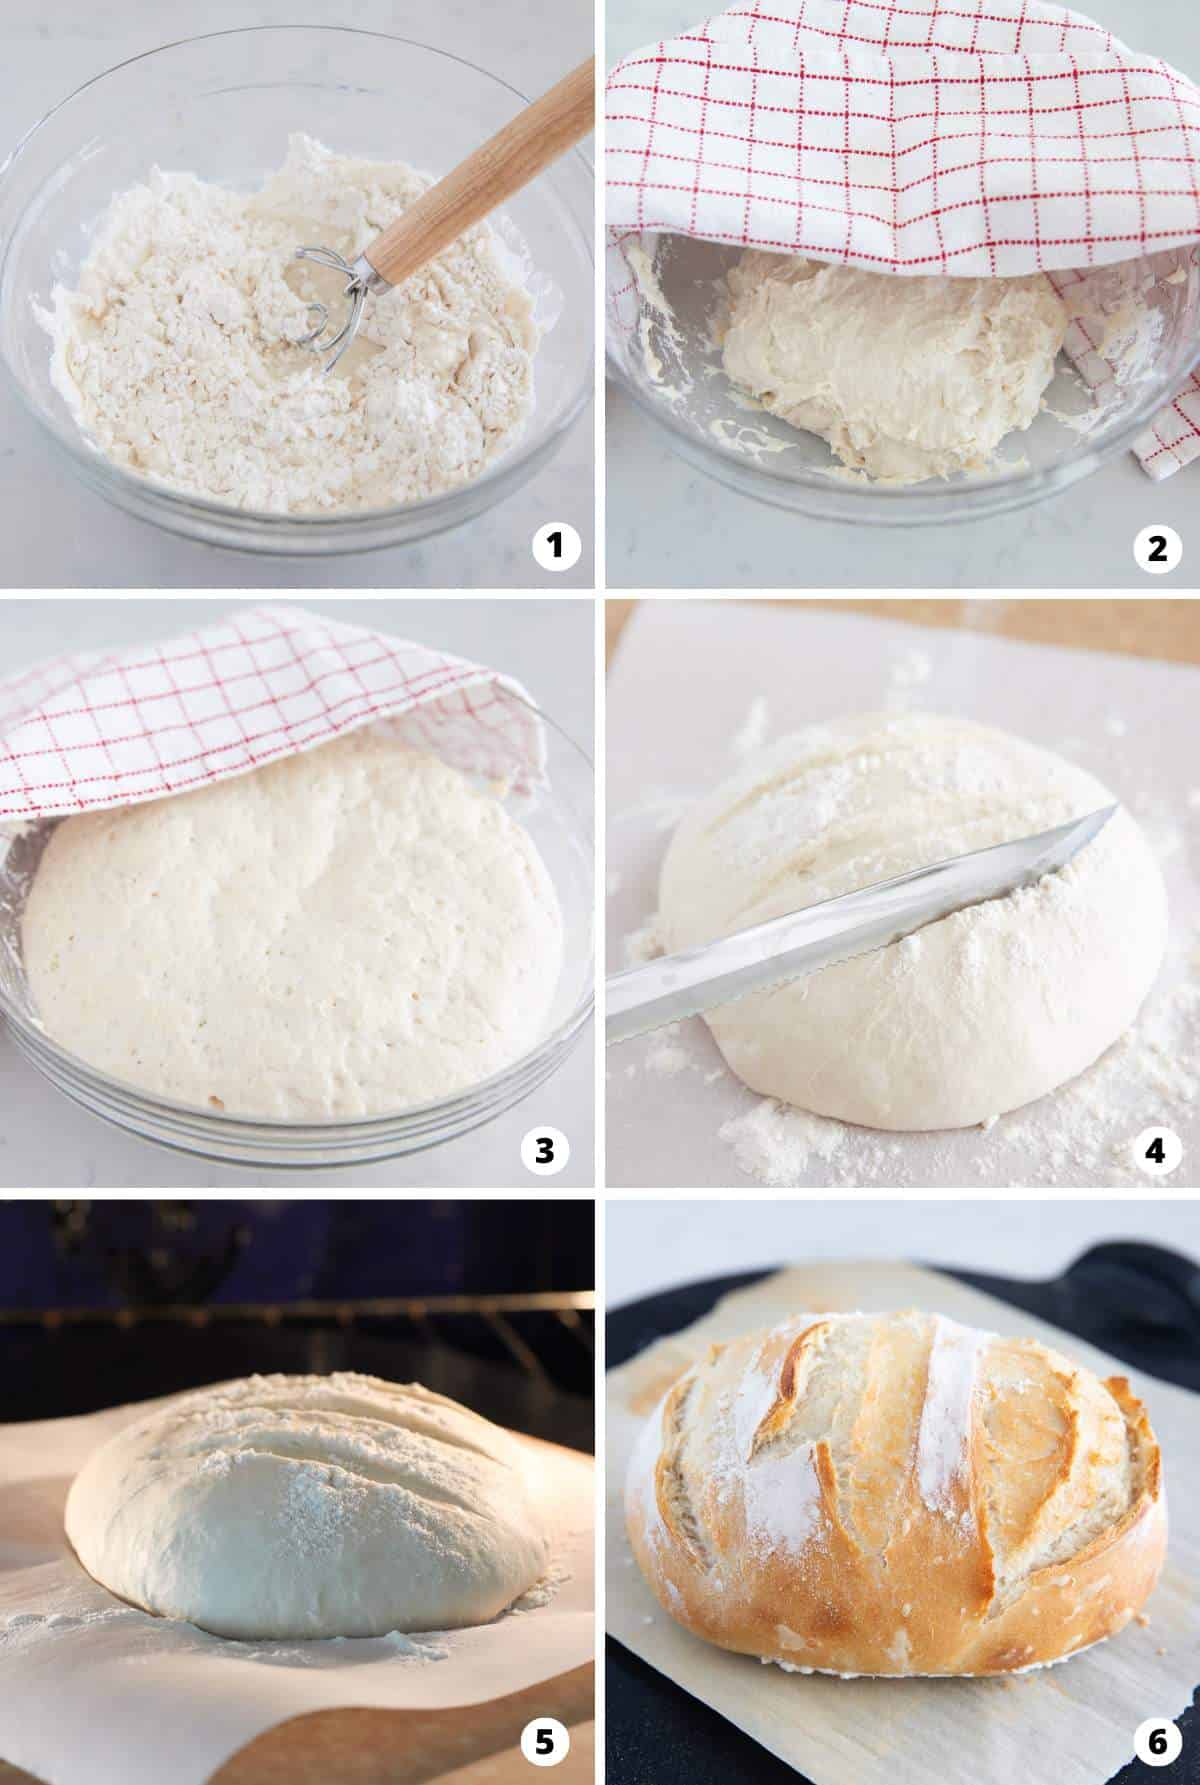
- Make the dough. Add salt and yeast to a large bowl, then pour the warm water on top. Add the flour in all at once, then mix together. I used a dough whisk, but feel free to use a spatula, wooden spoon, or even your hands. The dough will still be sticky once it’s mixed together, but this is what you want.
- Cover and let rise. Cover the bowl with a towel until the dough doubles in size. This will take about 2 to 3 hours, however the longer you allow it to rise the better. You can leave it on the counter to rise for up to 12 hours. Once it rises, you can prepare to bake or cover the bowl with saran wrap and stick it in the refrigerator to bake later. It will keep in the fridge for up to 1 week.
- Shape the dough. Dust your hands with flour, then lightly turn the dough onto a lightly floured surface. Shape the dough into your preferred shape, ensuring not to punch it down or knead it. I like to shape mine into a French boule (round circle). Or shape it into 2 loaves and tuck the ends under. Add a light dust of flour on top, then use a bread knife to make about 1 to 4 lines across the top.
- Let rest again. Line a pizza peel, skillet, or pan with parchment, then lightly sprinkle flour on top. Add the dough and let rest for 20 to 30 minutes.
- Bake in the oven. Preheat the oven to 450°F. You want the bread to cook on a hot surface, so place a baking stone, pizza stone, or flipped-over iron skillet into the oven. Let it warm in the oven for about 20 minutes while the oven preheats.
Cooking Tips
Get ready to learn all about the tips and ways to make this artisan bread the best. Bake this homemade bread in different ways, measure it perfectly, and patiently wait for the bread to rise before baking. All these great things will add up to the best artisan bread!
- Double it! You can easily double this recipe to make an extra loaf and freeze it for later.
- Baking stone. If you don’t have a baking stone, you can turn a cast iron skillet or baking sheet upside down and place it in to then to heat up.
- Parchment paper. Use parchment paper to easily slide the dough ball onto the hot skillet in the oven. The bread will cook on parchment paper.
- Measure perfectly. Knowing how to measure flour accurately can make a big difference in texture.
- Raise. The longer you let it rise, the chewier the bread will be. You can let it rise on the counter for up to 12-18 hours and up to a week in the refrigerator. I prefer to make it the night before I bake it.
- Small loaves. Split the dough in half if you’d prefer to make 2 smaller loaves. This recipe makes about a 9-inch loaf.
- Crusty crust. If you don’t have a broiler pan, stick a cup of water in a small oven-safe pan or toss in about 5 ice cubes to help keep steam in the oven. This will create a crusty crust.
- Storing. Store in a paper bag so it doesn’t soften.
What to Serve with Artisan Bread?
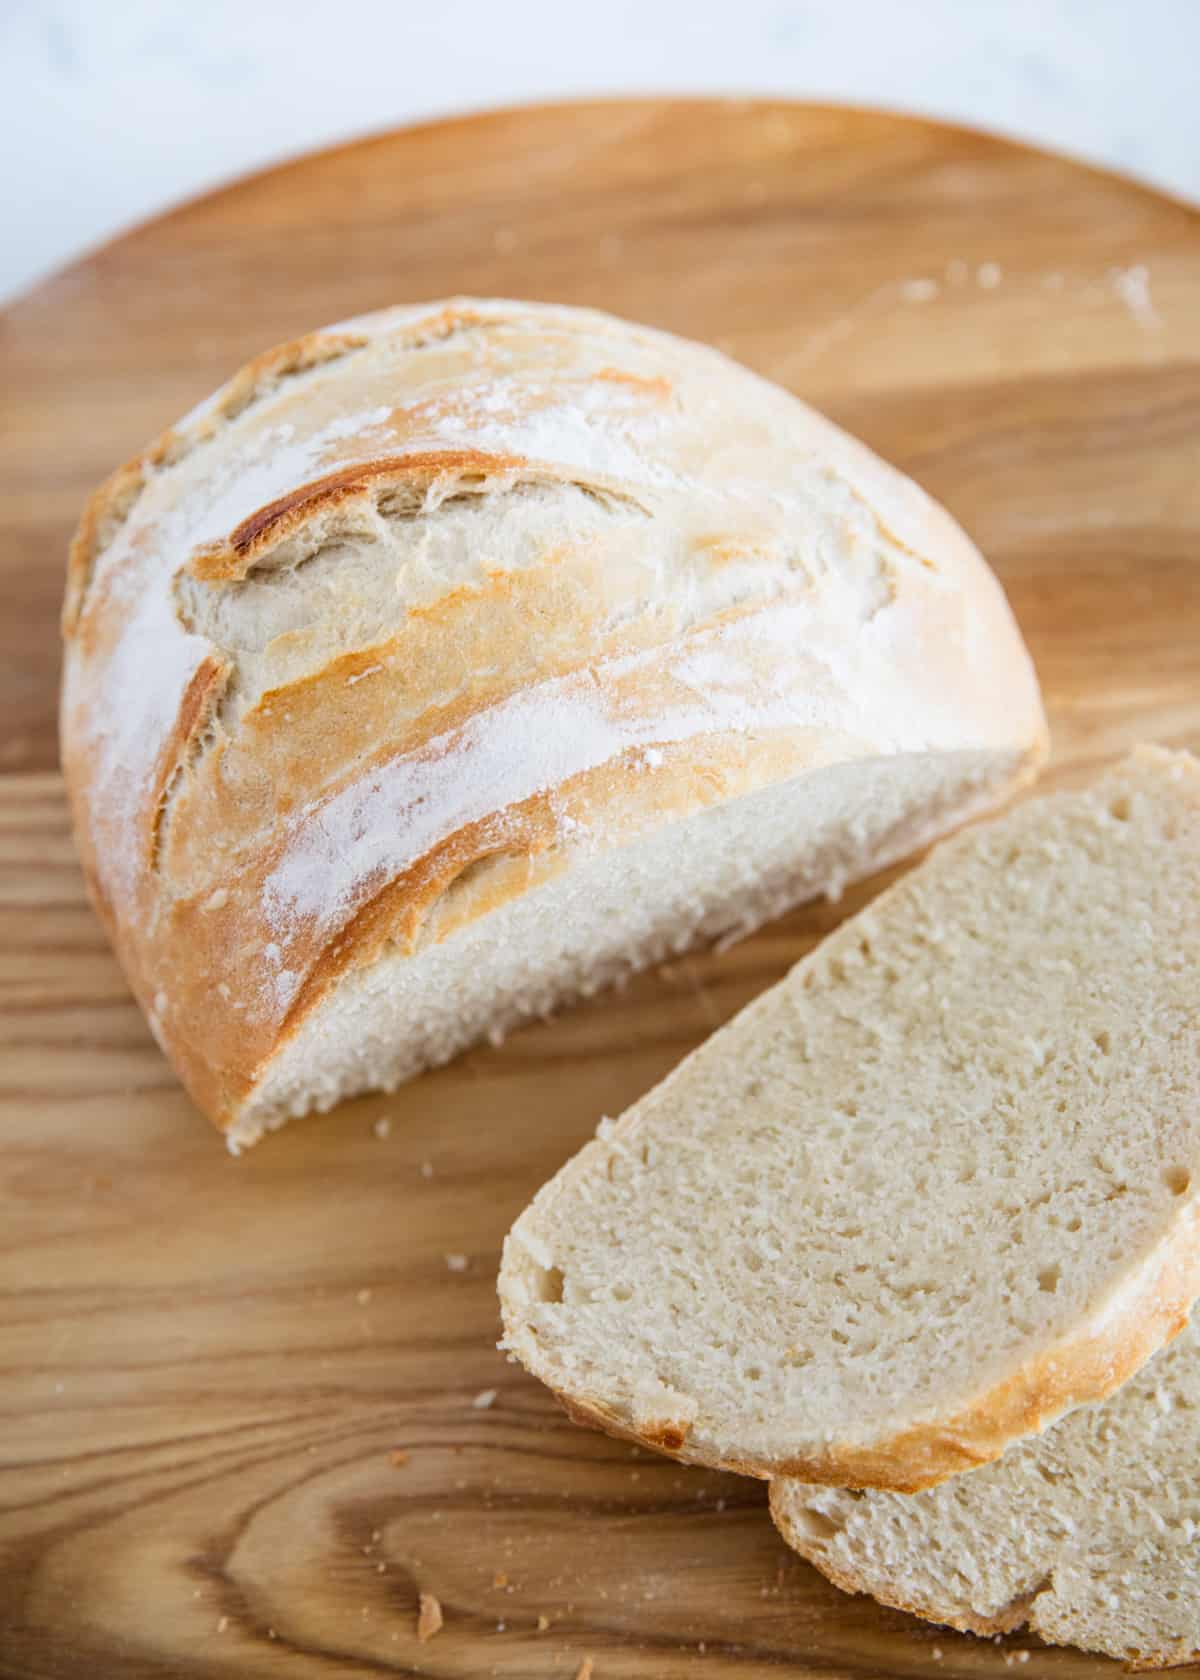
Artisan bread is perfect on its own with a little bit of butter or jam or warm out of the oven. Cook your favorite soup, mix together a salad or use it as sliced bread for a sandwich. The possibilities are endless!
- This bread tastes impressive alongside a warm bowl of chicken noodles or tomato soup.
- Spread butter, garlic herb butter, or strawberry jam on top.
- Dip into a warm cheese dip or this bread dipping oil recipe.
- Use it to make a grilled caprese sandwich.
- Add mashed guacamole on top to make avocado toast.
Recipe FAQs
Artisan bread is a leaner formulation with low sugar and fat level compared to other types of bread. There is little to no use of dough conditioners and high or low hydration levels. It is known to be good for you compared to other bread recipes.
Artisan bread is known for its shape, texture, and appearance. It has a special flavor and aroma that is comforting with a sweet and savory taste.
If you are making a whole-grain handmade artisan loaf, then yes, it is a bit healthier. It contains a great source of fiber, antioxidants, and other ways to help reduce the risk of diabetes among other health benefits.
5 star review
“This is the best recipe! I couldn’t be happier with the results. My family loved this, and it was so easy to make. I will make this time and time again. There is something so comforting about a warm slice of home made bread.”
-Molly
Ready to make more bread recipes? Try making your own pita bread, fry bread or dutch oven bread!
More Homemade Bread Recipes
HUNGRY FOR MORE? Subscribe to my newsletter and follow on Facebook, Pinterest and Instagram for all the newest recipes!
Artisan Bread Recipe
Video
Ingredients
- 3 cups (395 grams) all-purpose flour , or bread flour
- ½ Tablespoon Kosher salt
- ¼ ounce instant or active dry yeast packet , or 2 1/4 teaspoons
- 1 ½ cups warm water , 105°F
Instructions
Make dough:
- Place the flour, salt and yeast in a large bowl. Then pour the warm water (about 105°F) over top, making sure it's not too hot. Then you can use a dough whisk, spatula, wooden spoon or your hands to mix together. The dough should still be somewhat wet and sticky, but add more flour if it's too sticky to handle.
- Once the flour is all mixed in, cover with a towel or plastic wrap spayed with nonstick spray for 2-10 hours, or you can leave on the counter overnight. The longer you let it rise, the more it will ferment.
Shape:
- Wet your hands and turn the dough onto a lightly floured surface. The dough will be sticky. Do not punch it down, knead it or roll it out. Gently pull the sides up and fold into the middle to make your preferred shape. I typically work it into a French boule (round circle) or 2 loaves and tuck the ends under.
- Place dough on a piece of parchment paper. Lightly dust the top with flour and then use a bread knife to add 1-4 lines across the top. Let it rest about 20-30 minutes.
Bake:
- Preheat the oven to 450°F. Place a baking stone, a pizza stone, dutch oven or a iron skillet into the oven.
- Slide the dough with the parchment paper onto the hot stone. To make crustier, place either 1 cup of hot water in a small broiler pan or 5 ice cubes into the bottom of the oven and shut the door to trap the steam. Then bake for 25-30 minutes or until browned.
- Allow to cool on a cooling rack for at least 30 minutes. Slice the bread and serve. Store in a paper bag so it doesn't soften.
Notes
Nutrition
Nutrition provided is an estimate. It will vary based on specific ingredients used.
Did you make this recipe? Don’t forget to give it a star rating below!




Just made this and it tastes sooooo good! Very easy as well.
HI,
Do you know the metric measurements?
So sorry, we haven’t tested this recipe in metrics.
Mine did not raise much in my oven or brown! I followed the recipe! I let it raise for 3 hours then shaped and rested 30 min. Put in 450 oven on hot pizza stone with water in a dish on liver shelf. 3O min later bread hard to touch and heavy. What happened?
Darn, I’m sorry. It’s hard to say what happened without seeing you make it, but I’m guessing there was too much flour added or it was over kneaded. This is supposed to be a wet sticky dough and not kneaded too much.
It sounds like the water may have been too hot and you killed the yeast or the yeast was old – it’s happened to me before and my family *loving* called it brick bread LOL
My first attempt ever to make bread. It was perfect! Looked just the pictures and tased delicious. Very excited to use this recipe every time. Note: thanks for tips; they were very helpful especially about the parchment paper . . . I did not know to look for max temp. Mine maxed at 425.
Has anyone used the Steam Bake option on their Samsung wall oven that has a water reservoir to put the water in to make this recipe? Just curious before I try it!
Love this bread. I used Inkomazi (full cream maas) instead of milk. Unbelievable! I made it in the air fryer. Sorry no photo, we gobbled it up to soon!
My dough didn’t double in size like yeast doughs I’ve made in the past. This is the first recipe I’ve used that adds all of the ingredients at the same time. Did I do something wrong?
I haven’t baked it yet but was surprised that it hadn’t risen much after 7 hours.
Turned out so amazing. Have made it 3x, and will never purchase store bought bread again!!!
That is so great to hear! I am so glad that you loved artisan bread and you have made it a few times. Thanks for your review!
This was my first attempt at making bread at home. I’ve been looking at trying, because I keep hearing how unhealthy our store-bought breads are because of all the preservatives and additives. I found this extremely simple and it tasted amazing. I wish I could read through the instructions a little easier. (personally, I find the way these recipes are lined up. There’s a lot of filler and you’re constantly having to scroll up and down to figure out how much of something went in and at what time. But that’s on me.) But I will definitely make this again and probably not let it rise as long as I allowed it to rise. But otherwise, this is going to become a staple in my home.
That is great to hear! I am so glad that you love this artisan bread! The scrolling up and down is a lot and I apologize for that. I am trying to fit in all the information that I can and I know it sometimes can be a pain to some readers. I appreciate your feedback and will take it into consideration when it comes to my page and setting up recipes for viewers. Thanks for choosing my site and one of my recipes!
Baking my first batch as we speak! Fingers crossed
Yay! That is exciting! I am glad that you are making one of my recipes. Thanks!
Love this recipe. I made it for the first lime last week and have made 5 loaves since! I love it but my waistline won’t!!!
Wow! That is amazing! I am so glad that you love this artisan bread so much. Thank you for sharing!
You are welcome x
AWESOME!! we have a rectangular Pampered Chef bread pan so when we baked it, it didn’t get all the way done right in the middle. Next time I’ll increase the time to 30 mins for baking, but otherwise this is the best beginning bread recipe i’ve seen!
That is great to hear! I am so glad that you love this artisan bread.
Very interesting I must try this
I’ve made it three times and it’s fantastic! My husband and nephew loved it! I put a little sea salt on the top before baking it and that adds a lot too! Thank you!
I’m making this bread for the third time this week! 😅
My only question is my dough is never really sticky, is there something I’m doing wrong or should I add more water?
I’m using unbleached all-purpose flour and instant yeast, could that be the issue?
Hi Jenny! I am not sure why it isn’t that sticky. That makes me so happy to hear that you are making this again for the third time. Using unbleached all-purpose flour could be different but again I am not sure.
Had to add more flour than I thought to make the dough not sticky but came out very good. This was my first time making bread and I will definitely use this recipe again!
What if I don’t have parchment paper? I have a cast-iron.
I was going to bake in. Can I use tinfoil instead? Or just grease the pan ?
Parchment paper is best. The tinfoil may increase the bread’s crispiness and cause it to bake quickly.
Has anyone substituted a gluten free flour in this recipe? What kind? Results?
Almond Flour or Coconut Flour. Coconut flour is dry, therefor it needs more liquid.
Yes! Today I made it with King Arthur Gluten Free Bread Flour. I let it rise for 2.5 hours covered with a towel. It didn’t rise as much as I wanted and was a little drier than it should have been.
I’m making a 2nd loaf now with the same flour, but this time letting it rise over night and covering it with plastic wrap.
I’m also planning to do a loaf with Bob’s Red Mill gluten free all purpose flour later this week. I checked their website and you can’t use the 1 to 1 baking flour for bread.
Hope that helps!
How did this come out? I’m using a similar 1:1 flour
So easy and so good! My family loved it! Depending on your stove, you do not have to do some of the steps above. I added basil this time to see how it’ll taste.
I am trying this recipe as we speak but I changed it up a little I added a half tablespoon of sugar to help with a quicker rise on the proofing