Easy no churn chocolate ice cream is made with only 4 simple ingredients! It’s a rich, creamy homemade ice cream perfect for summer and no ice cream maker is needed.
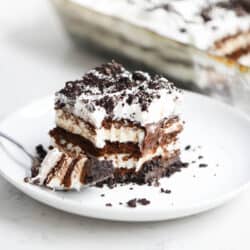
During the summer we love to make frozen desserts from s’mores ice cream, to ice cream sandwich cake and this mud pie recipe!
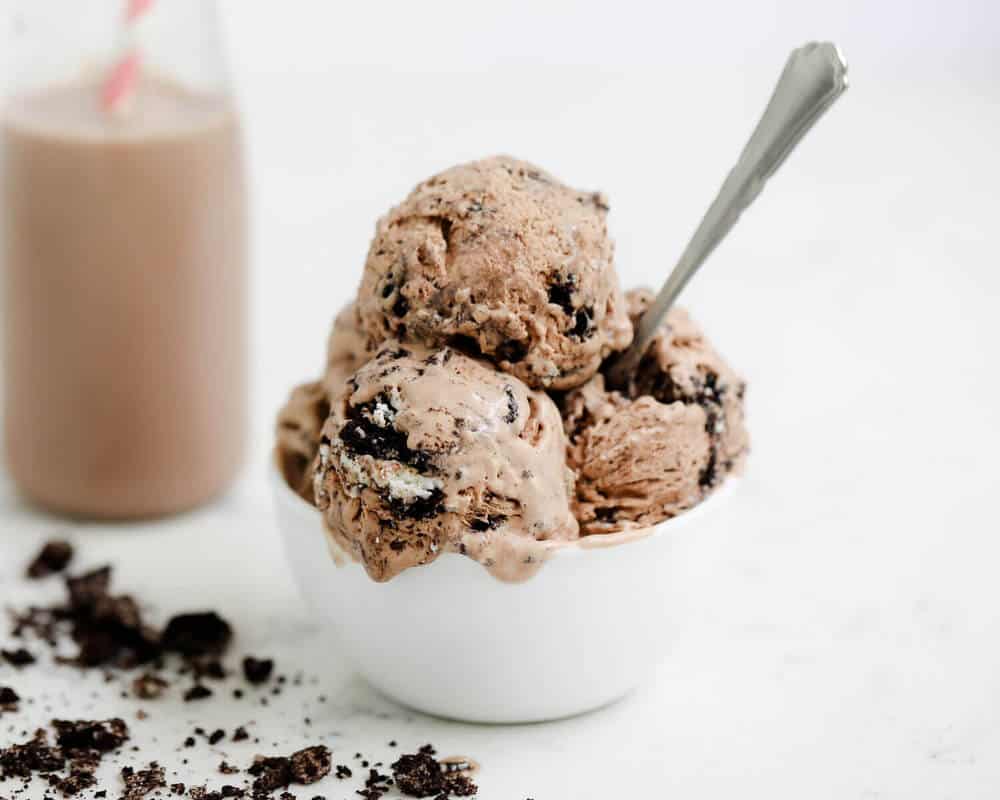
Table of Contents
No Churn Chocolate Milk Ice Cream
Easy no churn chocolate ice cream is a delicious homemade ice cream that can be prepared with just a four ingredients including cocoa powder, sweetened condensed milk, chocolate milk, and cream.
It’s then frozen until the mixture reaches a creamy consistency, no fancy kitchen tools are even required like an ice cream maker! The result is a smooth and rich chocolate dessert that satisfies any sweet tooth.
During the summer we love to make this ice cream with chocolate milk! We also use leftover Greek yogurt for these homemade popsicles. I love when recipes are so easy that even my kids can make it.
No-Churn Chocolate Ice Cream Ingredients
- Heavy cream: Heavy cream or whipping cream can be used in this no churn ice cream.
- Sweetened condensed milk. This adds the sweet taste to your homemade chocolate ice cream. Find this shelf stable milk in the baking aisle.
- Chocolate milk. Homemade chocolate ice cream using chocolate milk adds the best rich chocolate flavor in my opinion.
- Cocoa powder. Double the chocolate taste by adding some additional cocoa powder. I use unsweetened cocoa powder.
Tips + Variations
- Chill the bowl and beaters. Stick your bowl and beaters in the freezer about 10 minutes before getting started. You want them COLD so that the stiff peak will form faster when mixing.
- Full fat ingredients. Using full fat milk, heavy cream and sweetened condensed milk makes all the difference. Trust me, it’s worth the indulgent! It helps makes the texture super creamy with a deliciously rich flavor.
- Freezing time. This ice cream takes about 4 to 5 hours to firm up into a scoop-able consistency, so make sure to plan the freezing time into your schedule if you’re hosting an event!
- Soften. Before enjoying, let it soften a bit on the counter before scooping. It also helps to run your ice cream scoop under hot water before using.
- Vanilla version. If you prefer a vanilla flavor, try this easy no churn ice cream with any type of mix-in you prefer.
- Berries: Add fresh berries like I do in my favorite strawberry ice cream.
- Ice cream maker. If you’re looking for more of a traditional recipe try my homemade ice cream recipe for ice cream maker.
Favorite Mix-In’s to Add
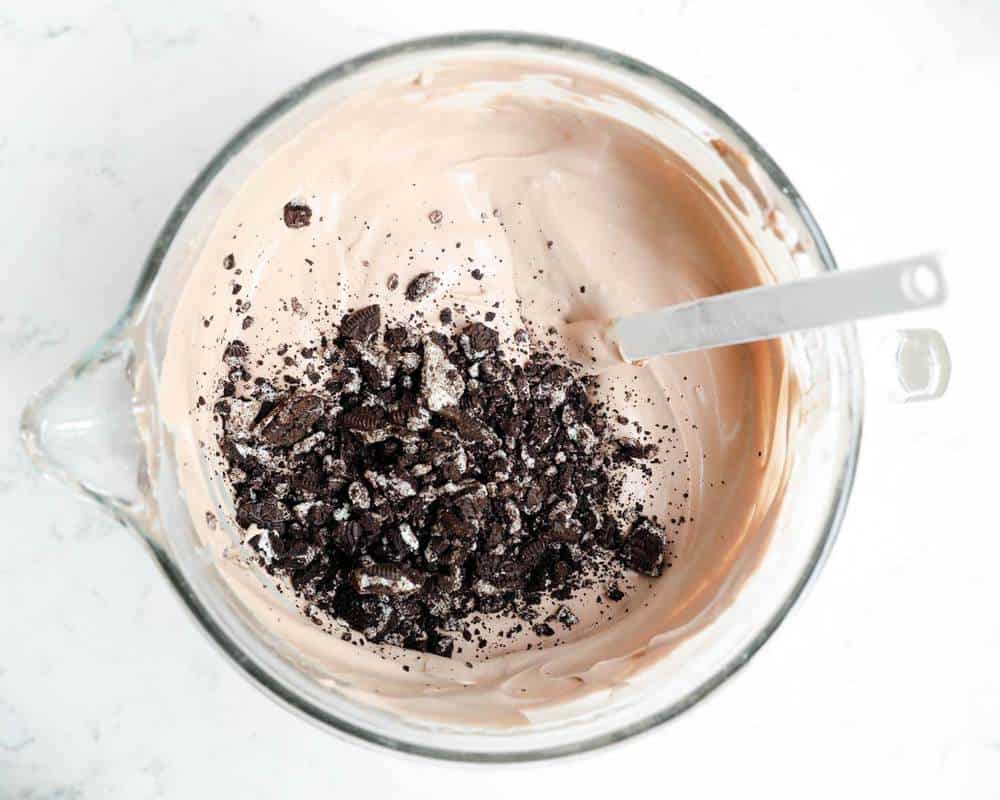
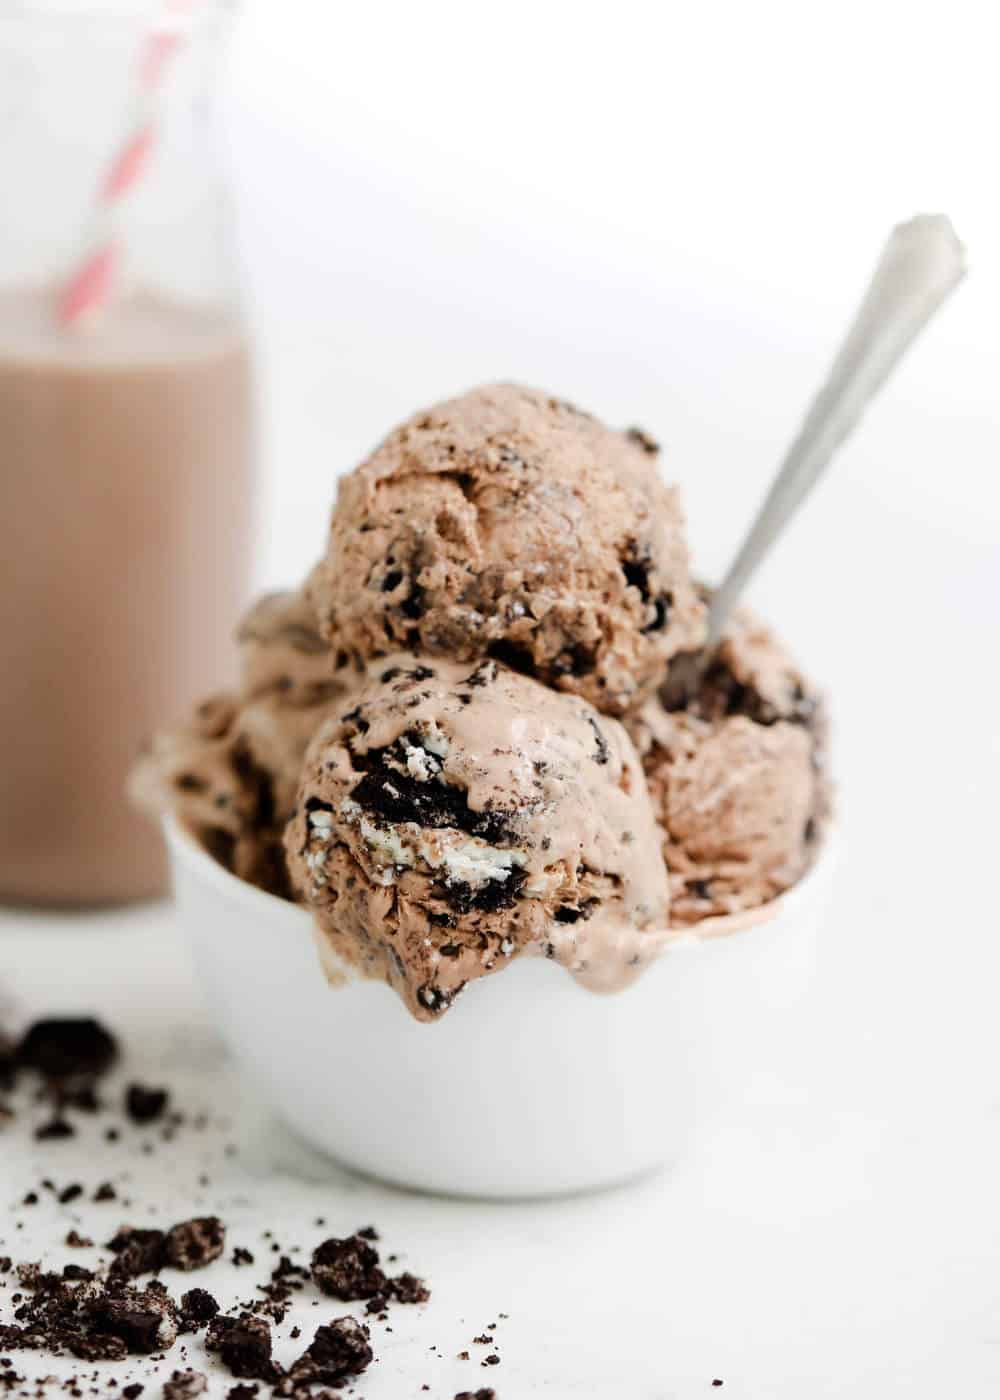
You can enjoy it plain, or add different mix-in’s. Start with about 1/2 cup of any of the below, then add more if desired. Crushed Oreo’s are our favorite…my kids LOVE them!
- Crushed Oreo’s
- Chocolate chips
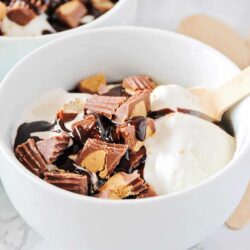
- Crushed Reese’s
- Crushed M&M’s
- Edible cookie dough pieces
- Homemade brownie pieces
- Sprinkles
How to Store Chocolate Ice Cream
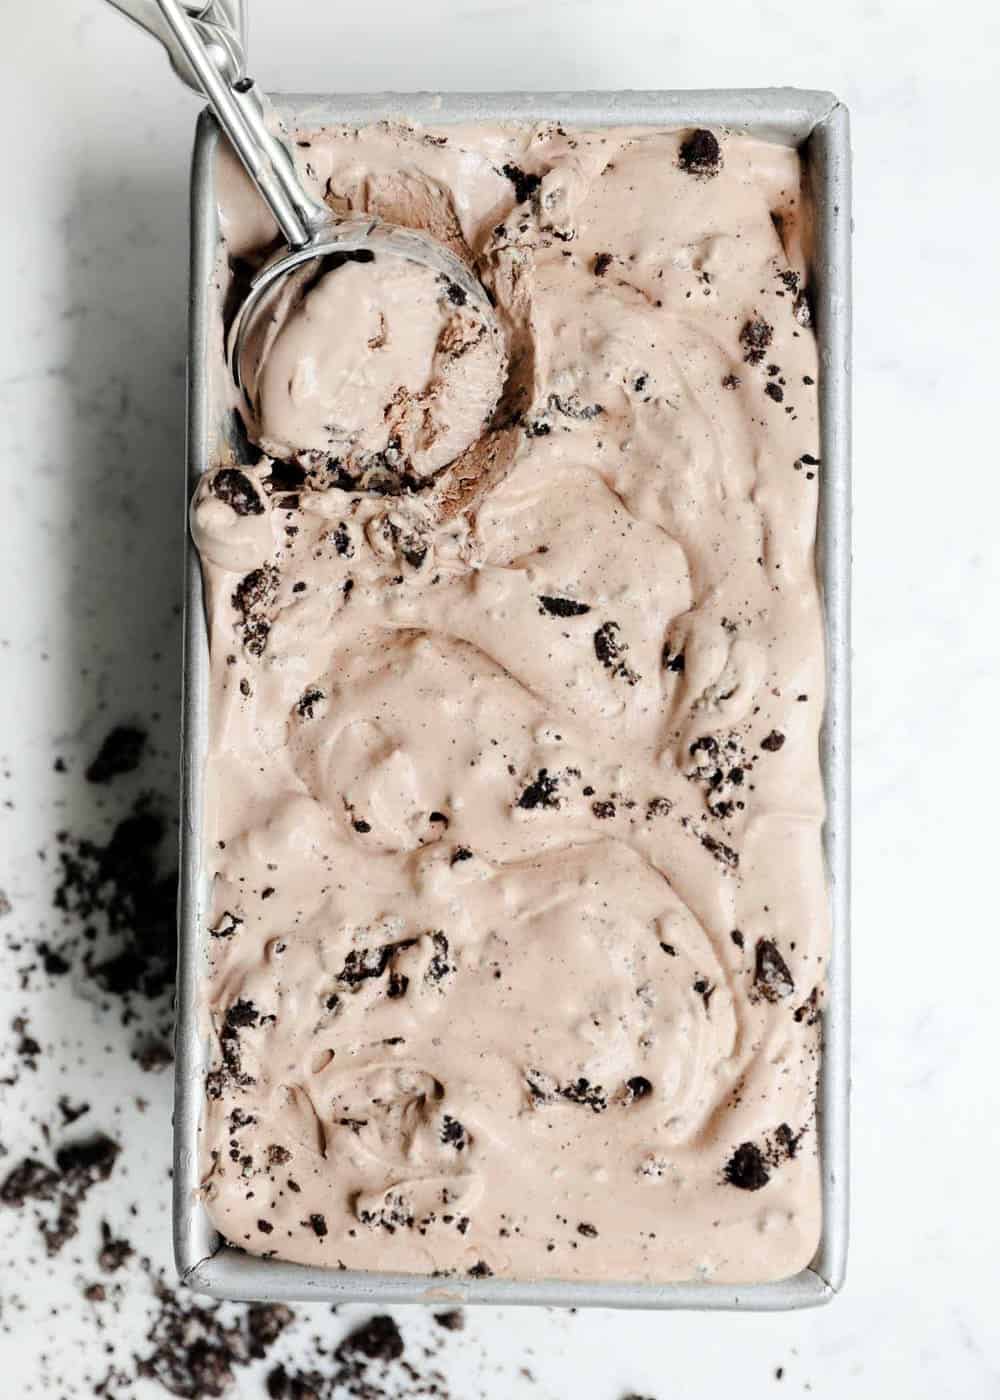
I love pouring the mixture into a bread loaf pan to store. I find it’s the perfect size and makes scooping extra easy! However any 9×9″ pan or 2-quart container will work. Just make sure to cover tightly with plastic wrap if using a loaf pan to avoid any freezer burn. It will stay fresh in the freezer for up to 3 months.
FAQs
Yes! It’s very creamy and has a velvety texture from the whipping cream. Whipped cream is what makes this frozen treat so creamy!
Stored covered near the back of the freezer it can last a few months. That is if it doesn’t get eaten first. If ice crystals start to form, it’s time to toss the ice cream.
You should get roughly 5-6 cups of homemade chocolate ice cream. The recipe will serve 12, but that really depends on how big your chocolate craving is!
Sure! If you would like to, you can! The beauty of this recipe is that you do not an ice cream maker, though! If you decide to use it, I would only churn it for 10-15 minutes to avoid ice crystals forming.
More Frozen Desserts for Summer
Browse allHUNGRY FOR MORE? Subscribe to my newsletter and follow on Facebook, Pinterest and Instagram for all the newest recipes!

Chocolate Ice Cream
Ingredients
- 1 pint heavy cream , 2 cups
- 1 cup chocolate milk
- 14 ounce can sweetened condensed milk
- ⅓ cup unsweetened cocoa powder
Optional mix in's (start with 1/2 cup): crushed OREO's, Reese's, M&M's
Instructions
- In a large chilled bowl, beat the heavy cream on high speed until a peak has formed (about 3-5 minutes). Once a peak forms, slowly add in the chocolate milk with the beaters still running.
- Fold in the sweetened condensed milk, cocoa powder and any mix in’s.
- Pour into a 9×9" pan or 2 quart container. Freeze until set (about 4 to 5 hours). Allow to soften slightly on the counter. Scoop and serve!
Notes
Nutrition
Nutrition provided is an estimate. It will vary based on specific ingredients used.
Did you make this recipe? Don’t forget to give it a star rating below!







Love this recipe! I have made it several times, however I use chocolate syrup to make my chocolate milk and add it to the condensed milk. Great flavor. My question is: Is it natural for all the condensed milk to sink to the bottom of the container? Any suggestions so this doesn’t happen? Thank you!
Due to it’s sugar content, it doesn’t freeze sold like milk would and come sometime separate. I usually just let the ice cream soften slightly and then give it a good stir before serving.
Instead of cream, would whipped non-dairy topping work?
I haven’t tried that, but let me know how it goes if you do!
WIth only 4-ingredient and no churn, this really is the easiest homemade ice cream that I have ever made! I love that you can add in any flavor or add-in that you desire!