I’m super excited to share my white and grey kitchen makeover (with pops of color too) with you today!
It’s been a little over a year since we moved in, so I thought it was about time I posted an update and a little tour. You may remember seeing the house tour, but I’ll share a before pic in case you don’t remember what it looked like when we bought it. I’ll share a source list at the bottom too, if you’re wondering where I got things from or paint colors.
It seems like I just shared my last kitchen makeover from my old house. Time is flying!
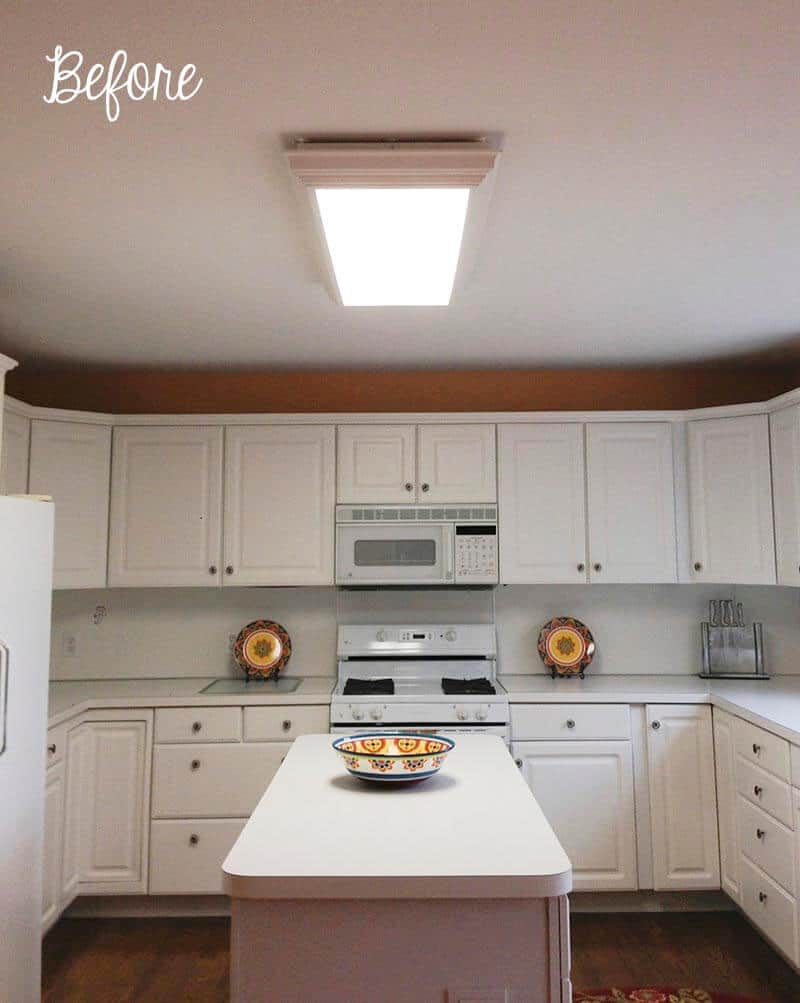
Ready for the before?! This is a pic from when we toured the house. It definitely was not in bad shape, but lacking personality for sure.
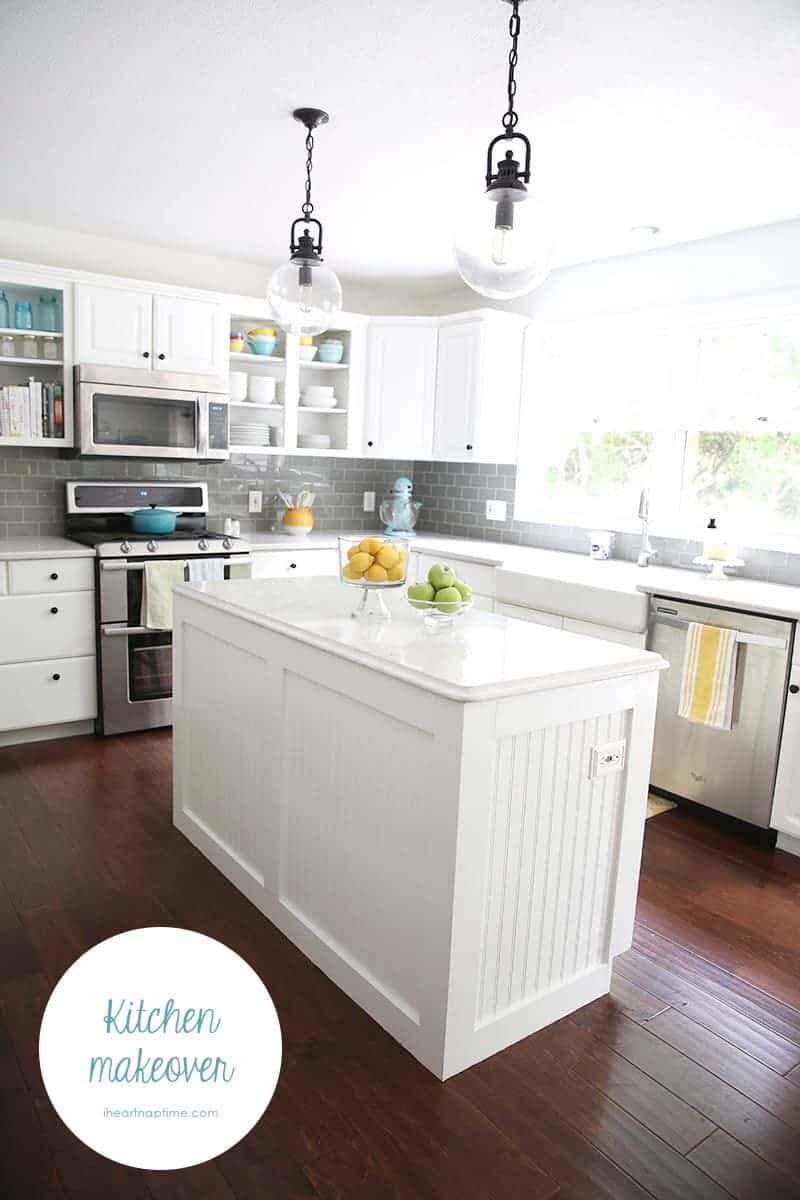
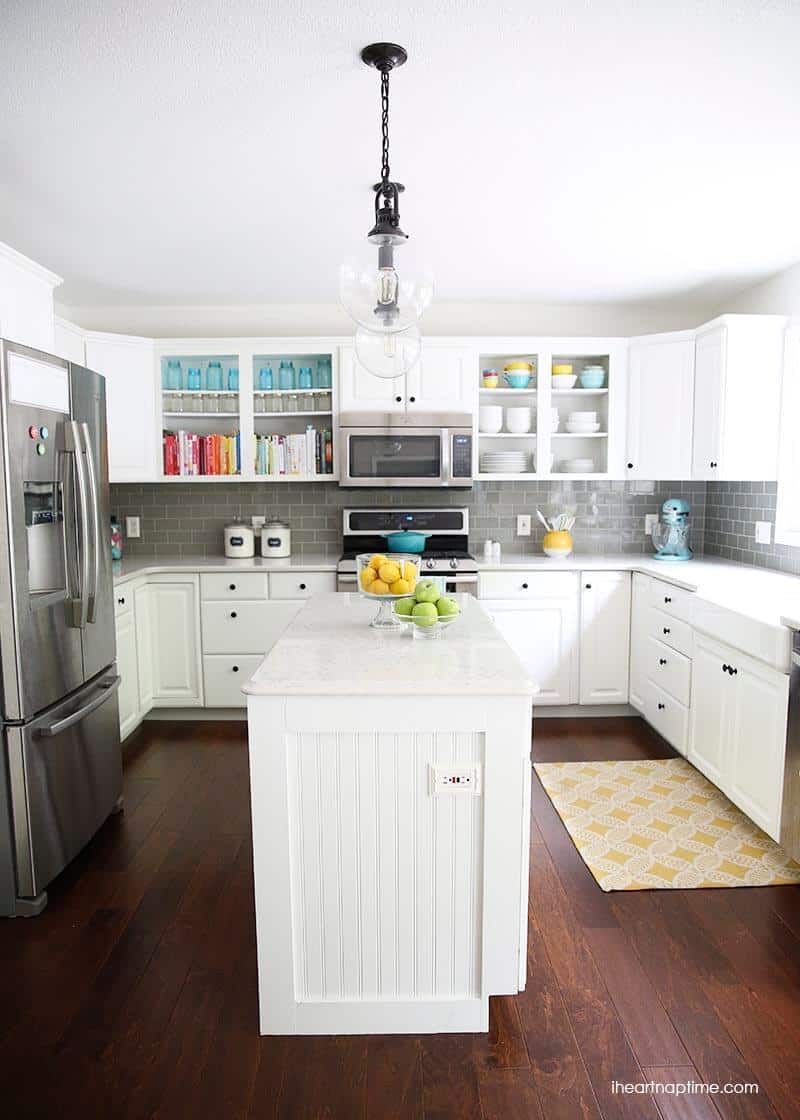
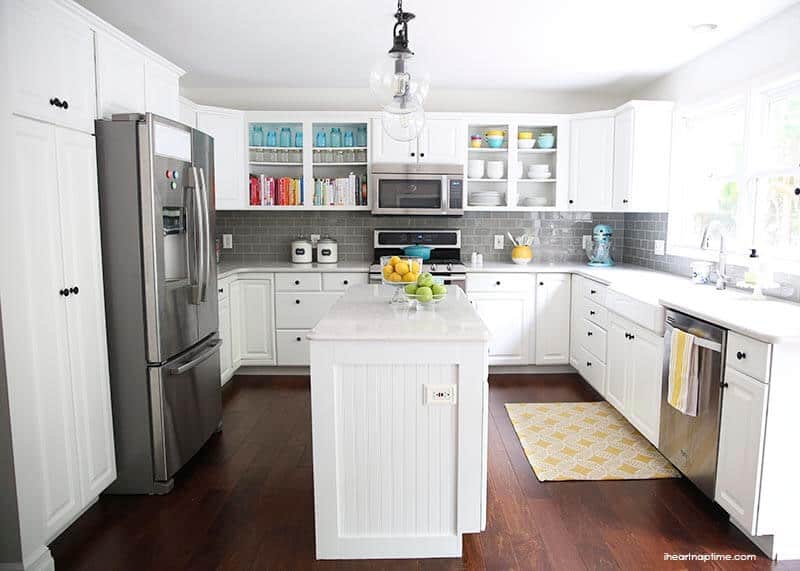
Here’s the after! What a difference! I am so in LOVE with all the white! Luckily there was already white cabinets, but with the yellow paint behind it, it just made everything feel darker.
So let’s take a tour, shall we?! I’ll show you what we did!
Before we moved in we had our floors replaced, then we did everything else about 6 months later. We basically painted all the walls, added beadboard and trim around the island (let me know if you want a tutorial) and then had the countertops and tile put in. I really wanted to go with marble, but after doing some research decided quartz would be better with kids. It looks really similar and holds up WAY better. You can’t scratch these countertops. They are awesome! My son helped me put in all the new knobs and boy does that make a difference! I seriously love how it all came together.
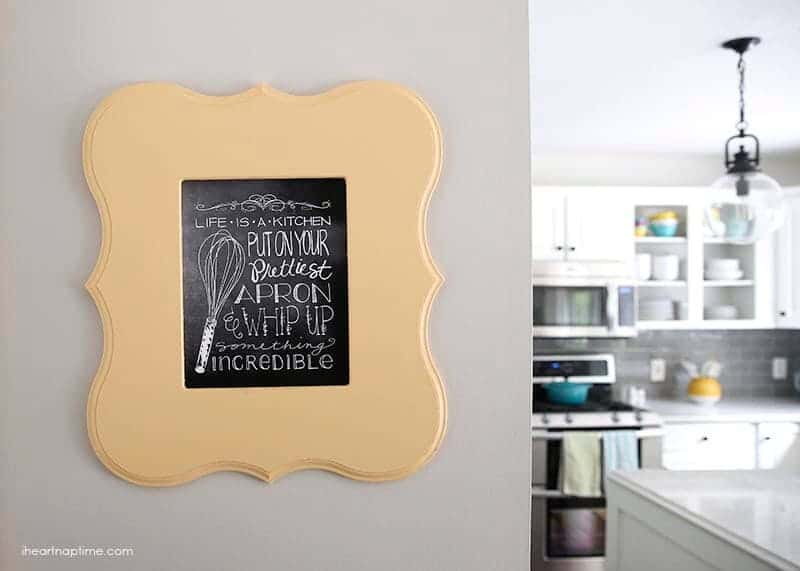
Still so in love this kitchen art too. It makes me happy every time I walk in the kitchen. You can download the free printable here.
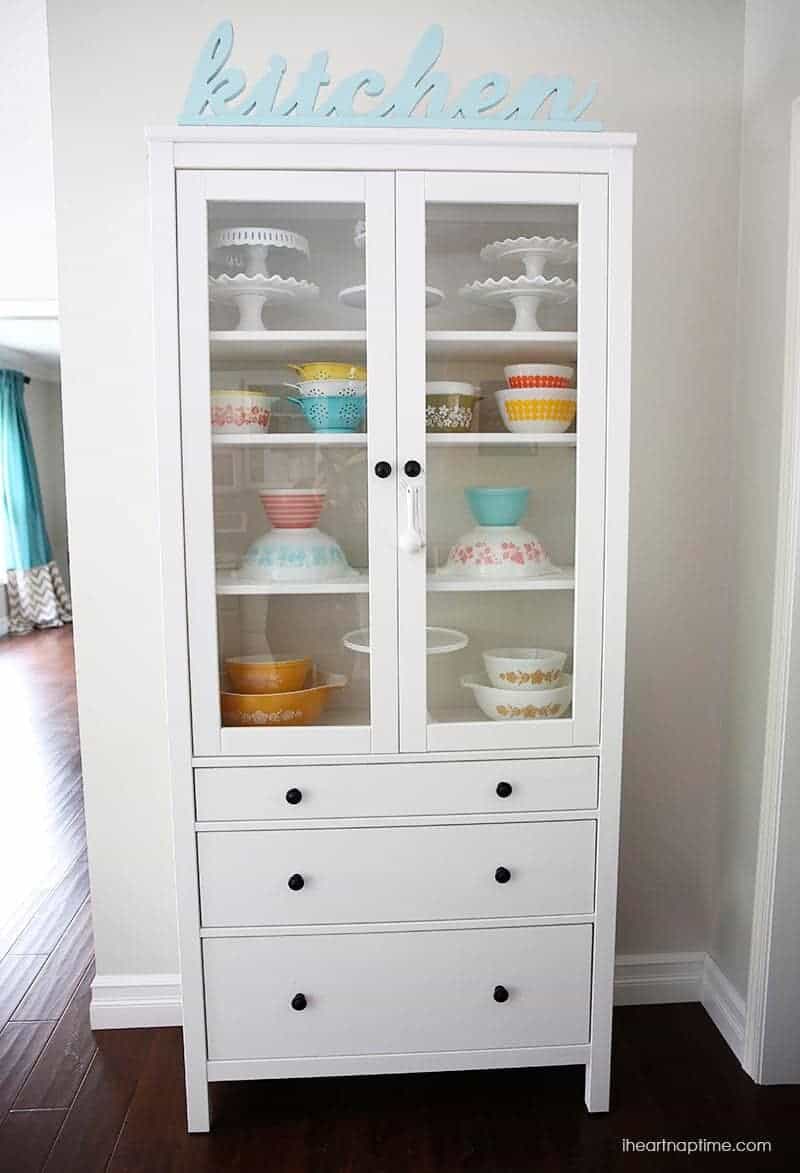
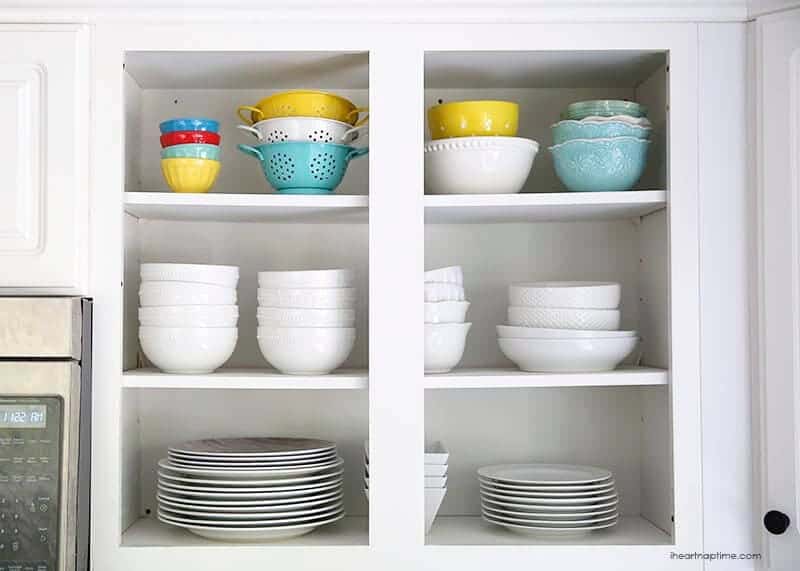
This cabinet (from ikea) also makes my heart pitter patter. I am seriously obsessed with vintage pyrex…so here’s where I store a few of my favorite dishes and cake stands.
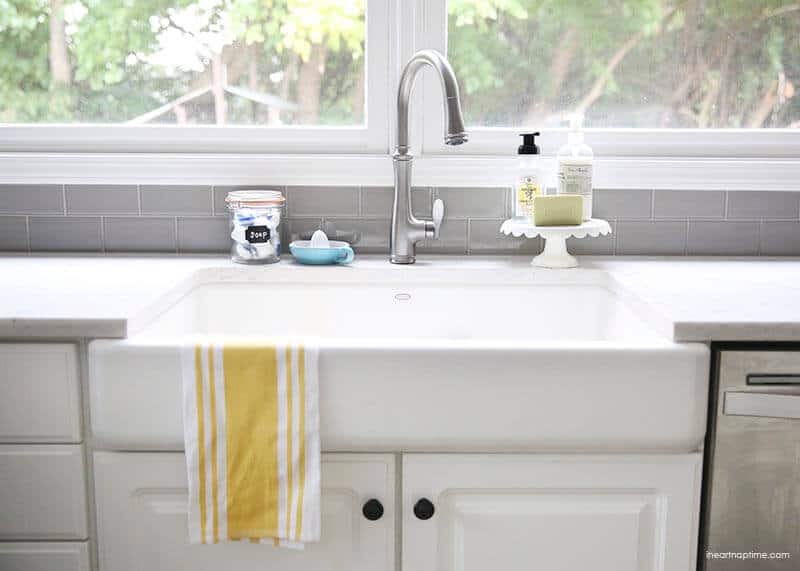
I’ve been dreaming about a farmhome sink for awhile now, so I was so happy to put one of these in our home. We went with the whitehaven self-trimming farmhouse sink from Kohler because it 1. it is gorgeous and 2. it has the self-trimming feature. This allowed us to remove the top panel and then slide the sink right in. A few of the other ones we looked at, we would have had to buy a whole new cabinet. I seriously LOVE this sink! Worth every penny!
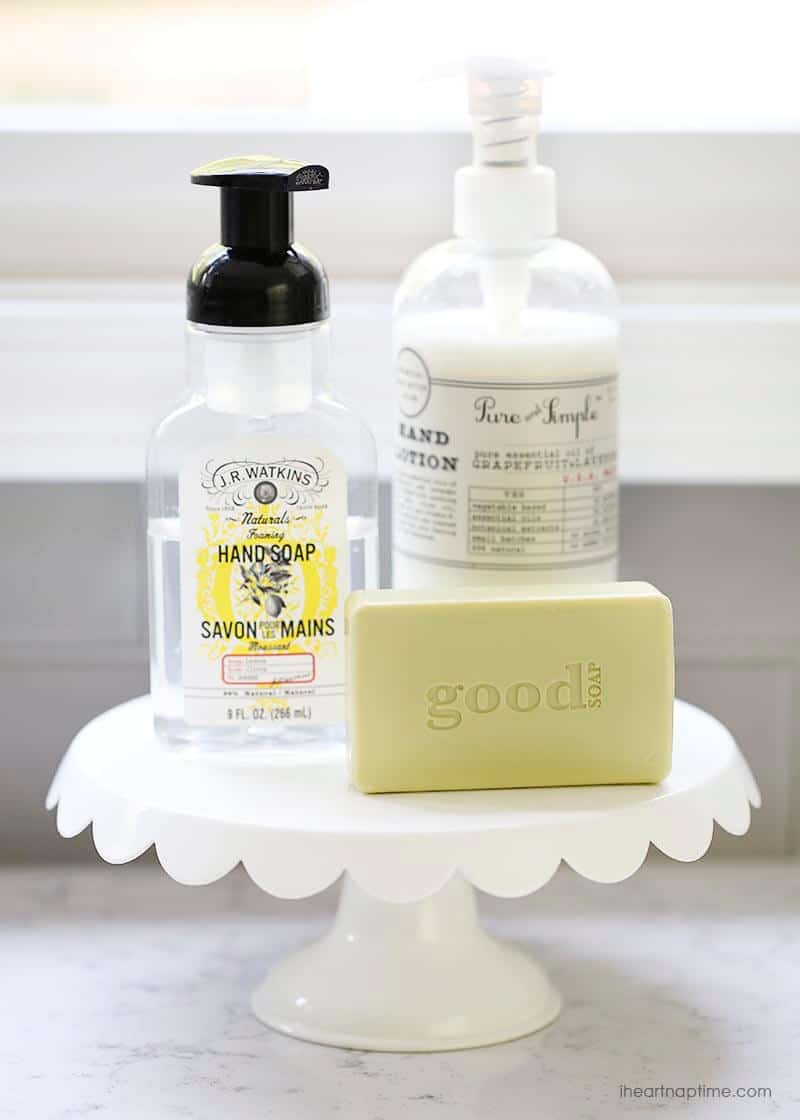
I sort of have a thing for cake stands and soaps. They just go together, don’t they?! I had these in my last kitchen, so thought I would have them here too.
Right before I started taking pictures of the kitchen, I thought it would be a good idea to take off these cabinet doors. I felt like it would open the space a little more and add some personality to the room. I’m so glad I did! I love the look! Such a cheap and easy way to transform a room.
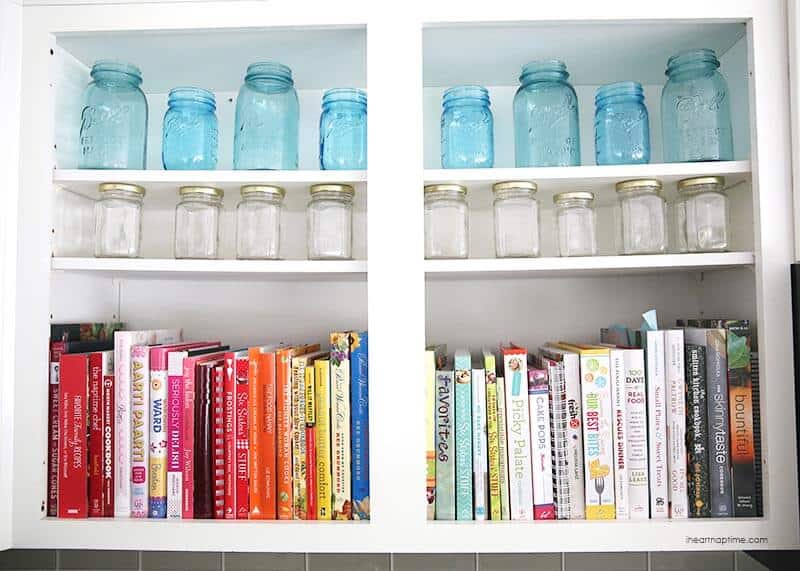
I had to do some serious organizing in this cupboard. You do not want to see the before pic on this one. ha! I love that all my cookbooks are color coordinated now. Hopefully, I’ll keep them this organized now that the doors are off. ;)
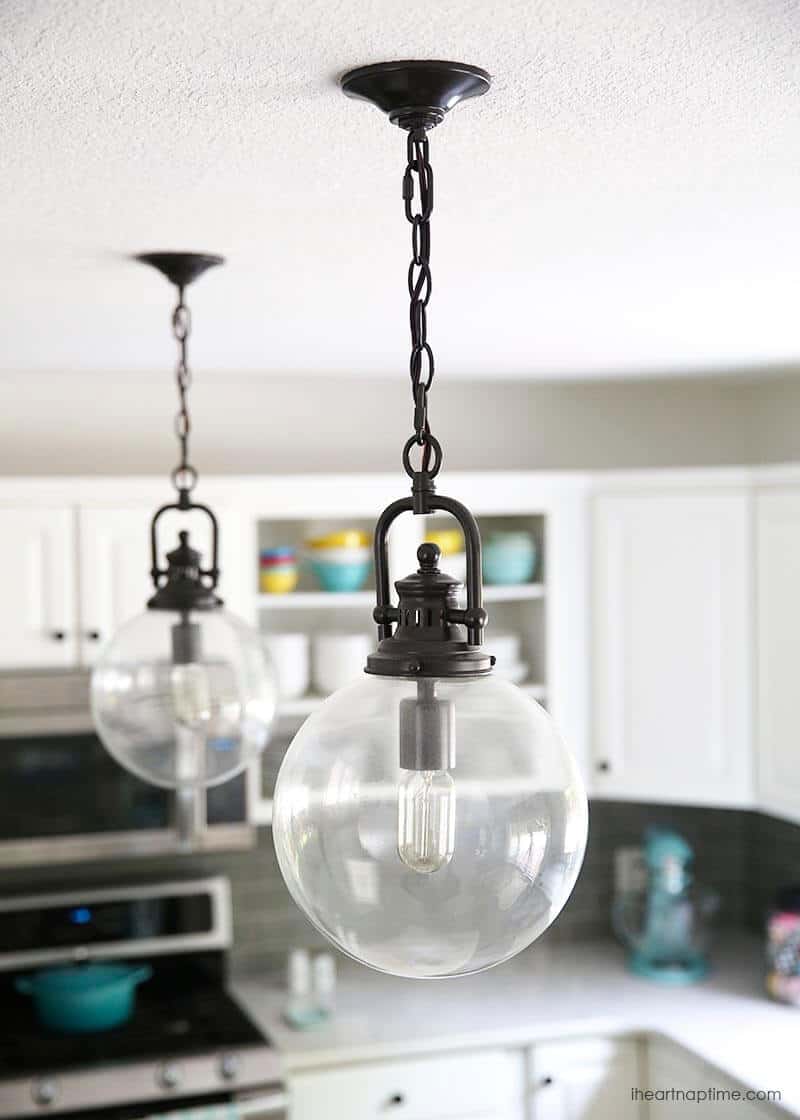
We also removed the giant white square light and installed these awesome globe lights I found at Shades of Light! I also found the edison light bulbs to put inside and love the look. These lights are always the first thing people comment on when they walk in.
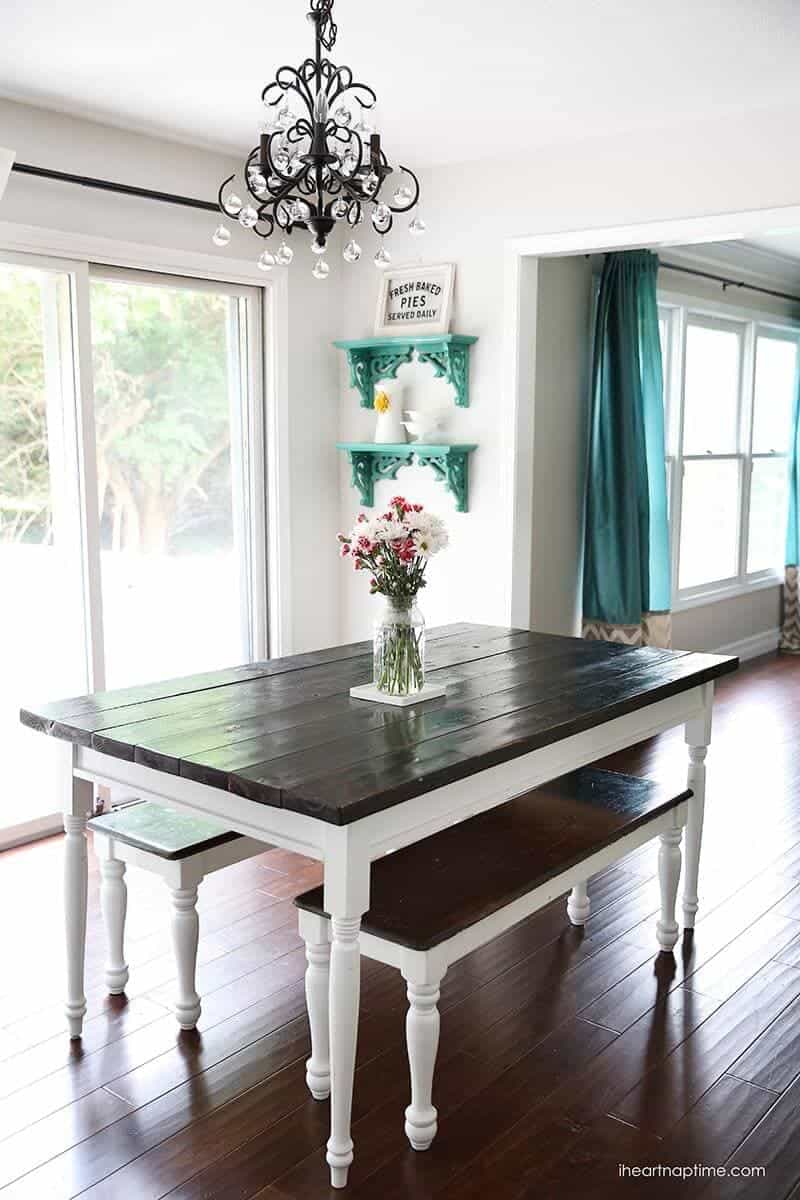
Here’s the kitchen table we built (tutorial here) with the fun new chandelier I found on sale at Pottery Barn. The table has held up so well! It definitely has some extra dings and scratches, but I think it gives it character.
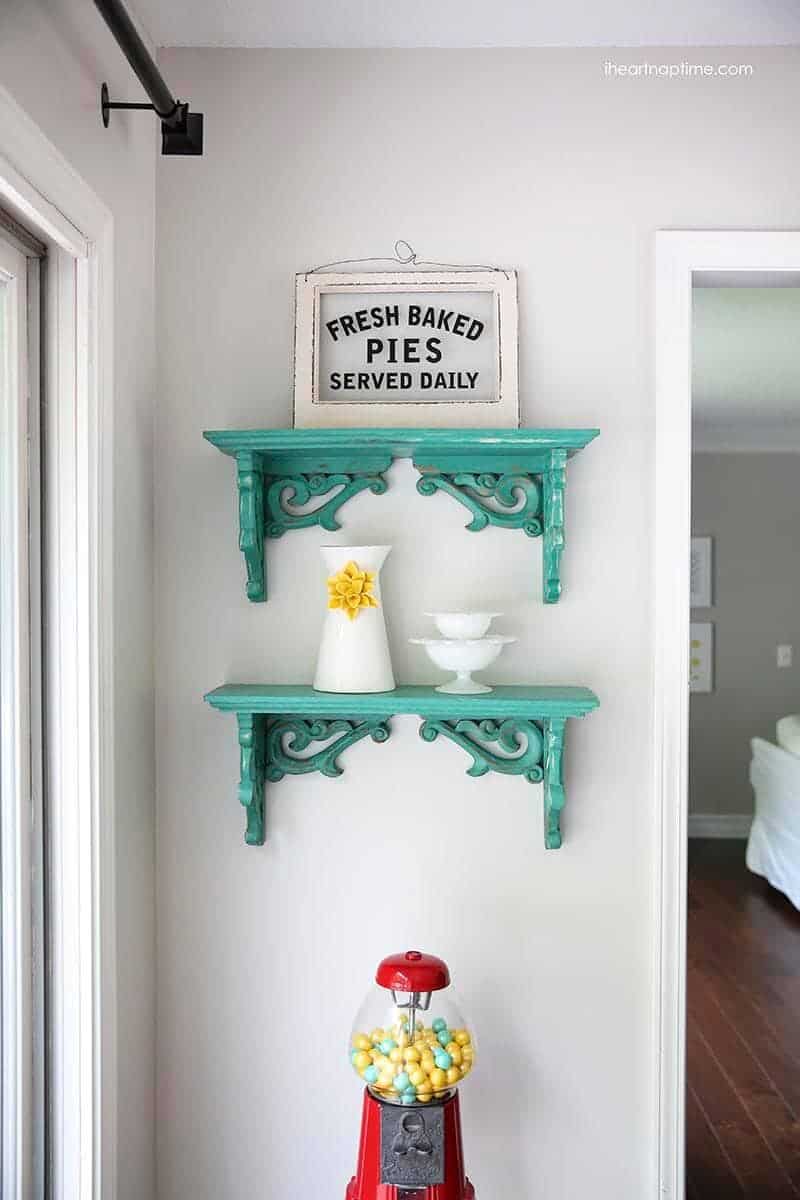
I found that awesome gumball machine from a yard sale for $5! Crazy, right?! It is so fun! And I rarely keep gumballs in there… but it is a fun piece of decor. I also love that fun pie sign I found at World Market. My husband was joking with me that it wasn’t true. Let’s be honest… I probably only bake pies twice a year …BUT I am usually baking/cooking SOMETHING daily. ;)
This girl loves to help me bake!
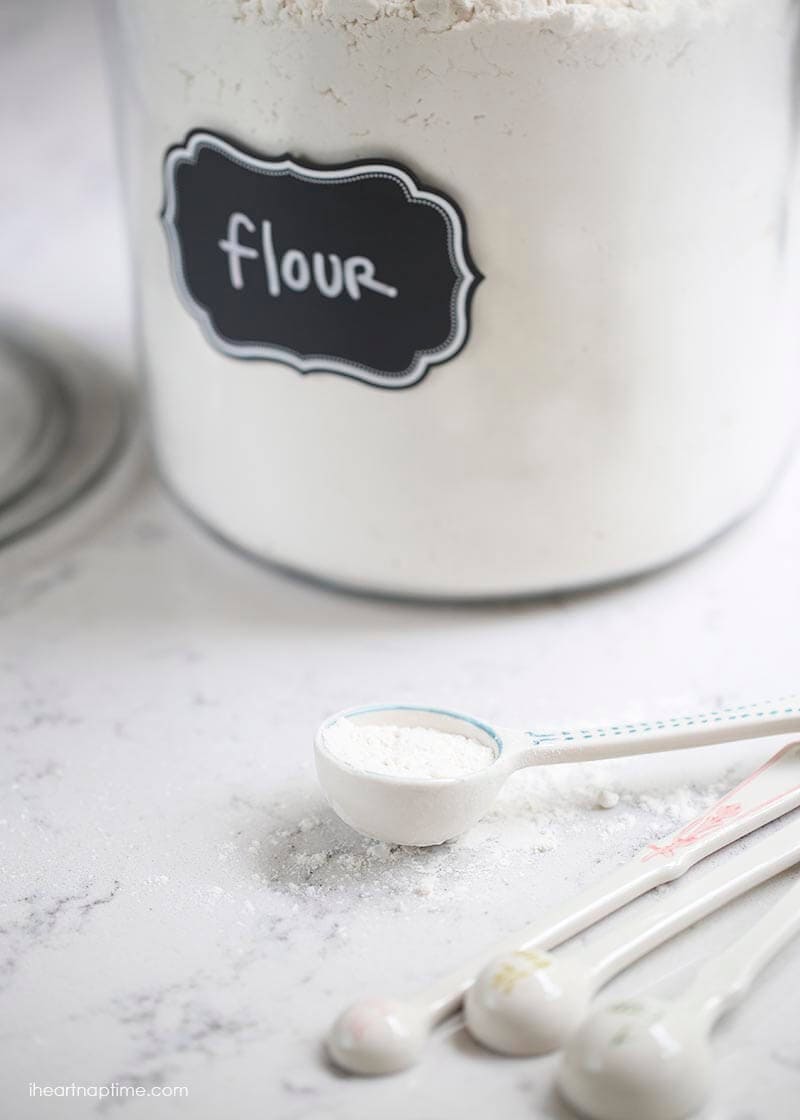
I love these big clear jars and have several of them throughout my house!
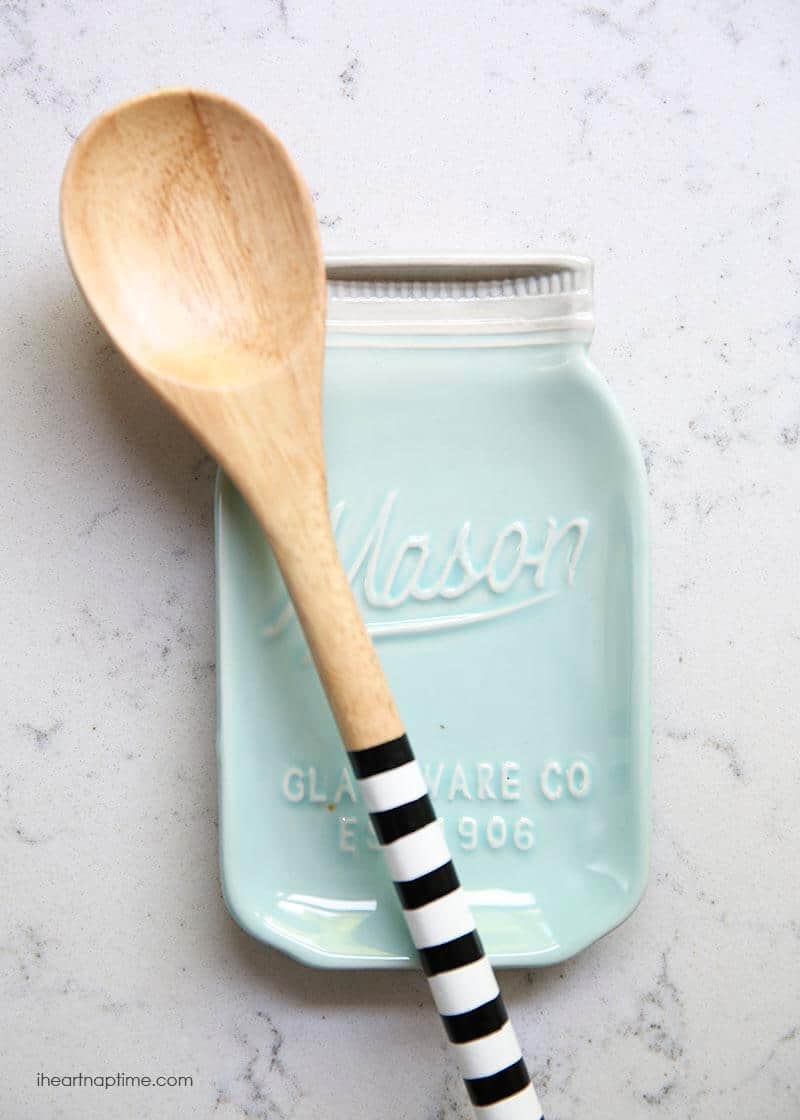
And how adorable is this spoon holder? I may be a tiny bit obsessed with mason jars too. ;)
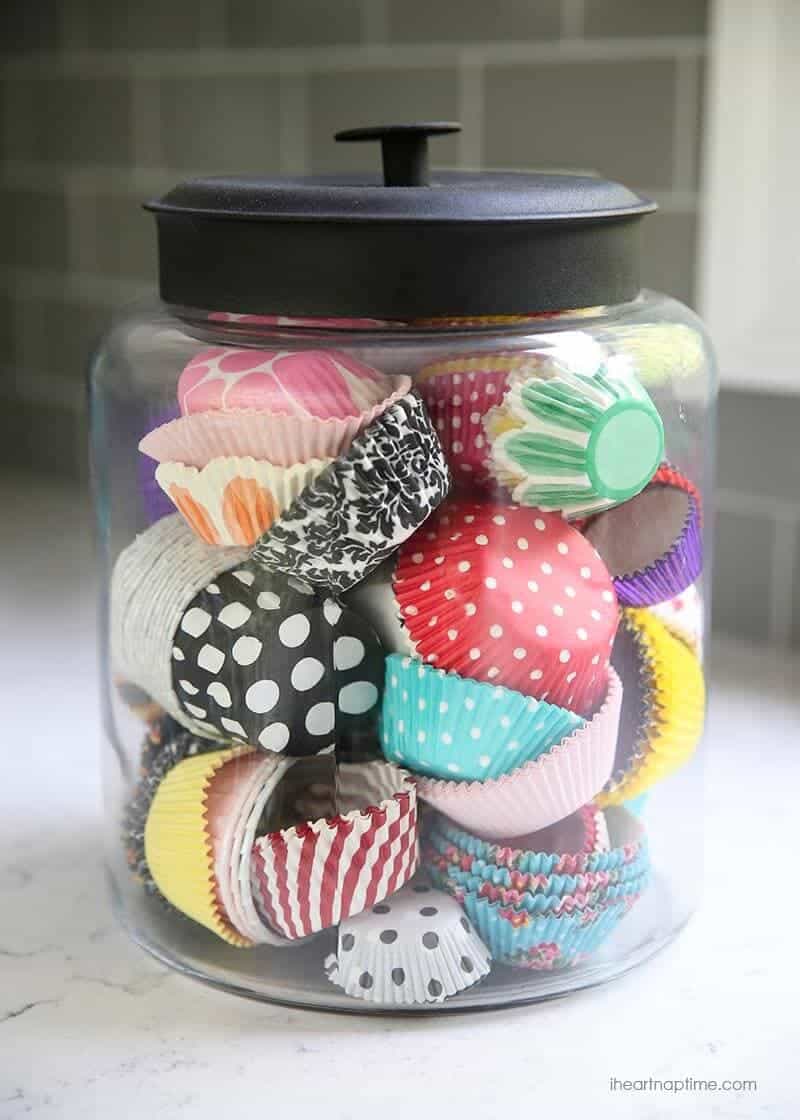
One of my favorite (and useful) pieces of decor is my cupcake liner jar. It adds such a fun pop of color to my kitchen.
Thanks for coming with me on a little tour of our new kitchen! If I’m missing something and you’d like to know where it’s from just leave a comment and I’ll add it to the source list. :)
Source list:
- Paint- Incredible White from Sherwin Williams
- Countertops – Quartz, Lyra (local)
- Backsplash -Grey glass subway tile (local)
- Hardware – Flat black knob from D. Lawless Hardware
- Sink –Whitehaven self-trimming farmhouse sink from Kohler
- Faucet – Bellara in stainless from Kohler
- Light fixtures -Globe lights from Shades of Light
- Yellow rug -Target
- Shelves -Home Goods
- Flour jars- Target (got the Martha Stewart labels from Staples)
- Kitchen table -DIY tutorial HERE
- Kitchen art -free printable here
Thanks for reading! Happy friday friends! XO




WANT TO DO A SIMILAR ISLAND IN OUR KITCHEN. LOVE WHAT YOU DID. WAS IT BEADBOARD PANELING OR THE INDIVIDUAL SLATS THAT YOU USED. THANKS FOR THE FEEDBACK.
We added beadboard and trim around the island! :)
I love your kitchen. Looking at doing a similar design and can only fit a narrow island bench. What width is your island?
Hi Kylie! I’m not sure on the dimensions. We recently sold the home or else I would measure it for you! Good luck with your kitchen remodel. :)
Congrats Jamielyn!!! Great job done by renovator. Really I love it.
Thank you Mike!
I LOVE it. Looks amazing!
OMG LOOOOVE the after!!!!!! Beautifullllllly done! Congrats!
Could you tell me the dimensions of your kitchen? It is beautiful! Thanks a bunch!
Thank you! I believe it’s about 13×18. :D
Your kitchen layout is so similar to ours and the colours you have used are so similar to what we have chosen for our renovation. Can you please tell me what colour sink you choose? thanks!
I got the white one! :)
I love what you did! I would love a tutorial on the island beadboard and trim. We are starting this in a couple weeks. Eek!
It is beautiful! Truth be told I am not big on all the white, just not my style but I love the open shelving! And how pretty to display your cookbooks there!
Absolutely gorgeous! I had a question, as a few others asked about how you added the beadboard as well. For those of us that are starting out as DIY-ers, can you possibly do a tutorial? It would be much appreciated! I just found your sight and in love!
If I do it again, yes!
How can I find out how you added the beadboard and trim on the island?
Thanks!
Typically, beadboard is added with glue and penny nails. :)
my husband and I want to update the lighting in our kitchen. Have you found with you new light fixtures that you don’t have enough light to cook in the evening time?
They don’t put off very much light at night, but we have canned lights we put in as well that provide more light :)
This turned out amazing. You had great bones to start with. It is a very welcoming kitchen and I like that.
Oh, how I want a brighter, whiter kitchen. Great job, it looks awesome!
i love love love the shade of gray that your subway tiles are. If you don’t mind sharing where you bought them locally,I would love to know the color and how to contact them. I keep ordering samples of grays that aren’t just right!
can you please tell me the dimensions of the room? I’d like a similar layout but not sure it will all fit in my kitchen
Hey, Jamielyn! Love your updated kitchen! We just redid ours in similar colors! We also have 2 ugly fluorescent lights… Did you have to get an electrician to change from fluorescent to your hanging bulbs… And did you have to paint your ceiling? Would LOVE to get rid our the fluorescents… But they do supply a lot of light and didn’t know how extensive the work would be.
Any insight would be helpful!!
Thank you!
Hi Samantha! I just had my husband change the bulbs. Yes, we painting our ceiling as well. :)
your island is exactly what I’m wanting to do to mine! night. What width and depth boards around the island? It looks about 3inches wide and 1/4 inch thick? Looks great!!