Tender, crisp apple slices nestled in a flaky crust, brushed with lemon juice, cinnamon, vanilla, and brown sugar, results in a French apple tart that is almost too pretty to eat!
I love to make homemade fresh fruit desserts like pies and tarts! This fresh fruit tart is also a summer favorite.
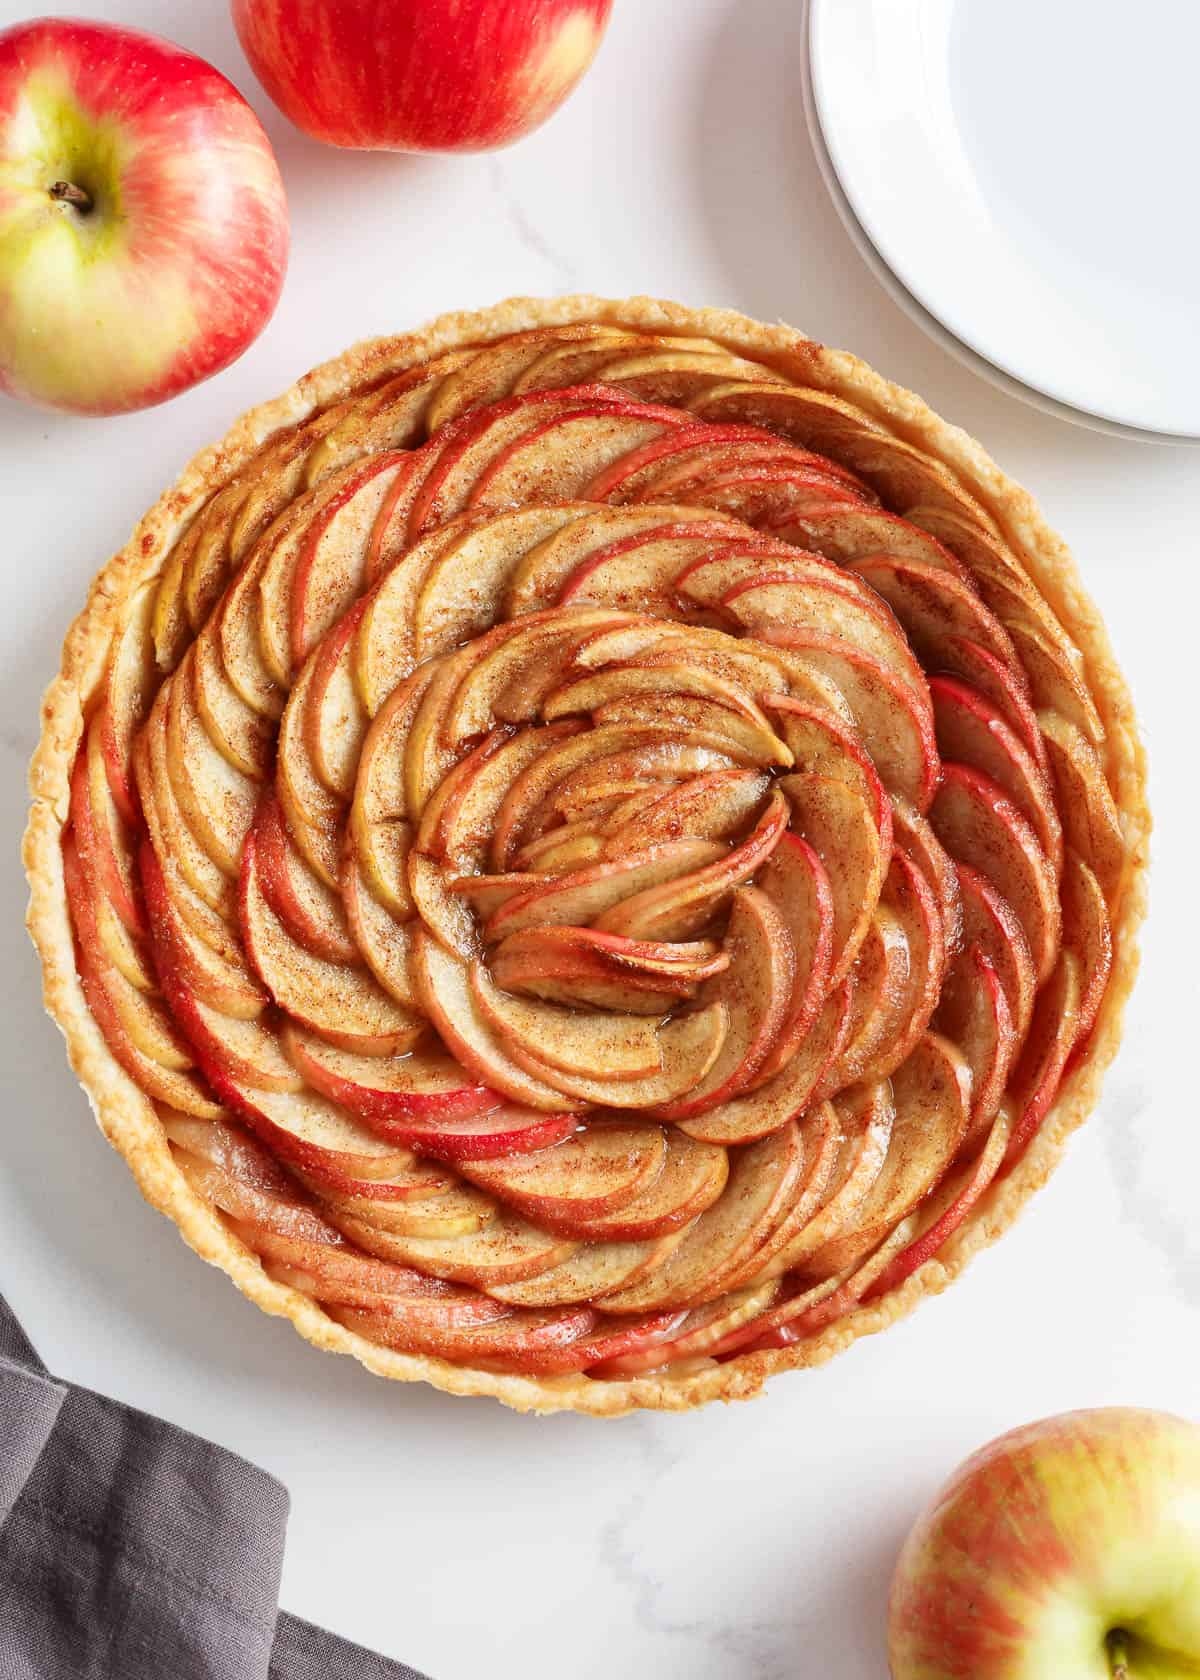
Table of Contents
Easy French Apple Tart
It’s about that time when we all start looking for new apple dessert recipes and this French apple tart, or tart aux pommes as its also known, is one I’m excited to share with you.
When served with a scoop of vanilla ice cream on the side, it makes for a really special treat!
Apple Tart Recipe Ingredients
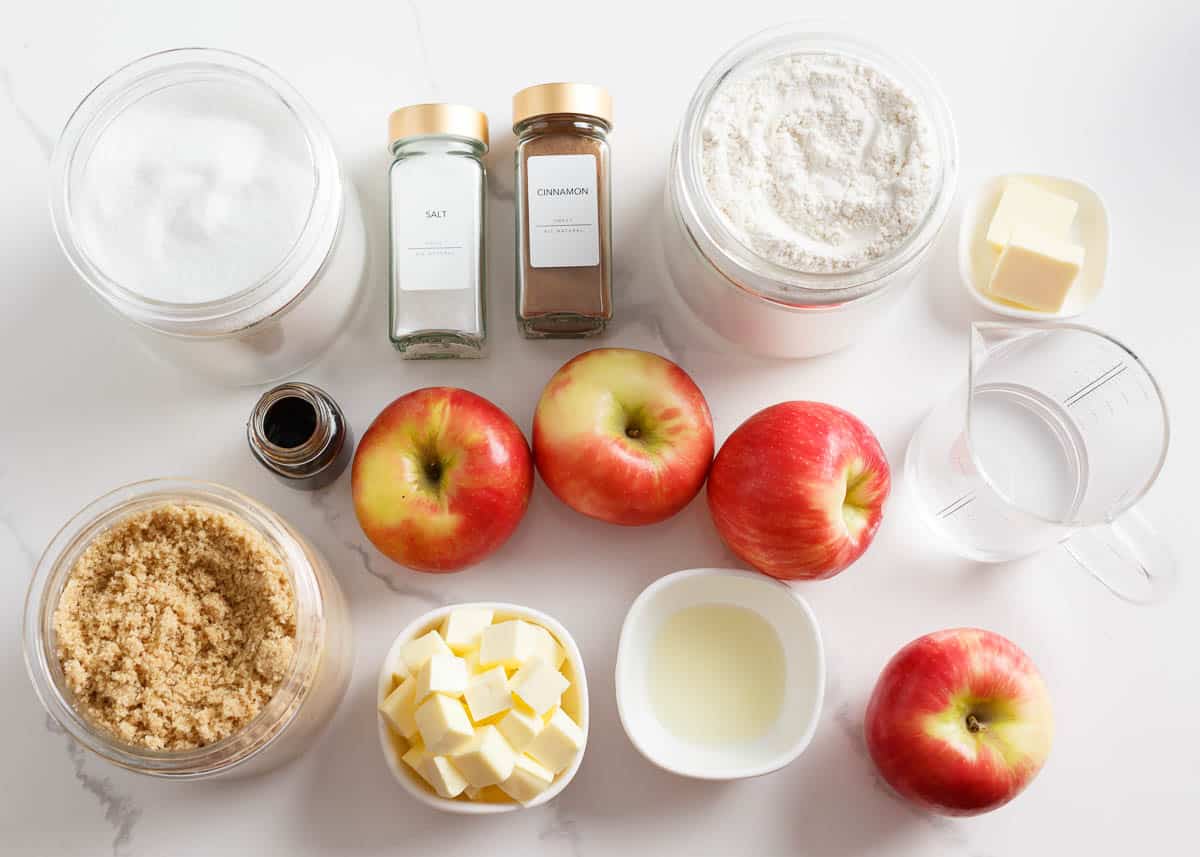
Find the full printable recipe with specific measurements below.
- For the dough: All-purpose flour, sugar, salt, ice water, and cold unsalted butter cut into cubes. The cold butter and ice water delivers a tender and flaky butter pie crust.
- Apples: Keep the apple peel on for that rustic look. They also hold their shape better with the skin on.
- Lemon juice: Real lemon juice is recommended over the bottled stuff for best flavor.
- Butter: Since we’re not using any salt in the apples, you can use salted butter here if preferred.
- You’ll also need: Ground cinnamon, pure vanilla extract, granulated sugar, and brown sugar.
Best Apples to Use
I use either Granny Smith apples or Honey Crisp because they’re quite firm and hold up to baking well. I also enjoy the tartness of the Granny Smith apple.
You can use whatever apples you’ve got on hand, like Braeburn, Golden Delicious, or Fuji apples, or a combination of a couple of different kinds.
How to Make a French Apple Tart
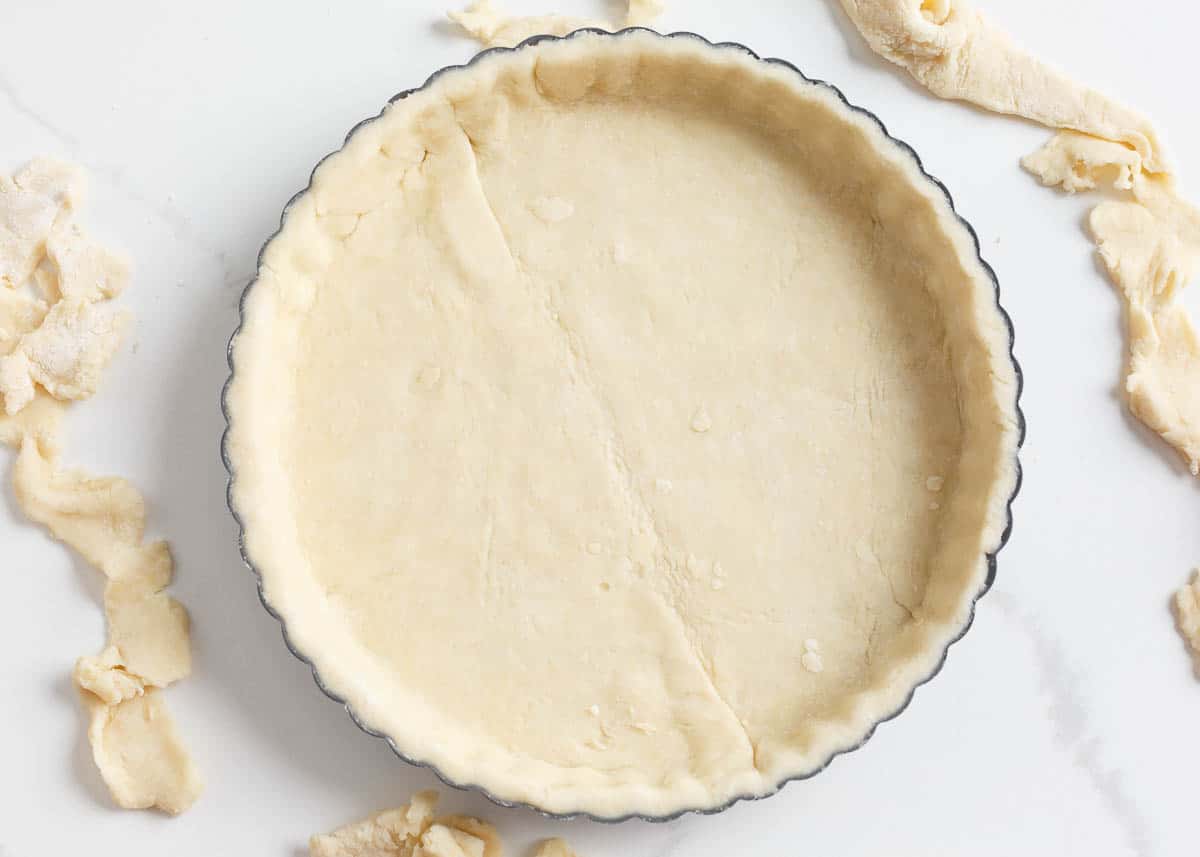
Prepare the crust in a food processor. The mixture will be crumbly but will hold together when pinched. Once compacted into a dough, roll the pastry dough into a 13-inch circle and carefully place it into the tart pan. Freeze it while the oven preheats.
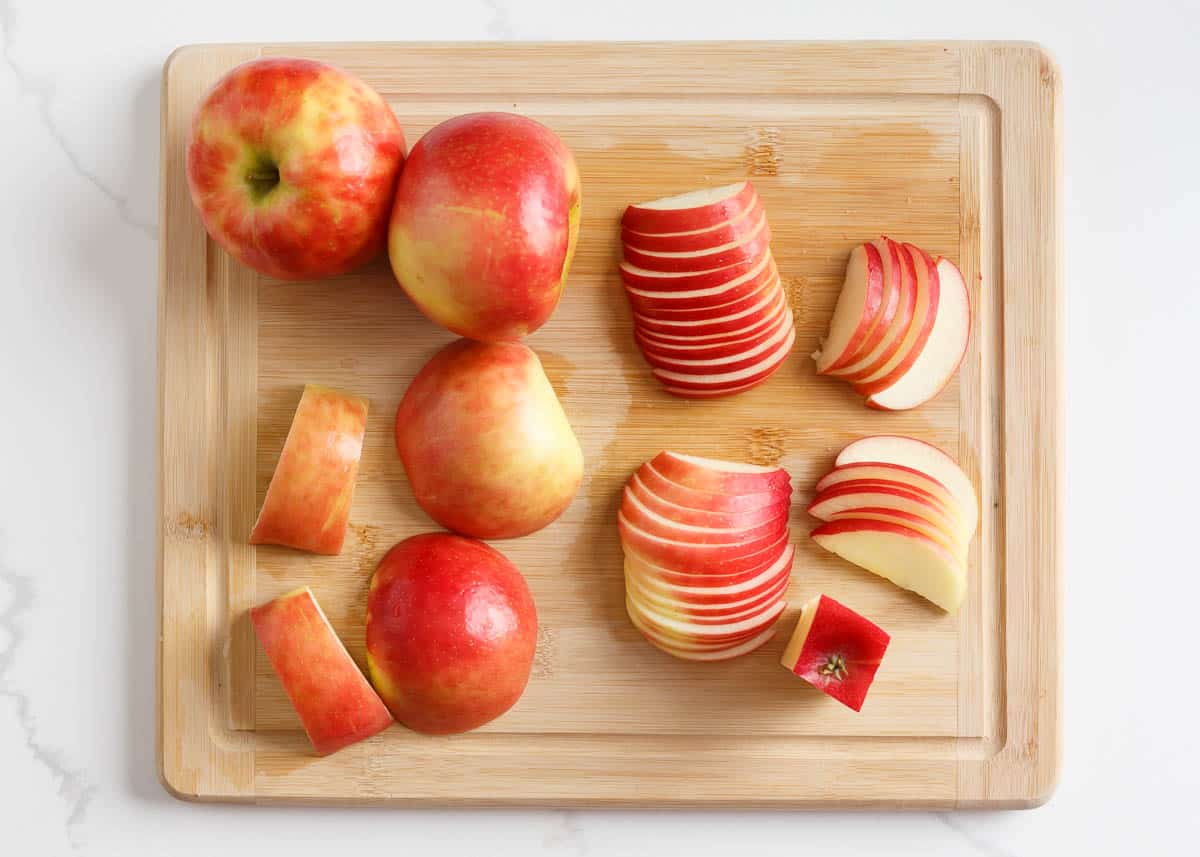
Cut four sides off of the apple core. Lay the pieces flat side down onto a cutting board and cut into less-than-thick slices. You don’t want them too thin, but you can use the widest setting on a mandolin if slicing with a small knife isn’t going to cut it.
Lay the slices of apples down into the tart crust, fanning them out into desired pattern like diagonal rows, a circular pattern or a rose. Brush the brown sugar, lemon juice, cinnamon, and vanilla mixture over the apples and sprinkle with sugar. Dot top with butter and bake.
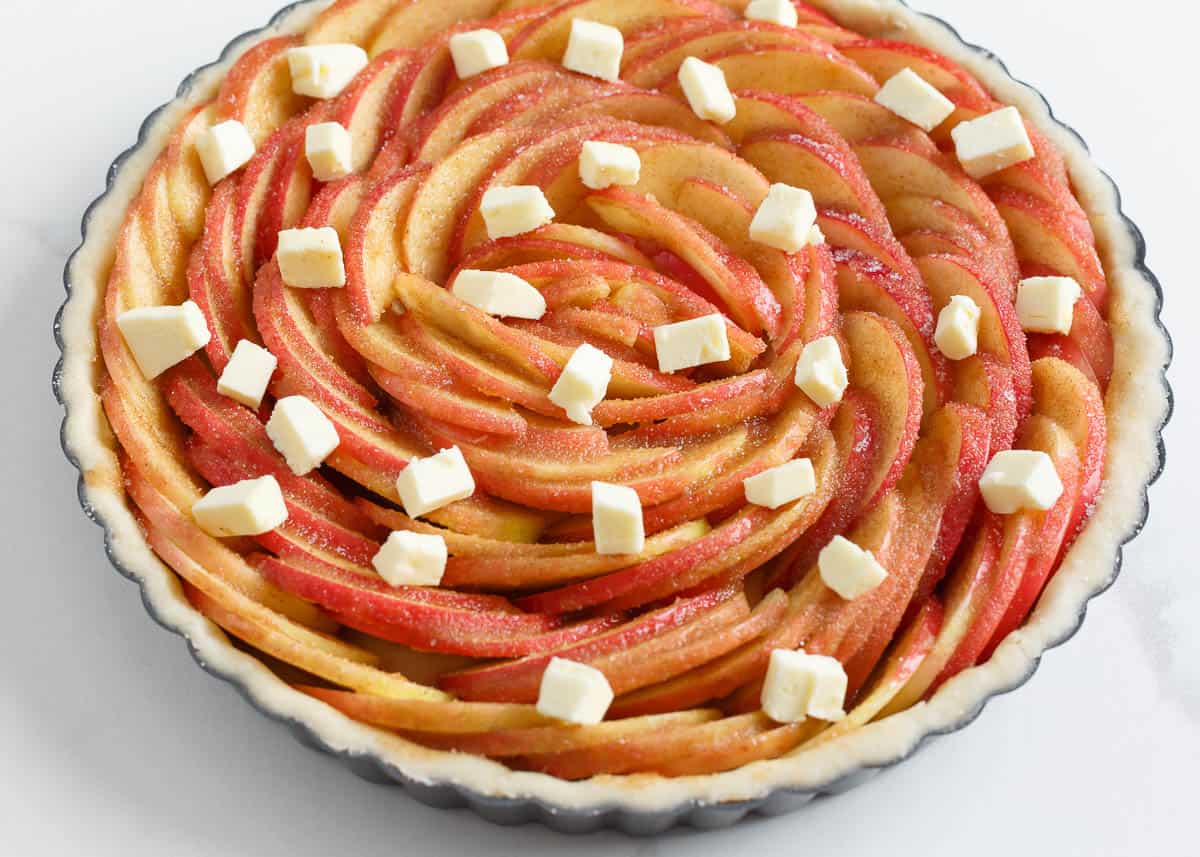
Recipe Tips
- Use a tart pan with a removable bottom. It’s easier to slice when there are no pan edges in the way.
- You can use a pie plate if you don’t have a tart pan, but keep in mind that apple tarts will be smaller and not quite as pretty.
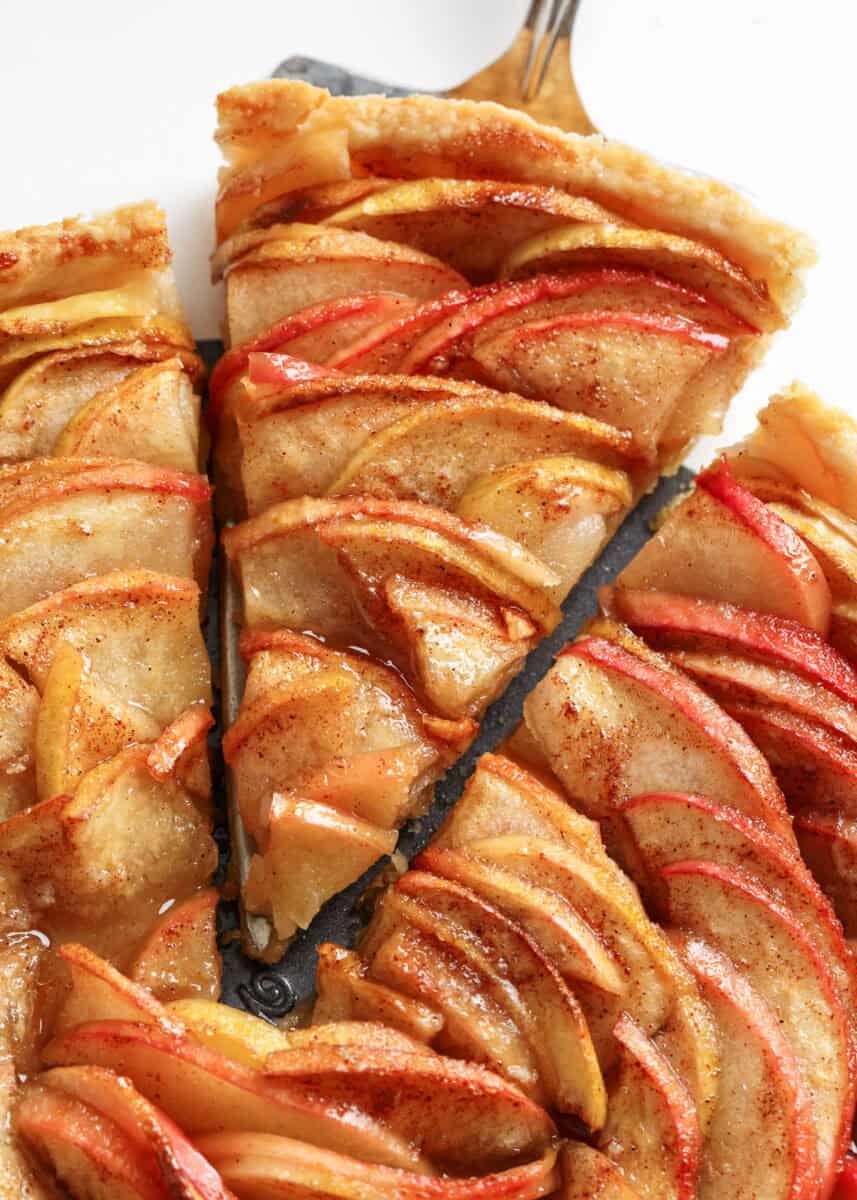
- Allow the pie to set for a few minutes before slicing. Otherwise, the apple juices will run everywhere.
- Use leftover apples to make apple sauce, apple compote, or these caramel apple pie bars. Check out my tips to keep cut apples from turning brown.
- While you can make these into mini fruit tarts, I’d recommend using the larger pan.
More apple recipes to try include apple crumble, easy apple crisp recipe and apple turnovers.
More Apple Dessert Recipes
HUNGRY FOR MORE? Subscribe to my newsletter and follow on Facebook, Pinterest and Instagram for all the newest recipes!
Apple Tart Recipe
Video
Ingredients
For the tart dough:
- 1 ¼ cup all-purpose flour
- 1 Tablespoon sugar
- ¼ teaspoon salt
- 8 Tablespoons butter (1 stick), cold, and cubed
- ¼ cup ice water
For the apple filling:
- 4 apples, such as granny smith or honey crisp
- ⅓ cup packed brown sugar
- 1 Tablespoon lemon juice
- ½ teaspoon ground cinnamon
- 1 teaspoon pure vanilla extract
- 1 Tablespoon granulated sugar
- 2 Tablespoons butter, cut into small pieces
Instructions
Prepare the pastry dough
- Using a food processor, add the flour, sugar and salt and pulse a couple times. Add the cold, cubed butter and pulse until butter is the size of peas—should be about 10 -15 pulses. Add the ice water and pulse again about 10 times until the mixture is crumbly but holds together when pinched.
- Place a tea towel on the counter and dump the crumbly dough mixture into the center of it. Pull the corners of the towel together and twist to create a beggar’s purse, pressing the dough into a round.
- Roll out the dough on a lightly floured surface into a 13 inch circle. Use additional flour to prevent it from sticking to the surface. Gently fold dough in half and transfer to a tart pan with a removeable bottom. Unfold the dough and fit it into the pan, trimming the edges. Transfer to the freezer for 30 minutes.
- Preheat the oven to 400°F.
Prepare the apples
- Cut the 4 sides off each apple core, and lay the pieces flat onto a cutting board. Slice thinly, keeping the slices together as you cut.
- Place the apples flat side down onto the tart, fanning them out slightly, into whatever pattern you desire.
- In a small mixing bowl, mix together brown sugar, lemon juice, cinnamon and vanilla. Brush over the apples.
- Sprinkle tart with granulated sugar and dot top with butter.
- Bake tart for 35 – 40 minutes. Let cool slightly before slicing and serving.
Notes
Nutrition
Nutrition provided is an estimate. It will vary based on specific ingredients used.
Did you make this recipe? Don’t forget to give it a star rating below!
Recipe FAQs
This tart is best enjoyed the day it’s made; however, if you keep it refrigerated in an airtight container, you can still enjoy leftovers for a few days. The crust will get soggy as the days go by, but the flavors will remain intact.
Apple pie tarts freeze great. Wrap your leftovers in plastic wrap and place them in a freezer bag or freezer-safe container. Keep frozen for up to 2 months. Thaw in the fridge overnight and reheat it in the oven. You can use the microwave as well; however, it’ll be much softer this way.






This French apple tart is so beautiful to eat! When we finally tasted it, we loved it! Super delicious and the recipe is easy to follow.
Agreed, it’s so pretty! Glad you enjoyed it!
That is the prettiest tart!! And, it’s so good!! If you love apples, then you will love this dessert!
Almost too pretty to eat, but delicious, too!
Love how elegant this looks but is actually so easy to make!
Agreed! Thanks for the review!