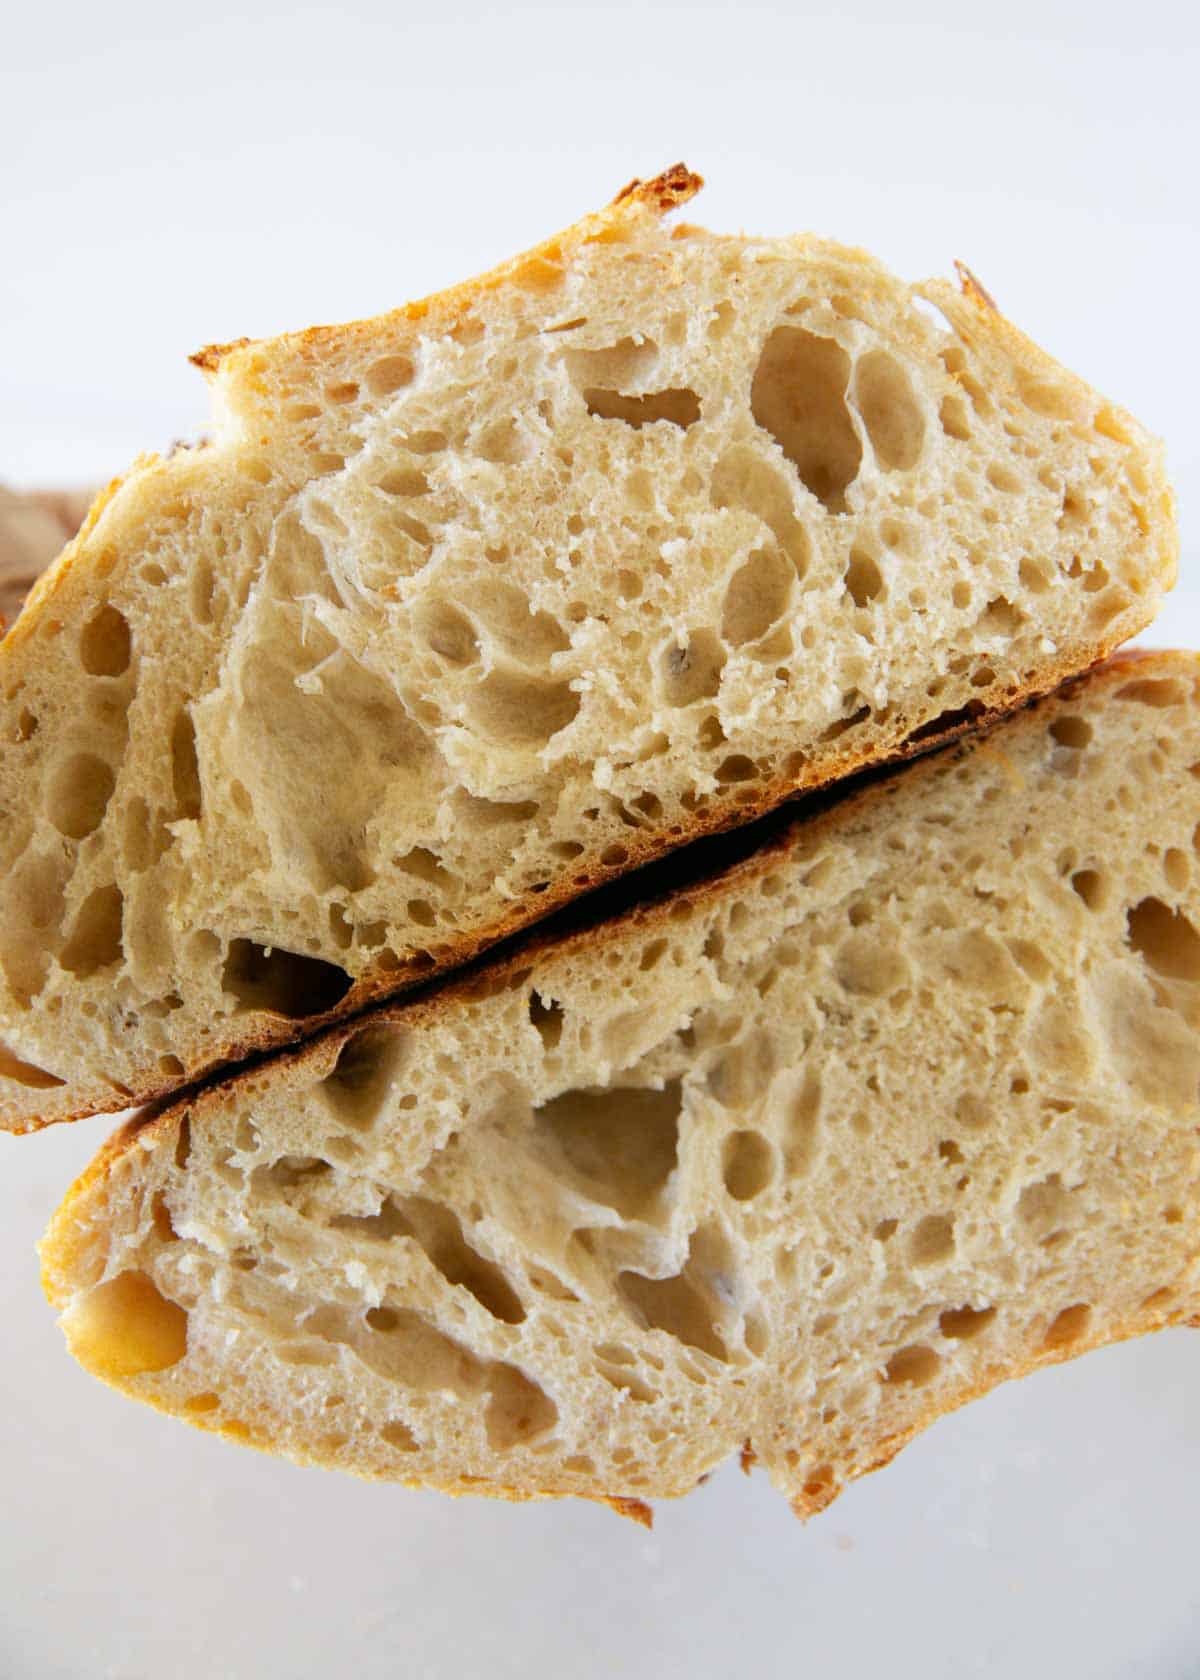
Learn to make your very own homemade sourdough bread with this easy recipe for beginners. You will love the crispy golden crust and tender chewy crumb.
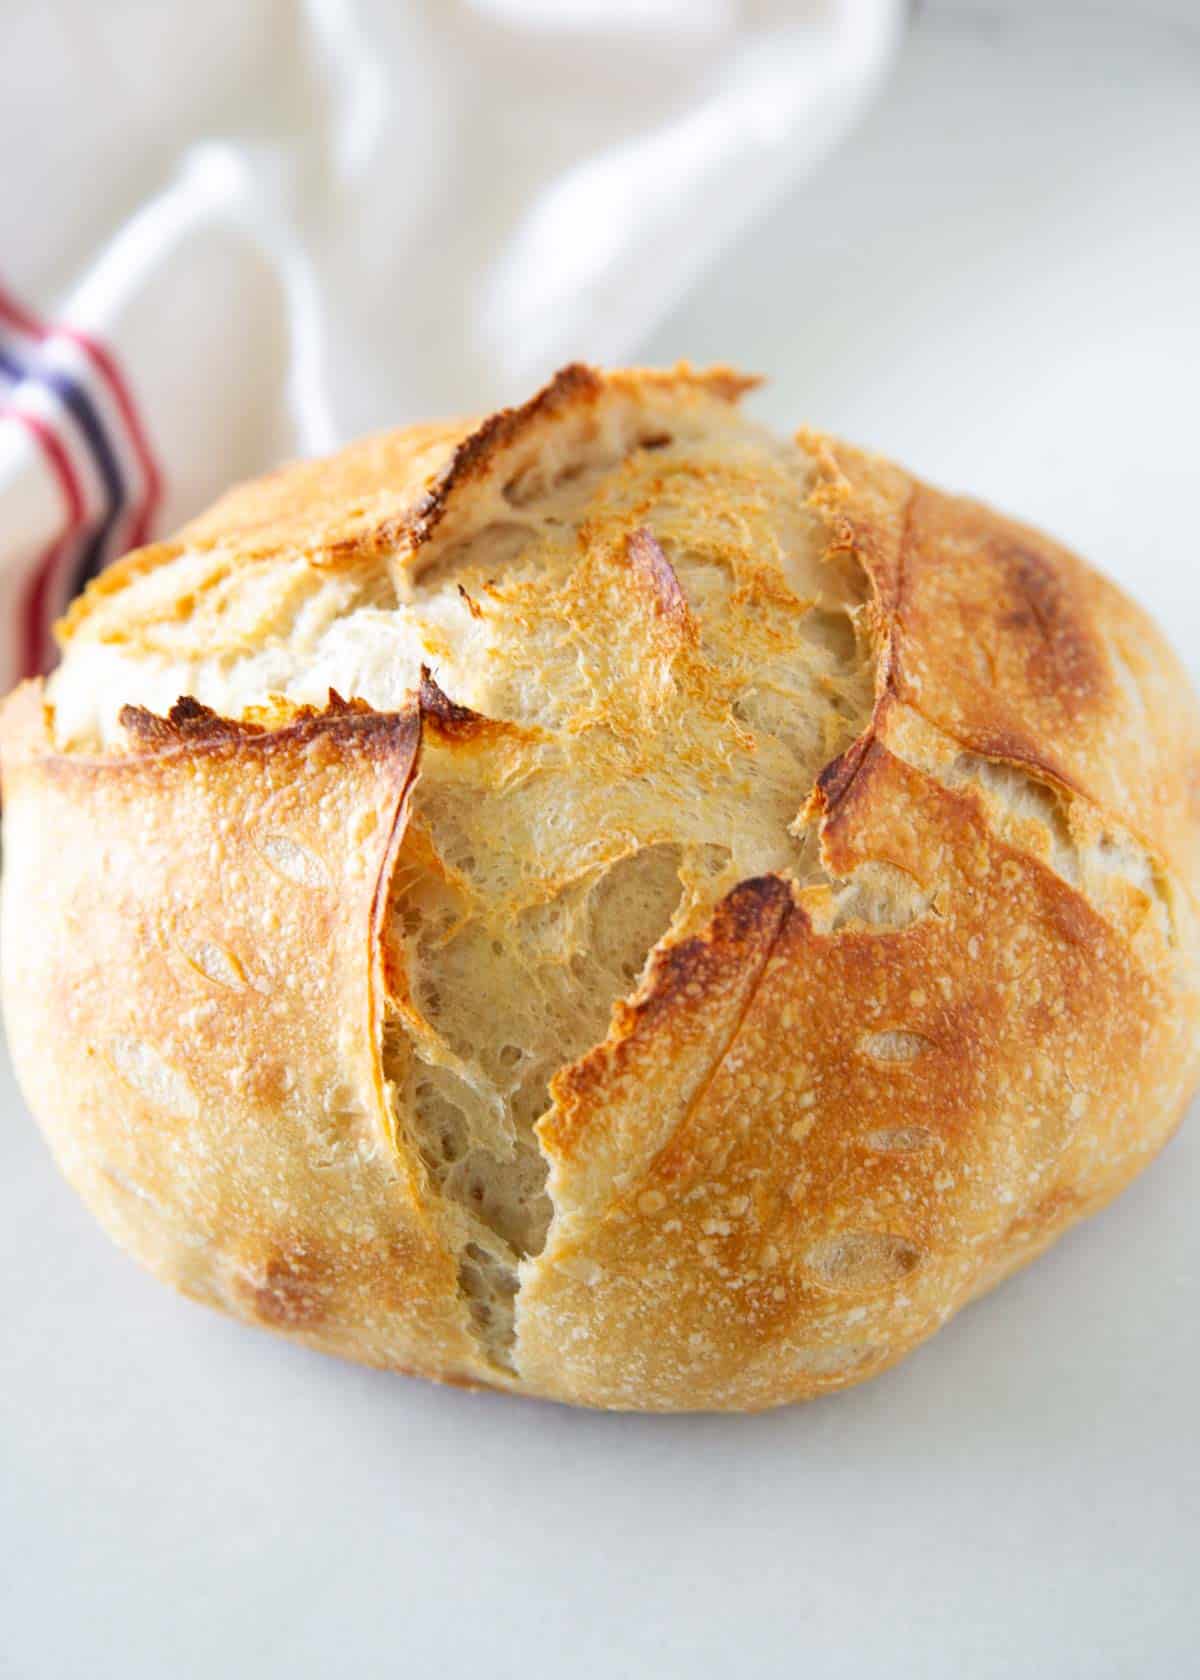
Table of Contents
Homemade Sourdough Bread
Learning how to make an easy sourdough bread is not a quick process like an easy Dutch oven bread, nor should it be. It’s a labor of love and is absolutely worth it!
You’ve probably heard all the hype around the superior taste and health benefits of sourdough bread. Well, now’s your chance to jump on the bandwagon with my easy-to-follow, step-by-step guide!
Sourdough Bread Ingredients
If you’ve been lucky enough to have been given a sourdough starter then you’re ahead of the game. If you’re starting from scratch, I’ve got a great sourdough starter recipe for you.
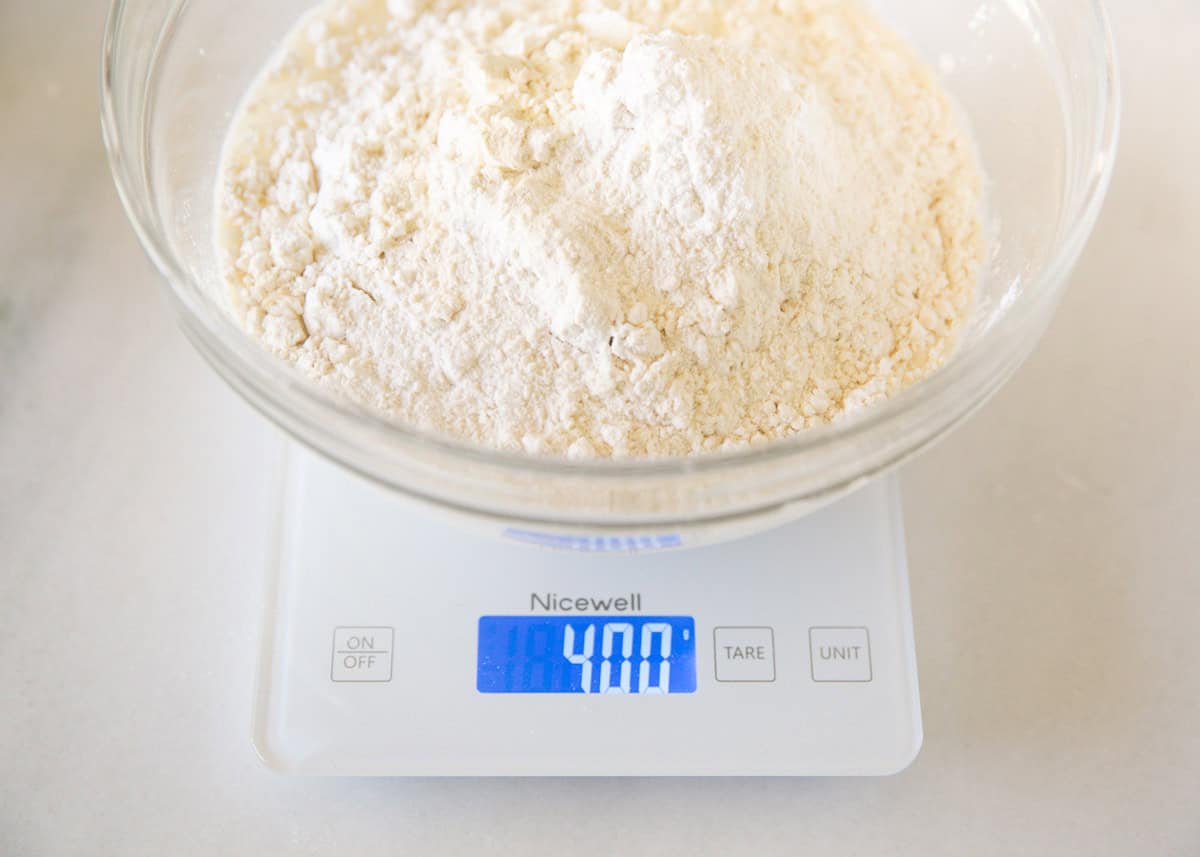
Find the full printable recipe with specific measurements below.
- Bread flour: This type of flour has more protein in it than regular all-purpose which is what helps to give it a sturdier texture and a chewier crumb. Measure it properly!
- Water: Helps to blend the flour with the starter to form a proper dough.
- Sea salt: Enhances the flavor of the sourdough bread.
- Sourdough starter: This is essentially fermented flour and water that is fed by bacterial and natural yeast in its environment. This naturally occurring yeast means there are no leavening agents or store-bought yeast required. Feed your starter about 3-4 hours before beginning.
- Brown rice flour: To dust the loaf to prevent sticking as it rises. Brown rice is used so you do not add additional gluten to the bread.
Step By Step: How to Make Sourdough Bread
Like any good rustic artisan bread, it’s going to have a crackly crust and a chewy crumb with tons of beautiful air pockets. No stand mixer or electric hand mixer is required!
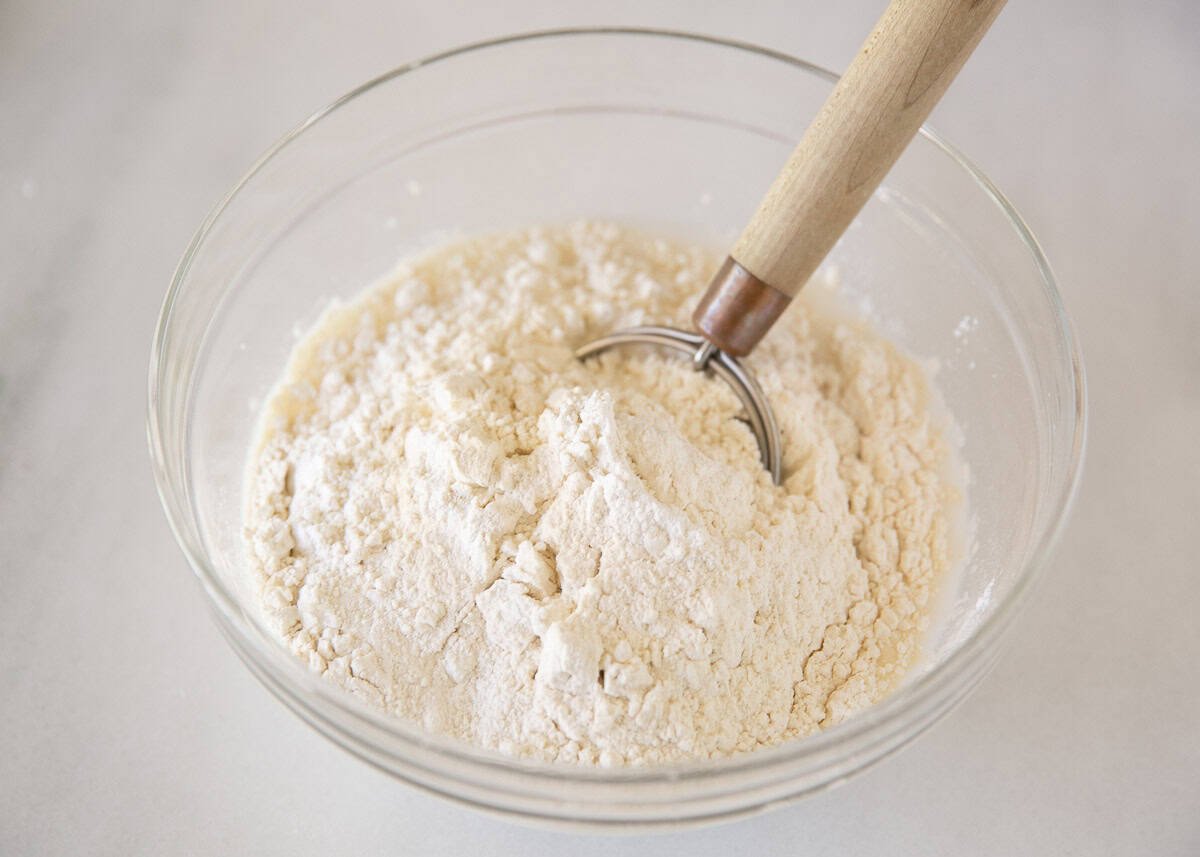
In a large bowl, mix the water and starter with a dough whisk. You can also use your clean hands if preferred. Then add the bread flour to the mixture and combine until it’s a shaggy dough (soft, floury, and not completely cohesive).
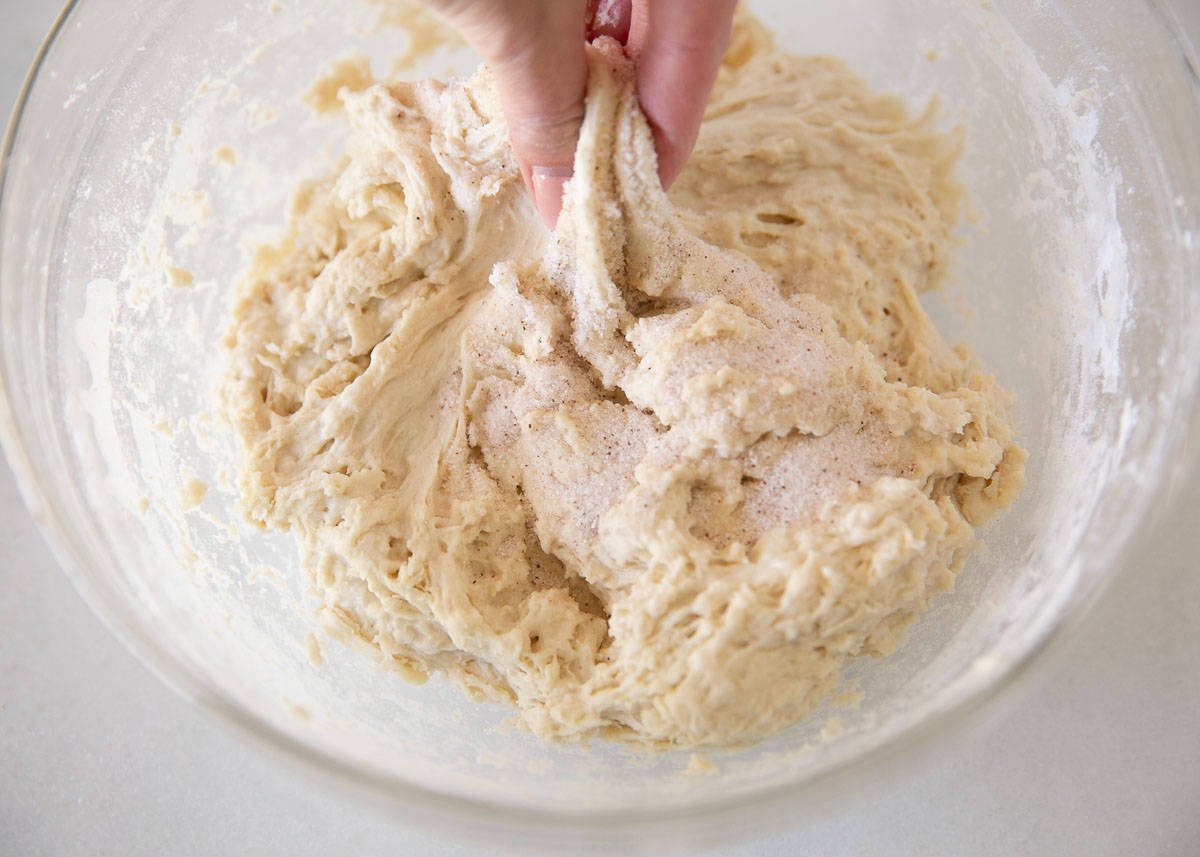
Add salt and use your thumb and forefinger to squeeze the dough together, over and over again until the salt is combined with the dough. Fold the dough in half and pinch it again. Cover the bowl with a towel or plastic wrap and let the dough rest for 15-30 minutes.
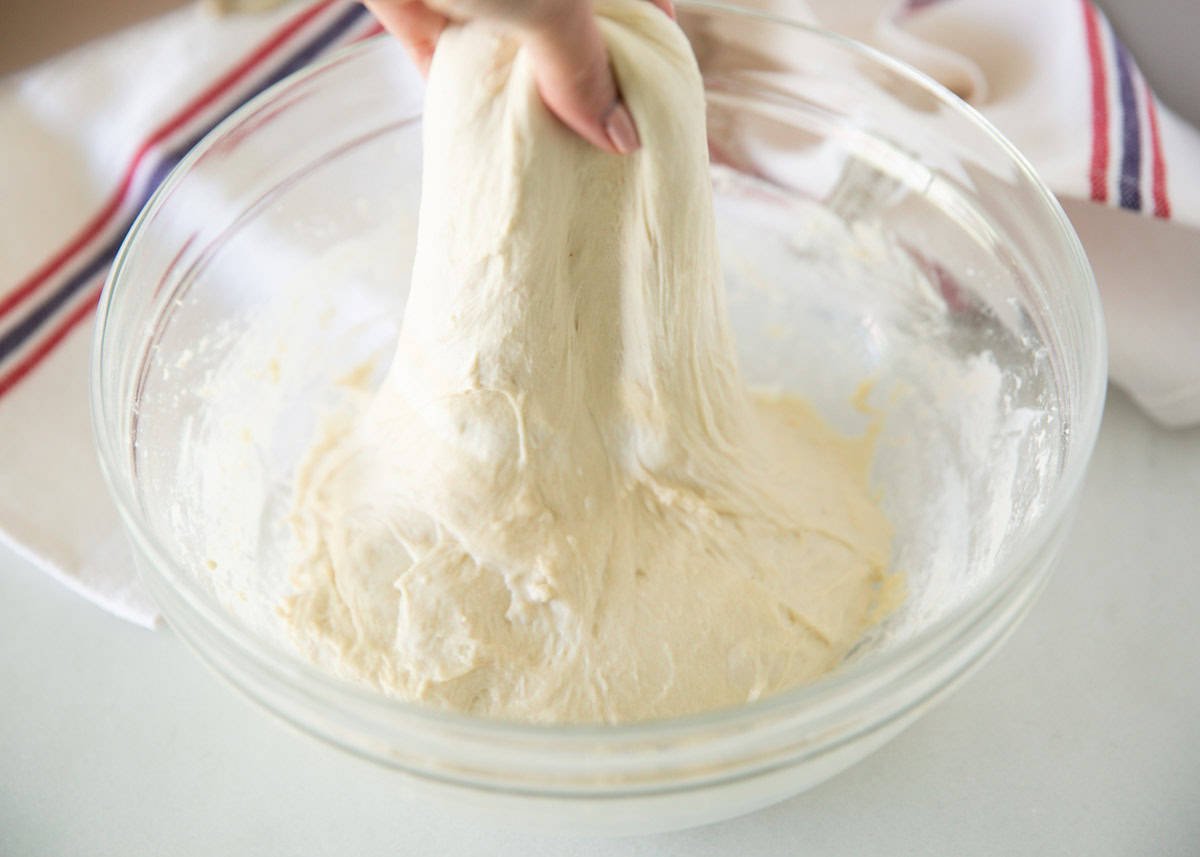
Stretch and fold the dough 2-3 times, once every 30 minutes. Then cover and let it ferment for 1.5-2 hours at room temperature.
Shape the dough by using both hands to cup and pull it towards you on the surface to create a tight, round shape. Dust a proofing basket with brown rice flour if desired. Flip the dough and place it top down in the banneton. Dust with more flour and cover with plastic. Place it in the fridge to cold proof for 12-18 hours.
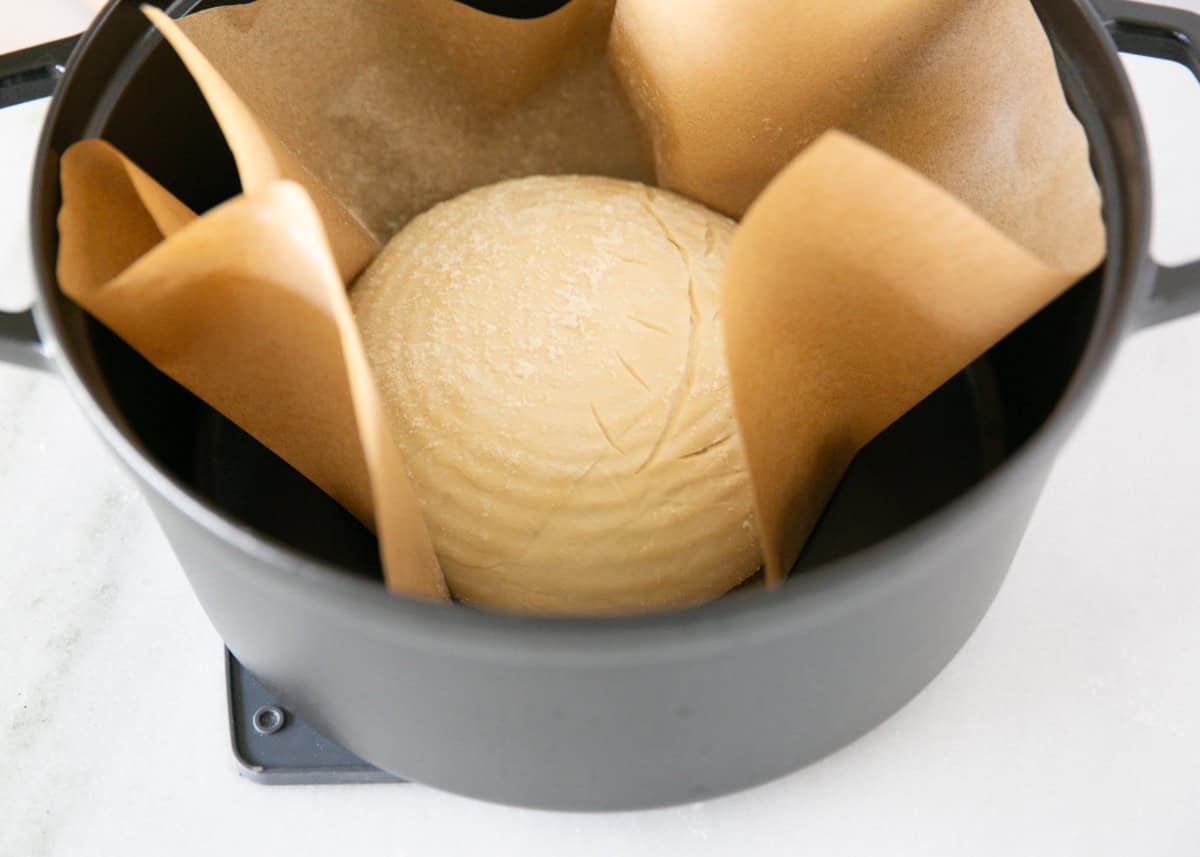
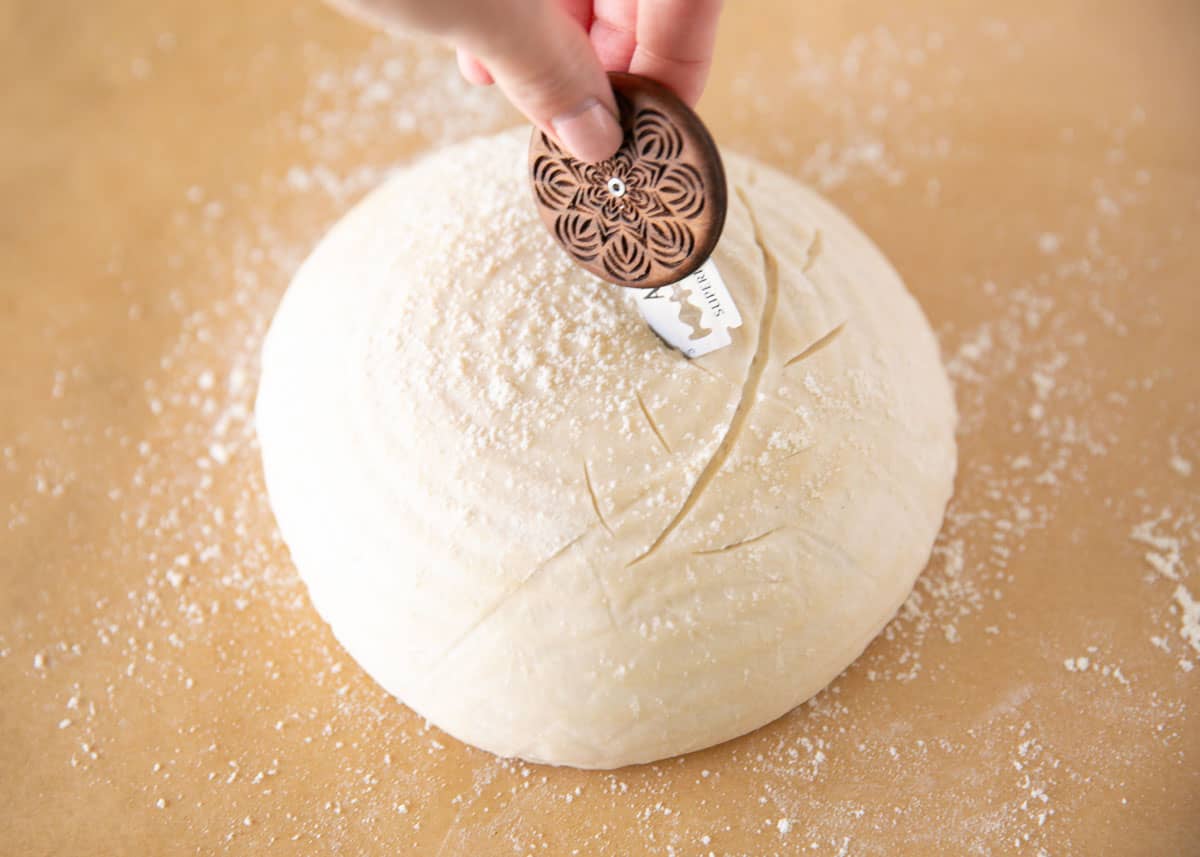
Turn the dough onto a piece of parchment paper, score the top of the dough with a lame or unused razor blade, and place it in the preheated Dutch oven. Bake for 20 minutes with the lid on and 15-20 minutes with the lid off.
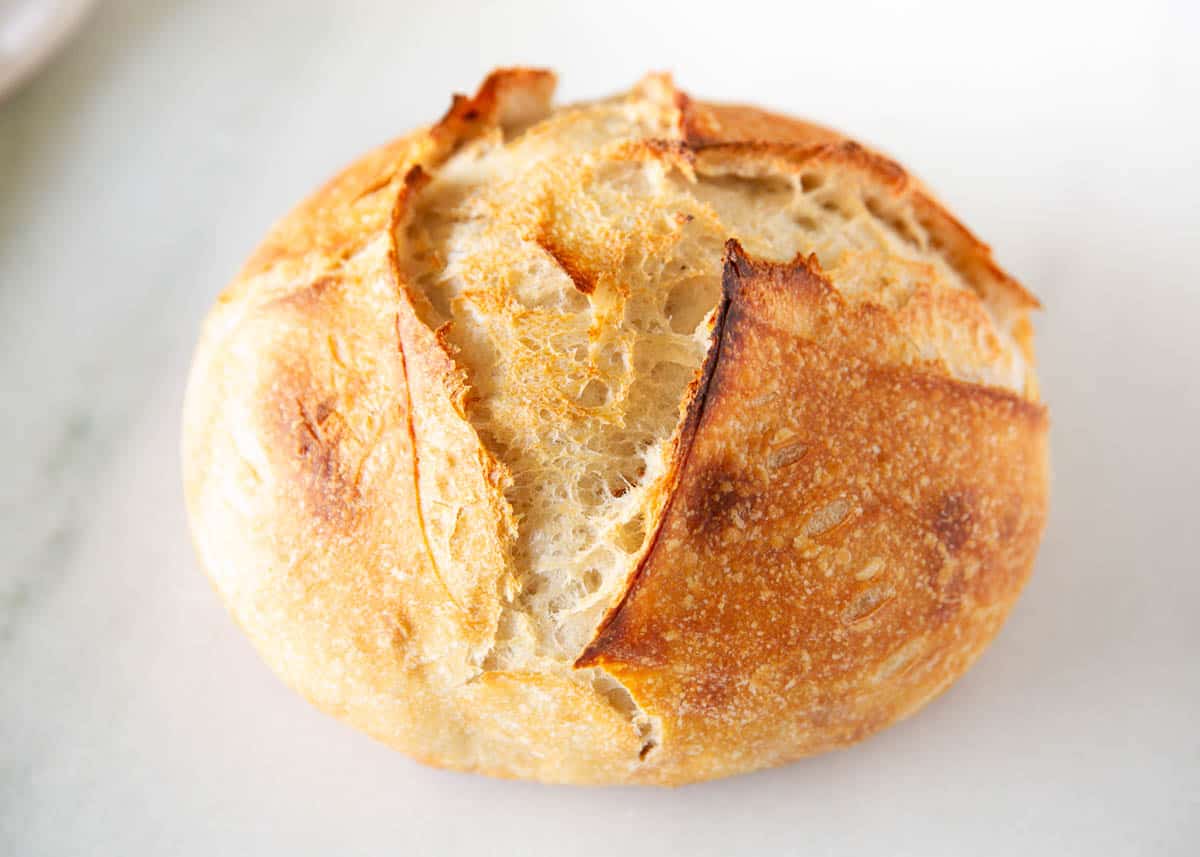
Remove the loaf from the Dutch oven and let it rest for 30-60 minutes before slicing.
Sample Baking Day Timeline
Of course, this is just an example. Everyone’s timeline will look a little different. The dough gets cold proofed for at least 12 hours so you can split up the work between a couple of days which is super helpful if you’ve got a busy household and other things to do.
- 9 am – Feed your starter.
- 1 pm – Combine the dough and let it rest for 20-30 minutes.
- 2 pm – Fold and stretch the dough.
- 2:30 pm – Fold and stretch the dough. Cover and Ferment for 1.5-2 hours.
- 4 pm – Shape into a boule and cold proof until tomorrow morning.
- 9 am – Preheat Dutch oven.
- 9:30 am – Score the dough and place it in the hot Dutch oven. Bake for 40 minutes.
- 10 am – Let the loaf of sourdough bread rest for 1 hour.
- 11 am – Slice and enjoy your first loaf as sandwich bread for lunch!
Tips for Success
- An active starter. One of the most important parts of this whole process is the active sourdough starter. Make sure it’s fed and ready to go!
- Accurate measurements. Use a scale to weigh your ingredients for more consistent results. If you don’t have a scale, you can use the spoon and level method.
- Just the right environment. The room temperature you are proofing your bread at should be about 75°F.
- Let it rest on a wire rack. Once the bread is out of the oven, let it rest for about 1 hour before slicing (or it will be gummy inside). It’ll still be baking and piping hot on the inside if you slice into it before the hour.
- Store your sourdough loaf in a linen bag, a brown paper bag, or a bread box to keep it fresh for up to 3 days.
- Save the discard. Use it for this recipe for sourdough pancakes or chocolate chip sourdough cookies.
Ready to bake more bread recipes? Try homemade bagels, Hawaiian rolls or French bread rolls.
More Homemade Bread Recipes
HUNGRY FOR MORE? Subscribe to my newsletter and follow on Facebook, Pinterest and Instagram for all the newest recipes!
Sourdough Bread Recipe
Video
Equipment
Ingredients
- 400 grams bread flour (3 cups)
- 300 grams water (about 1 1/4 cup)
- 11 grams sea salt (2 teaspoons)
- 100 grams starter (about 1/2 cup)
- brown rice flour , for dusting
Instructions
- Feed your starter 3-4 hours prior to making the bread.
- Mix water and starter with a dough whisk or your hands.
- Add bread flour to the starter mixture and combine well until it's a shaggy dough.
- Add salt and use the pincer method to combine. This is done by squeezing the dough between the thumb and fore finger. Fold it in half and pinch it again. Cover and let rest 20-30 minutes.
- Stretch and fold dough twice, spacing the set 30 minutes apart. Cover and let ferment for 1 1/2 to 2 hours at room temperature (75°F).
- Shape dough into boule (round loaf) or batard (short oval or oblong shape). Dust the bread proofing basket (or banneton) with brown rice flour and place top down into the banneton. Dust with more brown rice flour and cover with plastic.
- Place in the fridge to cold proof for 12-18 hours.
- Preheat dutch oven at 450° F for at least 30 minutes.
- Remove dough from fridge, and turn onto parchment paper. Score and place in hot dutch oven. Do this quickly so the dough does not sit at room temperature long. Bake at 450° F for 20 minutes with the lid on and 15 – 20 minutes with the lid off.
- Remove from dutch oven and let it rest for 30-60 minutes before slicing. Be patient, as the bread will still be baking internally.
Notes
Nutrition
Nutrition provided is an estimate. It will vary based on specific ingredients used.
Did you make this recipe? Don’t forget to give it a star rating below!
Recipe FAQs
It’s a bread made with fermented yeast (sourdough starter) that feeds off of natural bacteria and yeast from the environment. The baked sourdough bread yields a crispy crust, a chewy crumb, and a distinct tangy flavor.
There’s a trick to this. Grab a small amount and place it in a glass of water. If it floats it’s ready!
A sourdough starter is a gift that keeps on giving. You don’t use all of it in one go. As long as you’ve got a starter you can keep feeding it and make as many loaves as you want! Or switch it up and make sourdough pancakes.
My three must-haves are a kitchen scale, a Dutch oven, and a dough whisk. You can certainly get away without a scale or a Dutch oven. A traditional loaf pan can also be used.
Bread flour would be my first choice, but unbleached all-purpose flour would be a close second.





As a beginner I tried so many recipes ! This one really made things click . My bread turned out beautiful!
So happy to hear this Cathy and glad it turned out for you!
As a first time sour dough bread maker I kept looking for a great easier recipe ! I was ready to give up till I found yours . My loaf turned out perfect . Thank you so much
So happy to hear it turned out great! Enjoy!
This is sooooo easy and mine turned out great! Highly recommended!
I am so thankful for this recipe- I have never made bread before and your instructions were so easy! Thank you!
I loved making this bread! Using my Dutch oven and banneton basket made the process so fun. The bread came out perfectly crusty on the outside and soft inside. Highly recommend!
Easy and turned out great! I did a few more stretches before the 1st ferment which took a little longer in my house which is a bit colder. Baked up beautifully in my dutch oven!