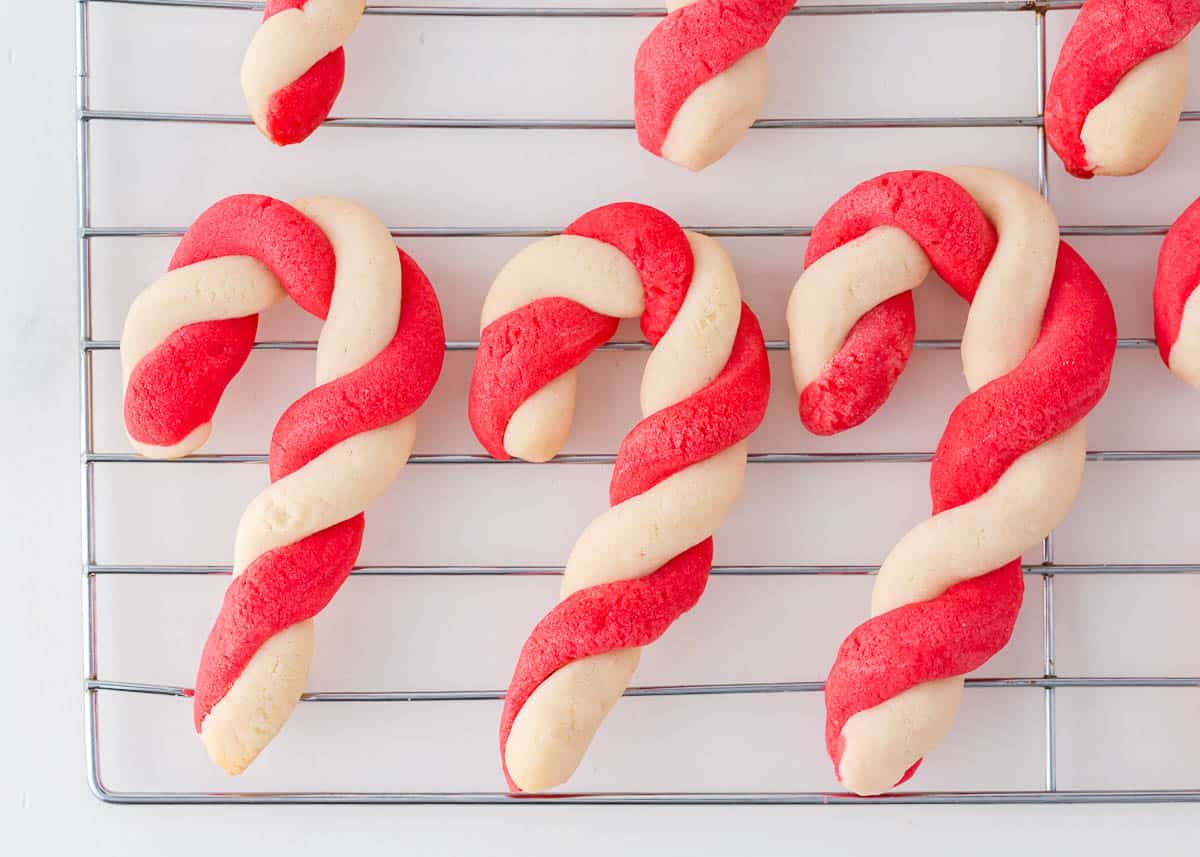
These retro Betty Crocker candy cane cookies have been the star of Christmas cookie trays for years! They are a classic made with twists of bright red and white dough.
Betty Crocker Candy Cane Cookies
Turn on some Christmas songs, it’s time to bake the most fun Christmas cookies! Retro Betty Crocker candy cane cookies have a been a favorite for generations because of how the red and white dough swirls together to create the iconic holiday shape.
These cookies are based on the classic recipe from Betty’s Cooky Book and are so festive with their red and white stripes. They stand out among other favorites like Christmas sugar cookies and chocolate crinkle cookies!
Ingredient Notes
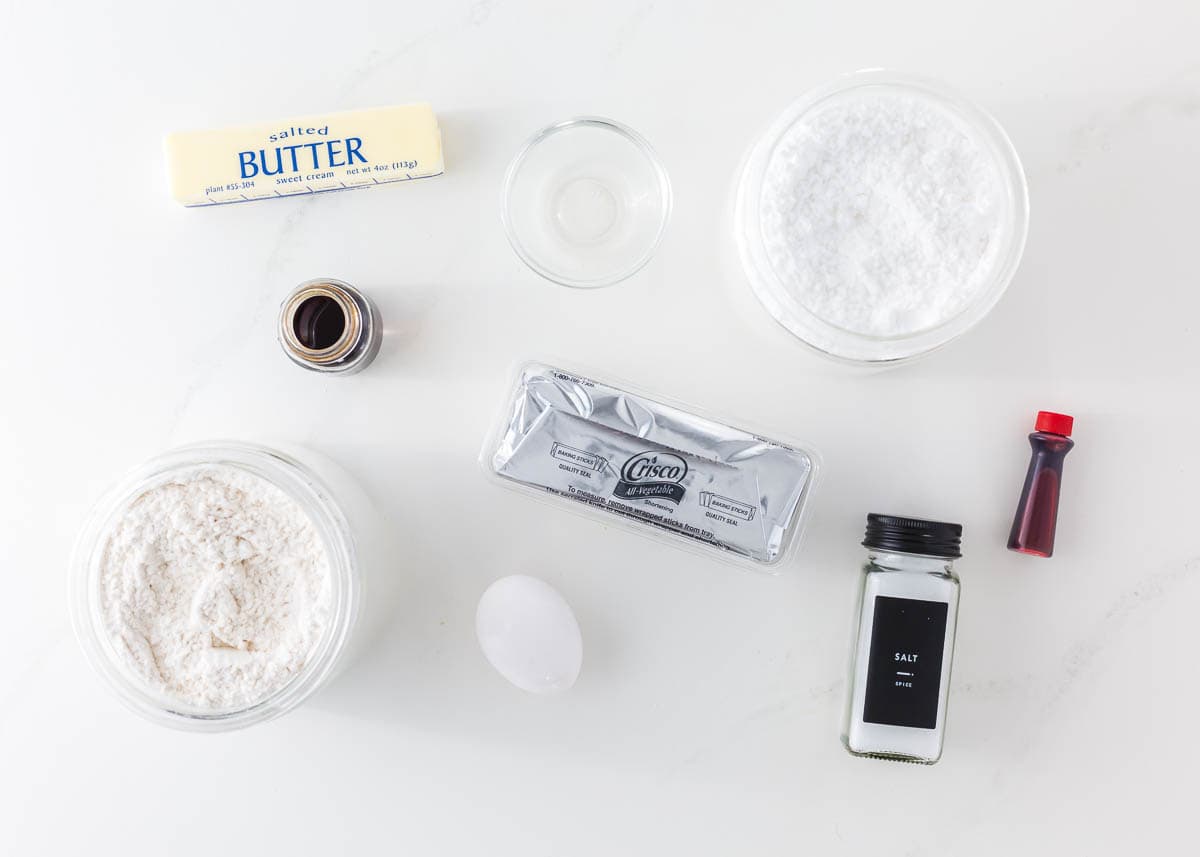
Find the full printable recipe with specific measurements below.
- Fats. Use both salted butter and shortening. This is what helps the cookies maintain their shape.
- Sugar. Sweeten the cookies with sifted powdered sugar so that it incorporates completely into the dough.
- Flavors. I used both vanilla and almond extract to give the cookies their full-bodied flavor.
- Flour & egg. Two remaining baking staples that make up the dough. Remember to measure your flour correctly!
- Food coloring. You’ll need red food coloring for this recipe. Use either gel or liquid, it’s up to you.
How to Make Candy Cane Cookies
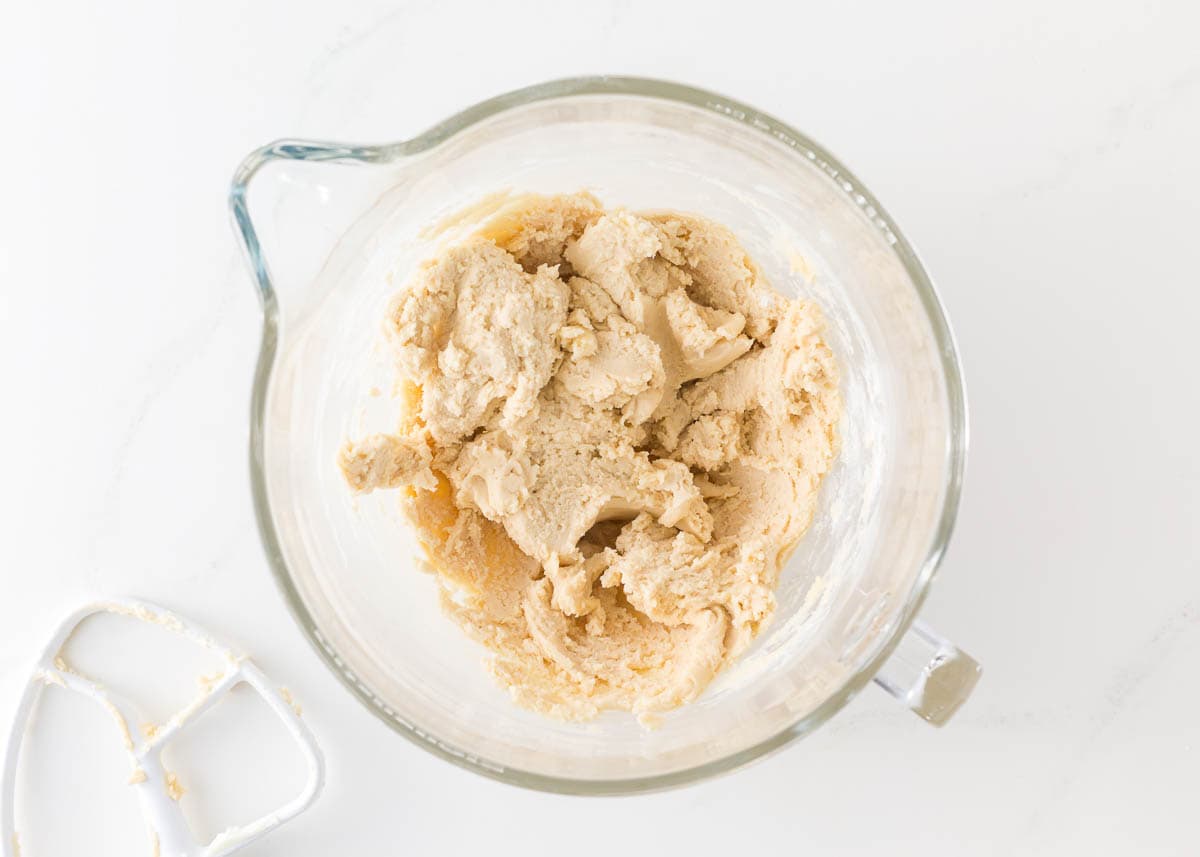
Use a stand mixer with the paddle attachment to mix the butter, shortening, and sugar until it is smooth. Then, stir in the wet ingredients, scraping the side of the bowl. Finally, mix in the flour and salt.
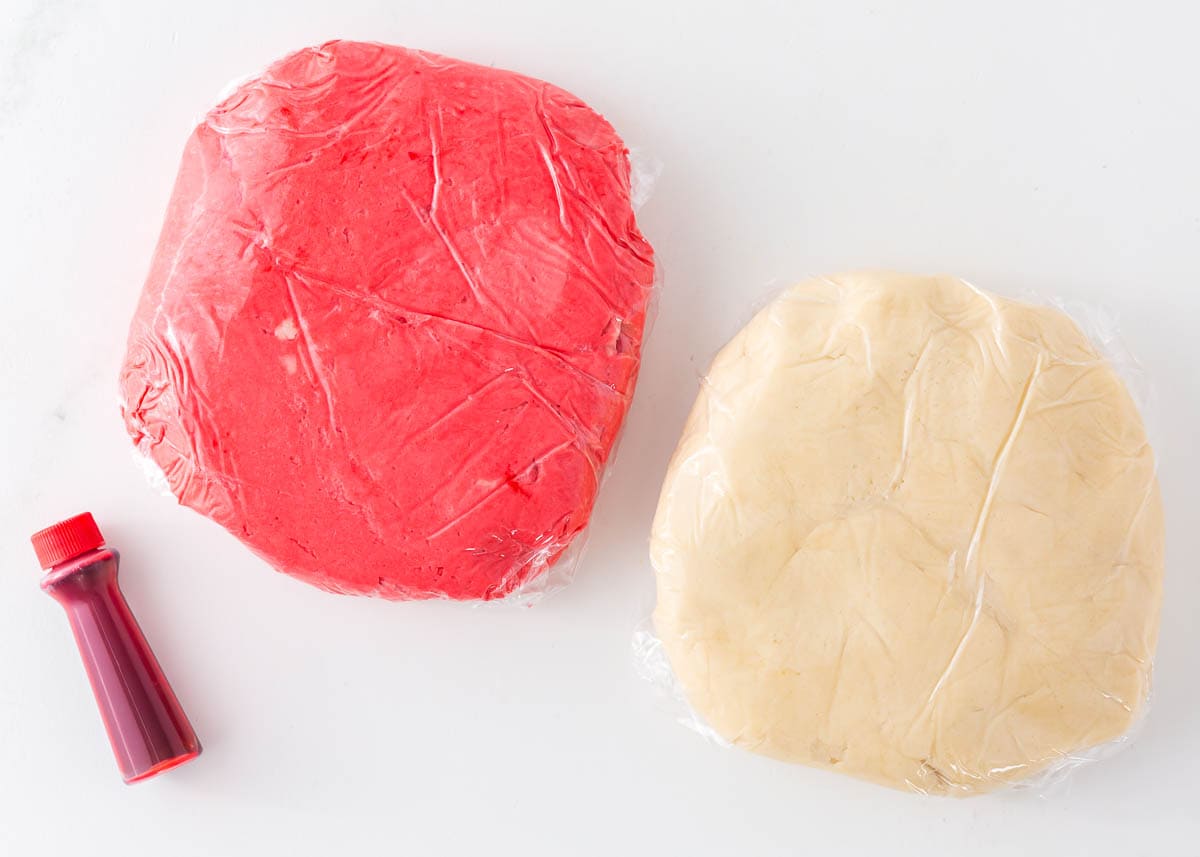
Split the dough into two parts. Add red food coloring to one half of the dough and mix that half until it is bright red. Wrap them separately in plastic wrap and chill them in the refrigerator overnight.
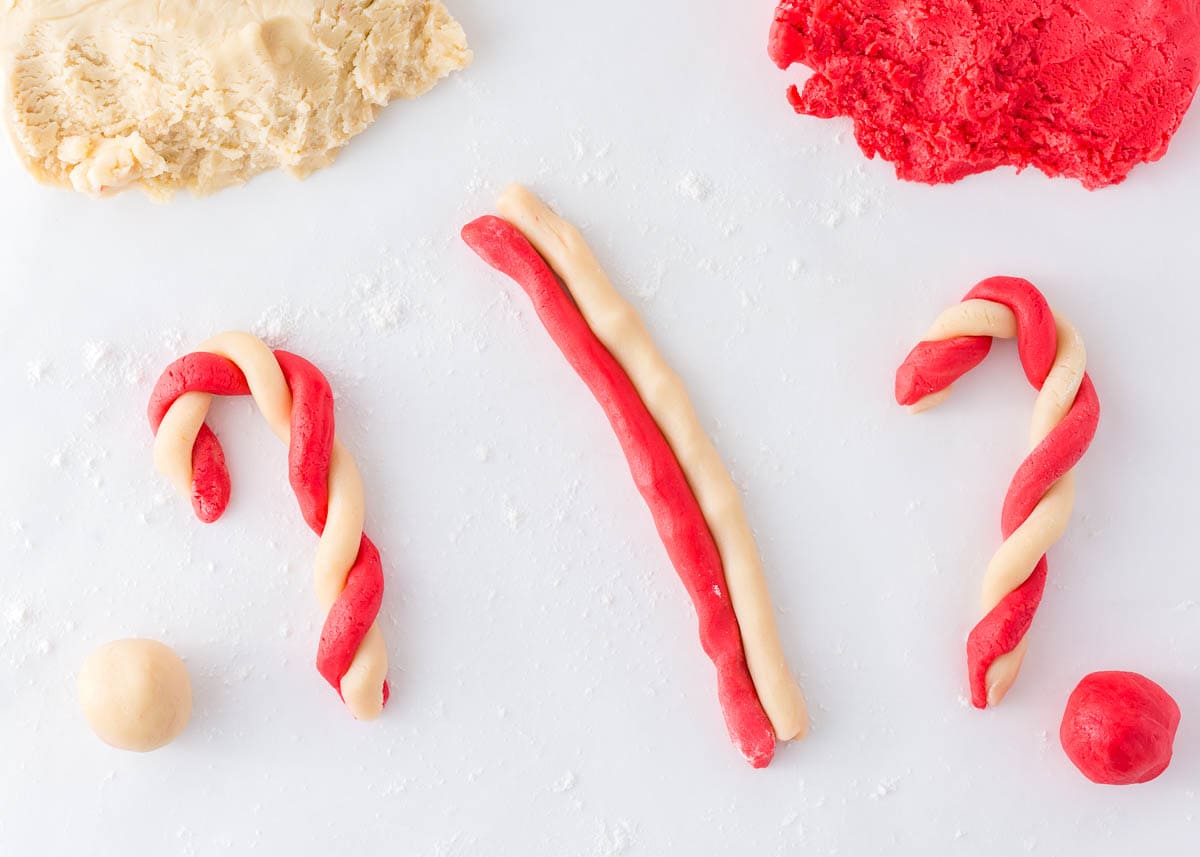
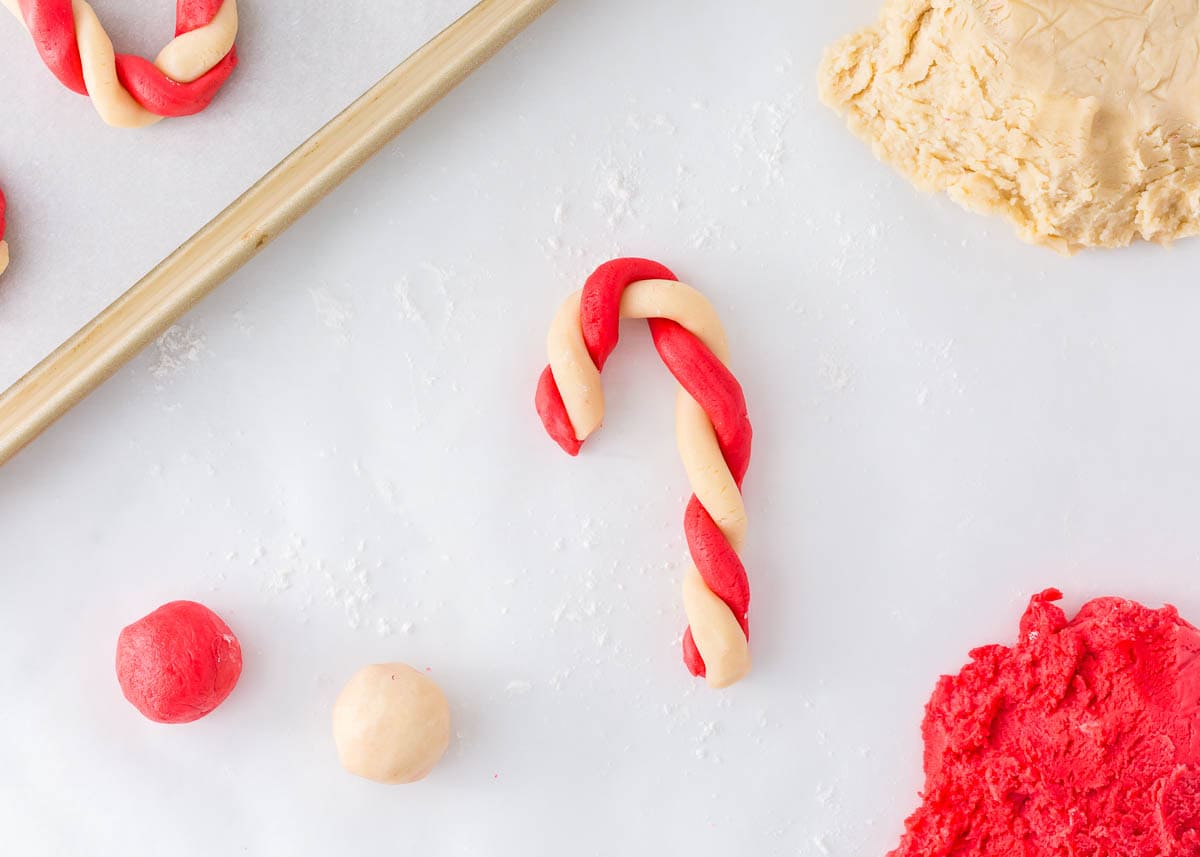
Dust your surface with flour. Roll an inch of dough into a rope. Do this with each color separately. Twist them together and shape them into a candy cane shape.
After shaping all of the cookies and placing them on the baking tray, bake them until the edges are barely starting to brown.
Recipe Tips and Variations
- Chilling the dough. Do not skip this step. You want to chill it for at least 3 hours or even overnight. Keep the dough cold so it is easier to work with.
- Dying the cookie dough. Gel food coloring is more concentrated than liquid food coloring, so fewer drops will give you a more vibrant color.
- Shaping the cookies. Keep the dough cold. If you notice it’s getting too warm or sticky, just pop it back in the fridge for a bit.
- Dip: Add a bowl of cream cheese glaze to the table and dip the candy cane cookies into it for a little extra fun.
- Flavor: Replace the almond extract with peppermint extract for a minty flavor like Betty Crocker does!
- Toppings: Brush the cookies with an egg wash and sprinkle with coarse sugar overtop before baking. You can also sprinkle crushed candy canes on top immediately after you pull them out of the oven.
Storing
- Store: Keep the candy cane cookies in an airtight container or aluminum foil for up to 1 week at room temperature.
- Freeze: Make the dough, freeze it, and then make the cookies when it’s closer to Christmas time. Knowing how to freeze cookie dough can save you a lot of time later on!
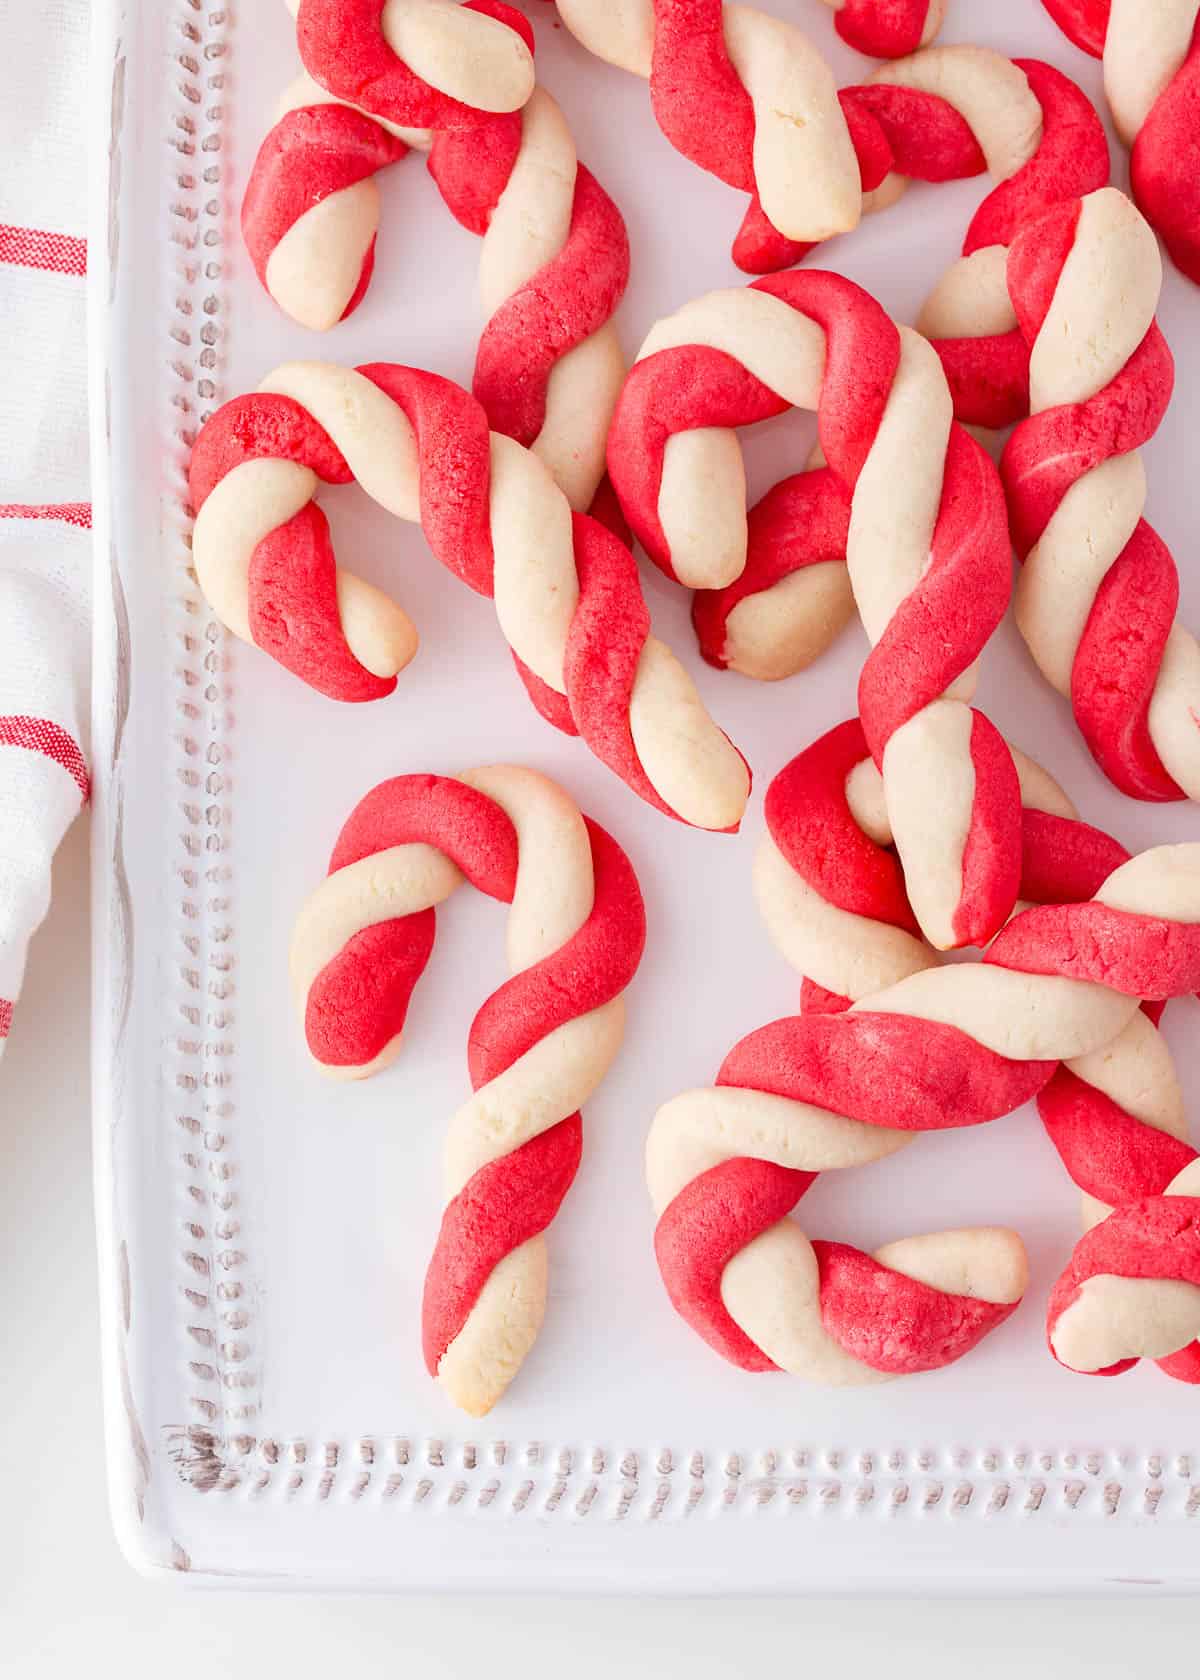
More vintage Christmas treats we love to make include old-fashioned hard candy, butter cookies and ginger molasses cookies.
More Holiday Cookie Recipes
Browse allHUNGRY FOR MORE? Subscribe to my newsletter and follow on Facebook, Pinterest and Instagram for all the newest recipes!

Candy Cane Cookie Recipe
Video
Ingredients
- ½ cup (1 stick) salted butter , barely softened
- ½ cup shortening
- 1 cup sifted powdered sugar
- 1 large egg
- 1 teaspoon almond extract , or peppermint extract
- 1 teaspoon vanilla extract
- 2 ½ cups all-purpose flour
- ½ teaspoon salt
- Red food coloring
Instructions
- Make dough: In the bowl of stand mixer fitted with a paddle attachment, mix 1/2 cup butter, 1/2 cup shortening, and 1 cup powdered sugar on medium speed until smooth and fluffy. Stir in one egg, 1 teaspoon almond extract, and 1 teaspoon vanilla extract on low until just combined. Scrape down the side of the bowl and mix in the 2 1/2 cups flour and 1/2 teaspoon salt on low until flour is no longer visible.
- Divide the dough in two parts. Place one half on a sheet of plastic wrap. Mix red food coloring into the other half on low speed until combined and bright red. Shape dough into discs and wrap in plastic wrap. Chill at least 3 hours or overnight.
- Preheat the oven to 375℉. Line a baking sheet with parchment paper.
- On a floured work surface, place chilled red and white dough. Using your fingers, pinch a 1-inch ball of the white dough and roll it into a 5-inch rope. Repeat with the red dough, keeping the ropes the same length. Place the ropes side-by-side and twist the pieces together to make a swirl. Transfer to the baking sheet and curve the top into a candy cane shape. Repeat with the remaining dough, placing the cookies 2 inches apart on the baking sheet.
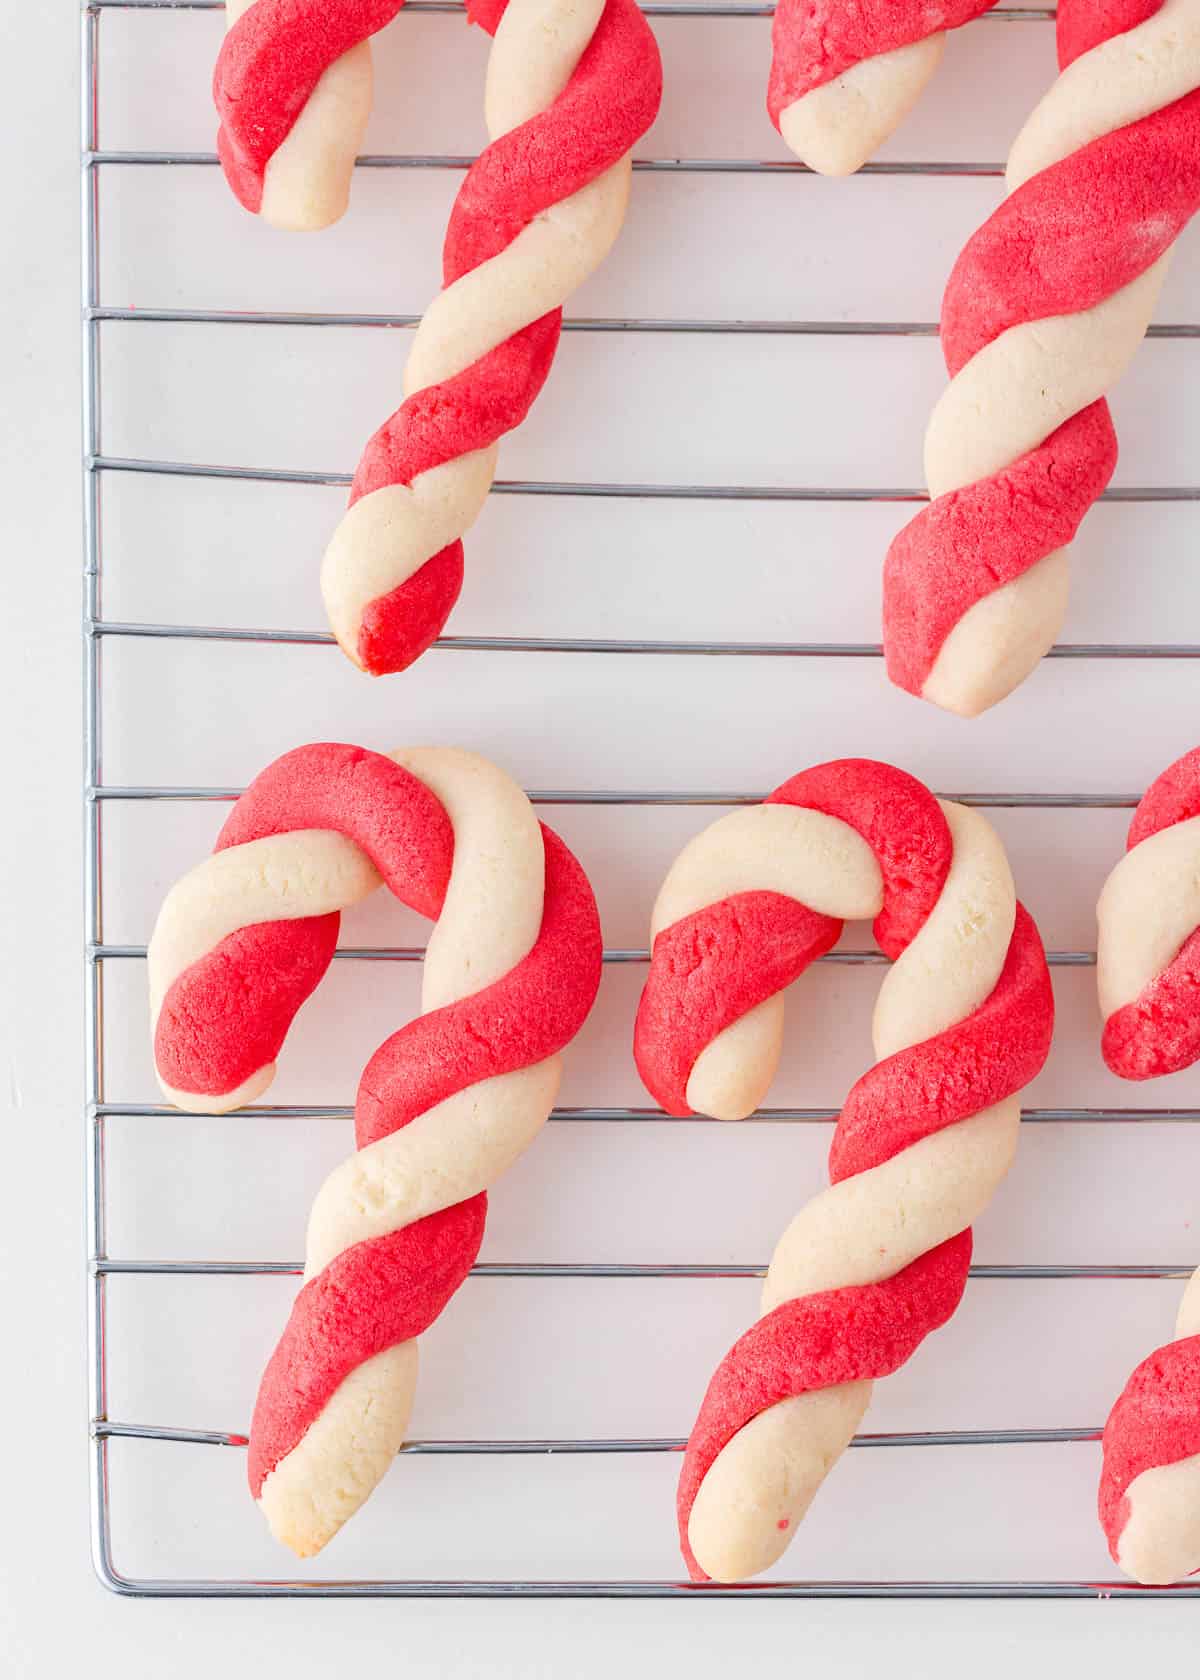
- Bake 9 to 10 minutes, or until edges are barely starting to brown. Let cool on baking sheet 10 minutes before moving to a wire cooling rack to cool completely.
Notes
- Swap the almond extract for peppermint for a more minty flavor. Then add crushed candy canes on top.
- Divide the dough into smaller portions and add different food coloring to each to create a rainbow candy cane.
- Brush an egg wash (1 egg + water beaten together) over the cookies and sprinkle with coarse sugar before baking.
Nutrition
Nutrition provided is an estimate. It will vary based on specific ingredients used.
Did you make this recipe? Don’t forget to give it a star rating below!







Hi there I have a question. I was wondering if the butter that is added is cold or room temperature. Super excited to make these cookies.!!❣️🤤
The butter should barely be softened. I hope you like the cookies!
Oh boy, did my kids get a kick out of making and eating these cookies! I already know we will make more next week for the holidays!
these sugar cookies are so festive and they were a hit at the work christmas party! thank you so much for sharing this amazing recipe!
They’re such fun cookies! A crowd pleaser :) So glad you loved them!
I have always loved peppermint! I had fun making this recipe with my daughter. It didn’t turn out as perfect as I wanted but it worked! Looking forward to making it again for Christmas. Maybe save some for Santa?