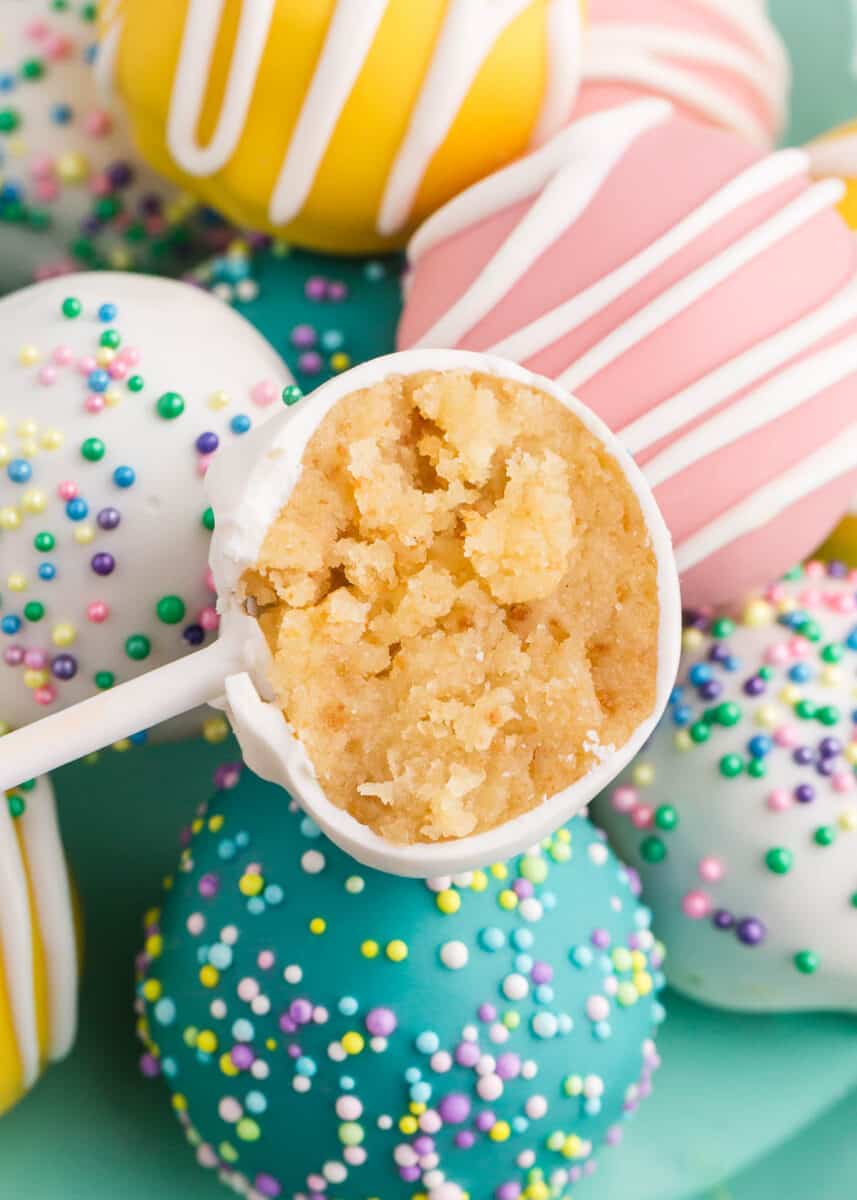
These Easter cake pops are simply adorable, super tasty, and easy to whip up in time for this year’s Easter celebrations! A bouquet of cake pops would make an adorable centerpiece and an easy way for guests to grab one to go!

A Fun Easter Treat!
Easter cake pops are made using my easy cake pop recipe which includes white cake mix and a homemade buttercream frosting. Getting the moist and decadent cake center to hold its structure relies on the right ratio of cake to frosting and I’m going to show you exactly how to do this!
Then, we dip the cake balls recipe into traditional Easter egg colors to bring something a little extra to this year’s Easter brunch menu or serve on Easter dessert table with bags of bunny bait, the kids will love it!
I love making cake pops for wedding showers, baby showers, and birthday parties for kids. Getting creative with the colors of the candy melts and sprinkles from dark reds to light blues and yellows is what brings these mini desserts to life no matter the occasion!

How to Make these Easter Egg Cake Pops
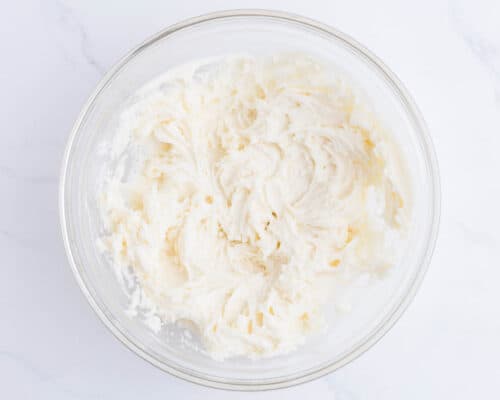
- Make the buttercream. Whip the butter then add powdered sugar until combined. Slowly add in vanilla and more powdered sugar a little at a time. Add the heavy cream or milk to make it a thick and creamy consistency.
- Prepare the cake. Bake the cake according to box instructions and allow it to cool completely.
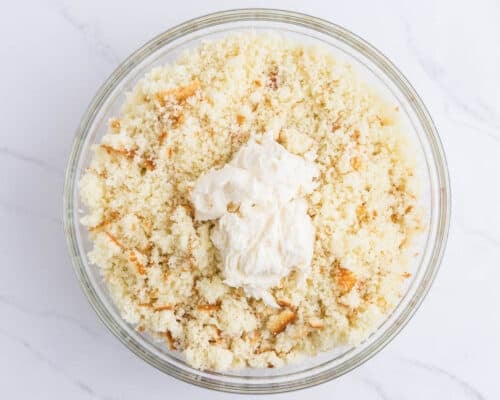
- Make crumbles. To a large bowl, add the cake and use your hand to break it apart into fine crumbs. Add 2 Tbsp of the frosting and mix everything. Add more until the cake crumbs hold together when squeezed.
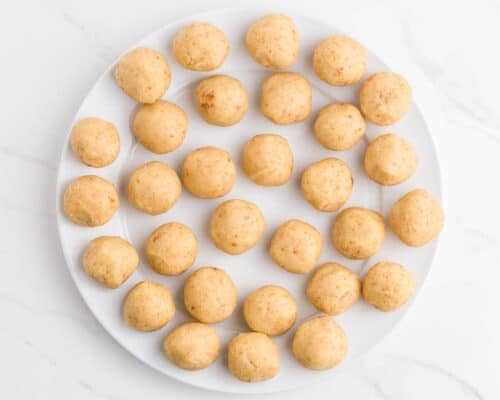
- Roll and freeze balls. Use a cookie scoop, scoop out the cake mixture, and roll into balls. Place them on a plate and transfer them to the freezer for 10 minutes.
- Melt candy wafers. Just before the balls are taken out of the freezer melt the candy wafers in the microwave for 30 seconds.
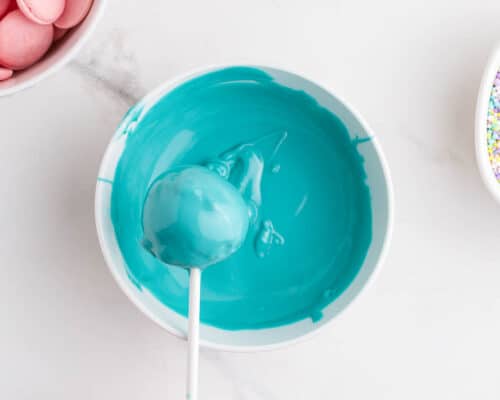
- Dip the cake pops. Take a lollipop stick and dip it into the chocolate about an inch up one end. Stick it into the cake pop. Hold on to it and carefully dip it into the melted chocolate making sure to coat it completely. Lift it and allow the excess chocolate to drip off.
- Decorate. Before the chocolate candy coating hardens add sprinkles, jimmies, and any other decorations!
Have Fun with the Colors!
I use white chocolate melting wafers (preferably Ghirardelli) and a few different pastel colors like yellow, pink, and blue. Go ahead and use the colors you like!
Easter Cake Pop Tips
- Only work with about five cake pops at a time. Leave the rest in the freezer so that they don’t soften too much while you work on the others. You want them to be cold when working with them.
- Work with one color at a time so that they don’t solidify by the time you get around to using the others!
- Add some gel or liquid food coloring to the melted chocolate if you want a deeper or slightly different color.
- Let the stick dry after dipping it in melted chocolate before sticking it in the cake ball. It’s easier to work with this way and is less likely to fall off when dipping the whole cake pop into melted chocolate.
- An easy way to dip the ball into the chocolate is to use a long narrow glass or measuring cup.
- Stand the pops upright when you’re done with one, by sticking it in a mason jar full of rice or a styrofoam block.
- One of my favorite Easter cake pop ideas is to fill a jar or cute little glass with Easter M&M’s and use that to hold a cake pop bouquet, it’s the perfect centerpiece for your Easter dinner!
- For a different frosting flavor, try using a cream cheese frosting instead.
FAQs
You can. Use about 8oz of store-bought frosting, which is half of a 16 oz can. It’s a shortcut worth taking if you’re short on time, but I do love the flavor of homemade buttercream.
Easily turn these into cake balls or truffles without using the sticks! It might even be easier to make egg shapes this way. Presenting them in an Easter basket would be super cute.
The ingredients in easter cake pops are super flexible. Use whatever cake flavor and frosting you like. You could even make a homemade cake if you like! Try yellow cake mix, make chocolate cake pops or even lemon.
Nope! Just keep them covered in an airtight container in a cool dry area and they’ll last for up to 4 days.

More Easter Desserts:
- Carrot Cake with Cream Cheese Frosting
- Chocolate Egg Nest Treats
- Easy Coconut Macaroons
- Carrot Cake Cookies Recipe
- Layered Easter Egg Cake
- Carrot Cake Cupcakes
HUNGRY FOR MORE? Subscribe to my newsletter and follow on Facebook, Pinterest and Instagram for all the newest recipes!

Easter Cake Pops
Equipment
- 20 cake pop sticks
Ingredients
Buttercream Frosting
- ½ cup (1 stick) salted butter , softened
- 2-2 ½ cups powdered sugar
- 1 teaspoon vanilla extract
- 1 Tablespoon heavy cream or milk
Cake Pops + Dipping Chocolate
- 15 ounce box white cake mix , cook according to package directions in a 9×13" pan
- 10 ounce package melting wafers , pastel color of choice
- 10 ounce package white chocolate melting wafers , I prefer Ghiradelli
- Food coloring , optional
Optional: Sprinkles, Jimmies, or other desired decorations
Instructions
Buttercream Frosting
- In a stand mixer fitted with a paddle attachment, whip the butter. Mix in 1 cup powdered sugar until combined. Add the vanilla and additional powdered sugar, a little at a time. Add heavy cream to make the frosting thick and creamy. It should hold a point.
Cake Pops + Dipping Chocolate
- In a large bowl, crumble the prepared cake into fine crumbs (make sure it has cooled completely before crumbling). Add 2 spoonfuls buttercream frosting to the crumbs. Combine with your hands or a spoon. Gradually add more frosting until the cake holds together if squeezed. You don't want it too crumbly or it won't hold together.
- Using a medium cookie scoop, scoop out 1 scoop of cake mixture. Roll into a ball and place onto a plate. Repeat until all the cake mixture has been formed into balls. Freeze balls for about 10 minutes.
- Right before they are ready to be taken out of the freezer, melt the chocolate wafers in two separate microwave-safe bowls. Begin by heating 30 seconds and stirring. Add food coloring, if desired.
- Dip the end of the cake pop stick into the melted chocolate and then push the stick into the cake pop. Then push the stick into the cake pop. Repeat until all cake pops have a stick. Place the plate of cake pops in the freezer for about 20 minutes.
- Once coated in chocolate, gently tap the stick on the side of the melting dish to let the excess drip off. You can also spin or twirl the cake pop to remove the excess. Before the chocolate starts to harden, add sprinkles, jimmies or other decorations. If decorating with more chocolate, let the chocolate covering harden on the cake pop. Then, using a spoon or fork, drizzle with the additional melted white chocolate on top.
- Push the cake pop stick into a styrofoam block or use a glass filled with M&M's or rice to hold them upright. The chocolate will be set in about 1 hour.
Notes
Nutrition
Nutrition provided is an estimate. It will vary based on specific ingredients used.
Did you make this recipe? Don’t forget to give it a star rating below!





Hi – is it possible to use a yellow cake mix instead of white??
Yes you can use any flavor you’d like :)
I cannot join the email newsletters because your system does not work with my email. Can you help me?
Elizabeth Eberhardt
beth_eberhardt53@yahoo.com
Sorry you’re having trouble joining! Just added you :)
These are so pretty & perfect for Easter!! My kids love cake pops & could eat them everyday, if I let them. They’ll love helping me make these!
Enjoy! :)
These are so perfect! My boys would love them. Right now they think cake pops only come from starbucks, I gotta change that hahah!
Haha I love it – yes definitely give them a try!
These are so fun to make and turned out awesome!!